
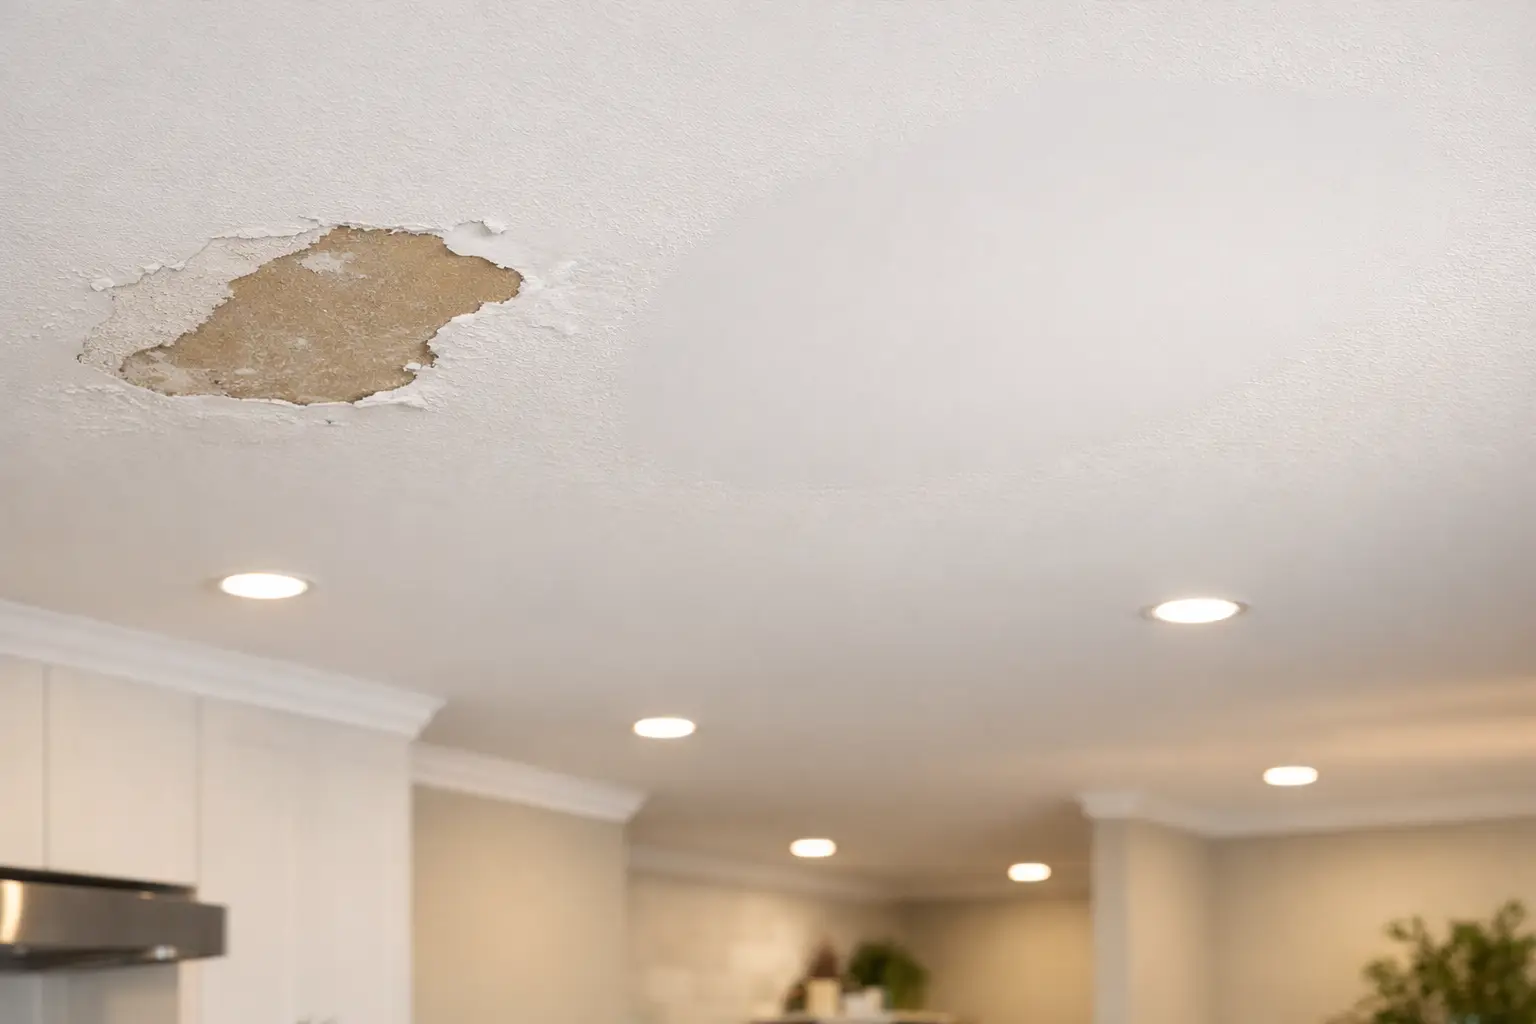
A cracked ceiling tends to get noticed at the worst time - when the light hits it just right, or right after a fresh coat of paint makes every flaw stand out. Ceiling drywall repair is one of those jobs that looks simple from the floor but gets more complicated once you start dealing with overhead seams, loose tape, sagging board, or old patchwork that never blended properly.
For homeowners and contractors, the main question is usually not whether the ceiling can be repaired. It is whether the repair will stay sound and finish clean enough that it disappears once primed and painted. That depends on what caused the damage in the first place, how solid the surrounding drywall is, and how the patch is finished.
What causes ceiling drywall damage
Most ceiling problems start with movement, moisture, impact, or poor original finishing. Hairline cracks often show up along joints when framing shifts slightly over time, especially through seasonal changes. In older homes, you may also see popped fasteners, sagging seams, or tape pulling away from the surface.
Water is another common cause. Even if the source has already been fixed, the ceiling can be left stained, softened, or swollen. Drywall that has lost its strength does not usually improve by drying out alone. Sometimes the damage is isolated to a small area. Other times, the board has to be cut back to sound material before a proper repair can begin.
Then there are impact repairs. A plumbing access opening, a rough renovation cut, or damage from moving materials through a tight space can leave holes or broken corners in ceiling drywall. Those repairs are often straightforward in theory, but matching the surrounding finish is where the work really is.
When ceiling drywall repair is simple and when it is not
Not every crack means the whole ceiling is failing. A small seam crack in an otherwise solid ceiling may only need the loose material removed, the joint retaped, and the area built back up properly. If the board is still secure and the framing movement is minor, that kind of repair can hold up well.
It gets less simple when the drywall is sagging, the tape is loose across multiple joints, or the ceiling has several layers of old repairs. At that point, patching one spot may not solve the broader issue. The repair has to match the condition of the ceiling around it, not just the damaged section.
Texture also changes the equation. A smooth ceiling shows every ridge, edge, and sanding mark. A textured ceiling can hide some transitions, but matching an older texture is not always easy. The right approach depends on the finish already in the room and how visible the repaired area will be under natural and artificial light.
How a proper ceiling drywall repair is done
Good repair work starts with removing anything loose or failed. That might mean cutting out cracked tape, scraping soft compound, or opening up a damaged section to get back to solid drywall. Patching over weak material usually leads to the same problem coming back.
If a section of board needs replacing, the patch has to be supported properly and cut clean. On ceilings, backing and fastening matter because gravity is always working against the repair. A patch that is not secure can shift, crack, or show through the finish later.
From there, the repair moves into taping and finishing. This is where ceiling work separates itself from many wall patches. Overhead joints need controlled compound application, careful feathering, and enough drying time between coats. If the mud is applied too heavily or sanded poorly, the repair can flash through paint even if it looks acceptable at first glance.
A clean, paint-ready result usually comes from multiple light coats rather than one heavy pass. That takes more time, but it leaves a flatter finish and a better blend into the existing ceiling.
Why ceiling repairs often show after painting
A ceiling can look fine during repair and still stand out once the room is painted. That usually happens because of surface profile, not just colour. Paint, especially with side lighting, highlights shallow humps and low spots that are hard to see on raw compound.
This is why feathering matters so much. The patched area has to taper gradually into the surrounding ceiling. Sanding has to be controlled, and edges need to disappear before primer goes on. If a repair is rushed, the patched spot may end up looking like a framed square or a raised stripe across the room.
Primer also matters. Fresh compound and old painted drywall absorb paint differently. Without proper prep, the repaired section can flash or look dull even when the ceiling colour matches.
Ceiling drywall repair vs replacing a section
There is a point where repair stops being the best option. If the drywall is soft from past water exposure, badly sagged, or cracked in several places, replacing part of the ceiling may be the cleaner and more durable choice. That is not always the larger or more expensive-looking fix people expect. In some cases, cutting back and replacing a defined area produces a better result than trying to save weak material.
The trade-off is that replacement creates a bigger finishing zone. Even a neatly replaced section still has to be taped, coated, sanded, and blended. In a smooth ceiling, that blending work is what determines whether the repair disappears.
For builders, renovators, and property managers, this is usually a practical decision. If the surrounding ceiling is sound, repair makes sense. If the surrounding area is already compromised, replacement may save time and frustration later.
What affects the timeline
Ceiling drywall repair is not just about patch size. Drying time between coats, room conditions, existing finish, and access all affect the schedule. A small patch in a dry, heated room may move along fairly quickly. A larger seam repair, or a ceiling that needs several coats to flatten properly, can take longer even if the damaged area itself is not large.
Overhead work also tends to be slower than wall work. It takes more control to keep joints flat and clean when working above shoulder height. Add in stairwells, high ceilings, or tight furniture clearance, and the repair becomes more involved.
That is one reason clear expectations matter. The visible damage may be one crack or one hole, but the finish work often extends well beyond that spot to make the ceiling look uniform again.
Signs it is time to call a drywall contractor
Some ceiling issues are best looked at early, before they spread. Cracks that keep reopening, sagging between joists, repeated nail or screw pops, and stained areas that feel soft are all signs that a basic cosmetic patch may not be enough.
The same goes for repairs in main living areas where the finish needs to hold up under daylight. Kitchens, hallways, living rooms, and open-concept spaces are not forgiving. If the goal is a paint-ready ceiling that does not draw attention later, the finishing work matters as much as the patch itself.
In Owen Sound and across Grey Bruce, many homes see a mix of seasonal movement, past renovations, and ceiling repairs done at different times. That does not make the work unusual, but it does mean each repair has to be judged on its own condition rather than treated as a standard patch.
What to expect from a good finished repair
A proper ceiling repair should feel solid, look flat, and blend with the rest of the room once painted. That does not always mean the repair area is tiny. Sometimes the best-looking work involves spreading the finish wider so there is no obvious edge or build-up.
It should also hold. If tape was loose, it should be reset properly. If the board was damaged, it should be replaced with secure backing. If the surface needed multiple coats to level out, that time should be taken. Clean drywall work is often more about patience and finish control than dramatic before-and-after changes.
Meg's Drywall approaches ceiling repair the same way any good drywall contractor should - start with the real cause, repair only what makes sense to save, and finish the surface so it is ready for paint instead of just covered up.
If your ceiling has a crack, stain, patch, or sagging area, the best next step is usually a close look before it gets worse. A sound repair done at the right stage is a lot easier to live with than a ceiling flaw that keeps pulling your eye every time you walk into the room.


