
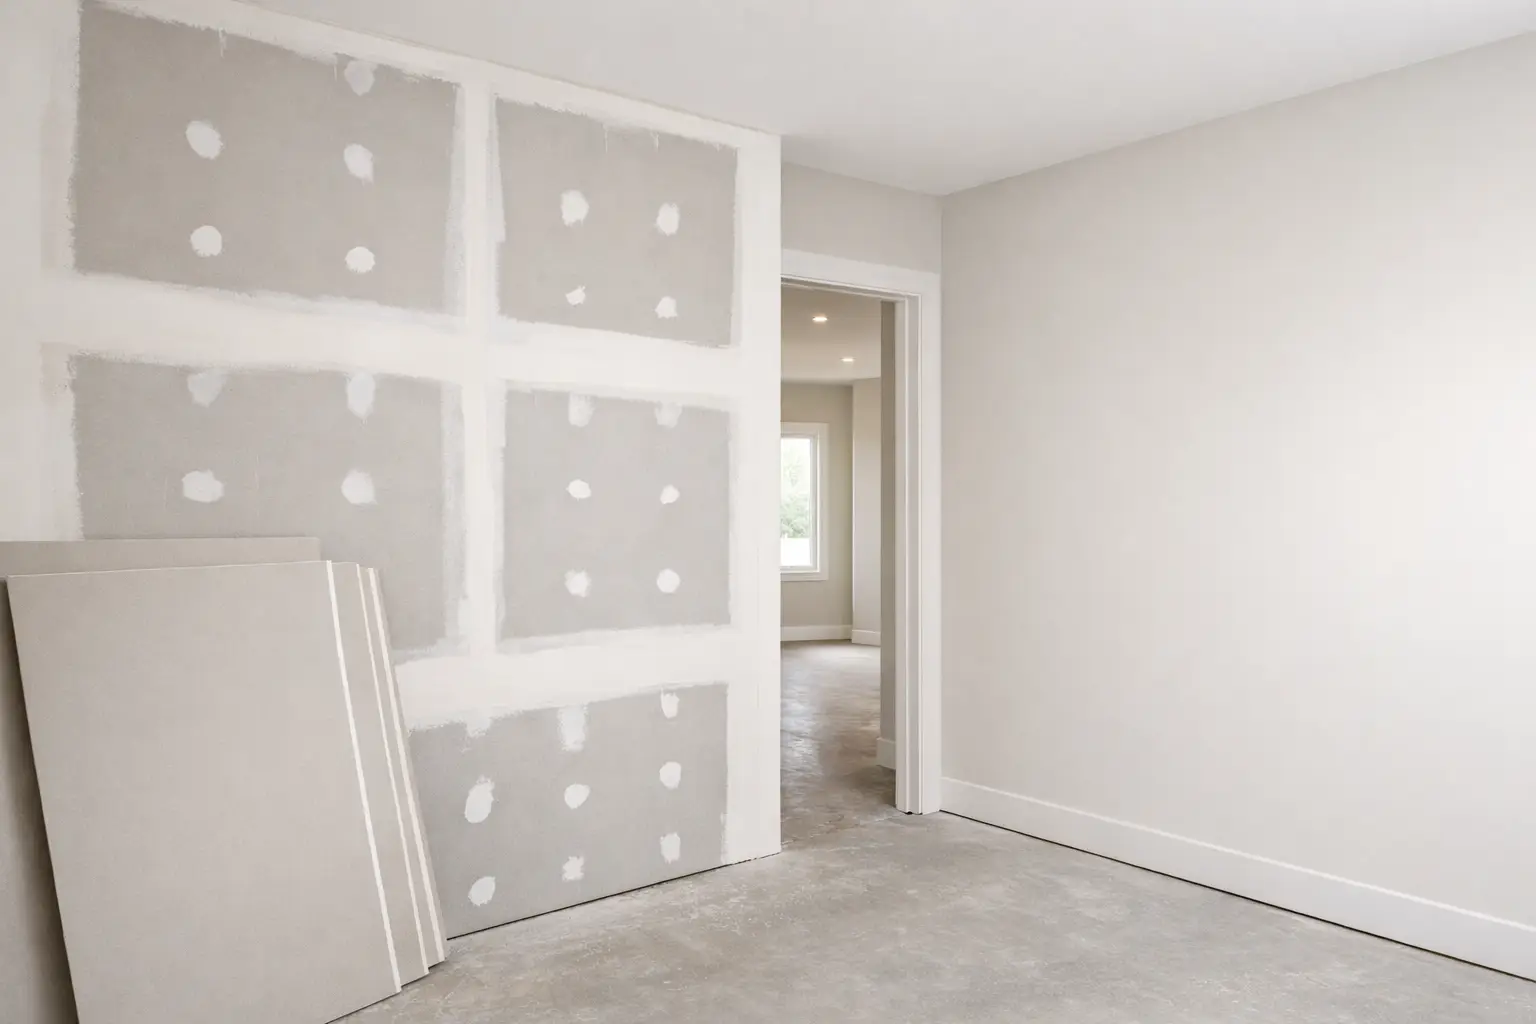
A drywall job usually looks simple from the outside - sheets go up, joints disappear, paint goes on. What people do not always see is how much the final result depends on the order of the work. The drywall installation process is not just about fastening boards to studs. It starts with planning, continues through layout and hanging, and only pays off when the finishing work is done properly.
For homeowners and builders, that matters because small mistakes early in the job tend to show up later as cracks, visible seams, uneven corners, or extra sanding and repainting. On a basement, addition, garage, renovation, or new build, the process is what keeps the work efficient and the finish clean.
What the drywall installation process really includes
When people say drywall installation, they often mean the whole job from bare framing to a paint-ready surface. In practice, that includes checking the framing, measuring and staging material, hanging board on ceilings and walls, fastening it correctly, treating joints, applying multiple coats of compound, sanding, and preparing the surface for primer and paint.
That full sequence matters because drywall is a system. The sheets, screws, tape, corner bead, and compound all depend on each other. If one stage is rushed, the next stage gets harder. A good finisher can improve a lot, but even the best finishing work cannot fully hide poor layout or badly hung board.
Before any drywall goes up
The first step is making sure the space is actually ready. Framing should be complete and reasonably straight. Electrical and plumbing rough-ins should be finished in the walls and ceilings. Insulation, vapour barrier, and backing should be in place where required for the project.
This is also the point where problem areas get noticed. A bowed stud, uneven ceiling joists, missing backing at a bulkhead, or poorly planned access panel can slow the job down. On renovations, this stage often takes longer than expected because older homes rarely give you perfectly straight surfaces. Sometimes a bit of prep work saves a lot of visible trouble later.
Material selection also happens here. Standard drywall works in many rooms, but not every area gets the same board. Bathrooms, garages, ceilings, and basements may call for different thicknesses or moisture-resistant products depending on the space. It depends on the use of the room and the condition of the structure.
Layout and measuring come before speed
A clean drywall job starts with layout. That means planning where the sheets will land so joints are manageable, waste is controlled, and the finished surface stays strong and consistent. On ceilings, larger sheets can reduce the number of seams. On walls, joint placement matters around windows, doors, and corners.
This is one of those steps that separates a trade-focused job from a rushed one. If board joints line up poorly over openings, or if small filler pieces are used where full sheets should have gone, cracking becomes more likely. Good layout is not flashy, but it helps the whole project go smoother.
Hanging drywall on ceilings first
In most cases, ceilings are boarded before walls. That is standard for a reason. The wall sheets then help support the edges of the ceiling board, which gives a cleaner and stronger connection where the surfaces meet.
Ceiling work also tends to be the most physically demanding part of the drywall installation process. Sheets need to be lifted, positioned tightly, and fastened without sagging or damaging the paper face. Fastener spacing matters. Too few screws and the board can move. Too many, or screws driven too deep, can weaken the hold and create more repair work.
Ceilings also show defects more than walls, especially with natural light or low-angle lighting fixtures. A joint that looks acceptable during installation can become obvious after paint if the boarding and finishing were not kept flat.
Hanging the wall board
Once the ceilings are on, wall sheets are installed. The goal is tight joints, proper fastening, and a layout that avoids unnecessary seams. Openings for windows, doors, outlets, and switches need accurate cuts so the board fits cleanly without oversized gaps.
This part of the process is not just about getting coverage on the studs. It is about making the finishing stage easier. If joints are too wide, edges are damaged, or corners are out, the taper has more work to do. That usually means more compound, more sanding, and a greater chance of visible buildup.
On basements and renovations in Grey Bruce, wall conditions can vary a lot. New framing is one thing. Existing walls that have settled, shifted, or been patched over time are another. In those spaces, the right approach is often about managing the surface so the finished room looks straight and consistent, even when the structure behind it is not perfect.
Fasteners, beads, and joint preparation
After the sheets are hung, the job moves into preparation for finishing. Screw heads are checked to make sure they are slightly set without tearing the paper. Loose fasteners are corrected. Damaged spots get patched. Outside corners receive corner bead, and joints are cleaned up before tape and compound go on.
This stage does not get much attention from clients, but it affects the finish more than people realize. A poorly set bead or a torn board face can keep showing up through later coats. The cleaner the prep, the cleaner the final result.
Taping and the first coat
Taping is where the drywall starts to look like a finished wall instead of a collection of sheets. Joint tape is embedded in compound over the seams, and inside corners are taped carefully so they stay crisp and uniform.
The first coat is not meant to make everything look finished. Its job is to bond the tape, cover fasteners, and establish the base for the next coats. This is why expectations matter. Right after the first coat, the walls can still look rough. That is normal.
Drying time also matters here. If compound is recoated too soon, problems can develop later. In some homes or seasons, humidity slows the process down. That is one reason drywall timelines can vary from one project to another.
Building the finish with additional coats
Most drywall finishing takes multiple coats of compound. Each coat widens and smooths the joints, covers fasteners further, and blends corners and beads into the surrounding board. The goal is not to build thickness for its own sake. The goal is to create a flat-looking surface once primer and paint go on.
This is where patience pays off. A job that is rushed at the finishing stage may still look acceptable under work lights, but regular daylight is less forgiving. Hallways, stairwells, and rooms with big windows tend to reveal imperfections quickly.
There is also a trade-off between speed and refinement. On a utility room or unfinished area, the finish may not need the same level of attention as a main living space. In a kitchen, living room, office, or retail area, a more careful finish is usually worth it.
Sanding and final touch-ups
Sanding is part of the drywall installation process, but it should not be the stage that fixes everything. If the coating work was done properly, sanding is controlled and focused. If the coating work was heavy or uneven, sanding becomes messy, time-consuming, and harder to keep clean.
After sanding, surfaces are checked for ridges, shallow spots, visible joints, and corner issues. Small touch-ups are common. This is also the point where lighting can help reveal defects before primer goes on.
A paint-ready finish does not mean every wall is mathematically perfect. It means the surface is properly prepared for normal viewing conditions and the intended use of the room. That standard can vary a bit depending on the project, the lighting, and the finish expectations.
Where timelines usually shift
People often ask how long drywall takes, but there is no single answer. A small patch job, a basement, and a full new build all move at different speeds. The size of the space matters, but so do ceiling height, room complexity, number of corners, drying conditions, and the quality of the framing underneath.
Renovation work usually has more variables than new construction. Existing finishes, access challenges, occupied spaces, and repairs around old material can all affect the schedule. In local work around Owen Sound and Grey Bruce, weather and humidity can also influence drying time, especially in colder months or in spaces that are not fully climate controlled.
Why the process matters to the final look
When the drywall installation process is handled properly, the room feels finished before the paint colour even goes on. Corners look straight, seams stay hidden, and trim lines sit cleaner. Painters notice it right away, and so do homeowners.
That is really the point of the work. Drywall is the surface behind almost everything people see every day inside a room. If it is done well, it blends into the background and lets the rest of the space look right. If you are planning a new build, basement, garage, repair, or renovation, it helps to think past the day the sheets go up and look at the full process that gets the walls ready to live with.


