
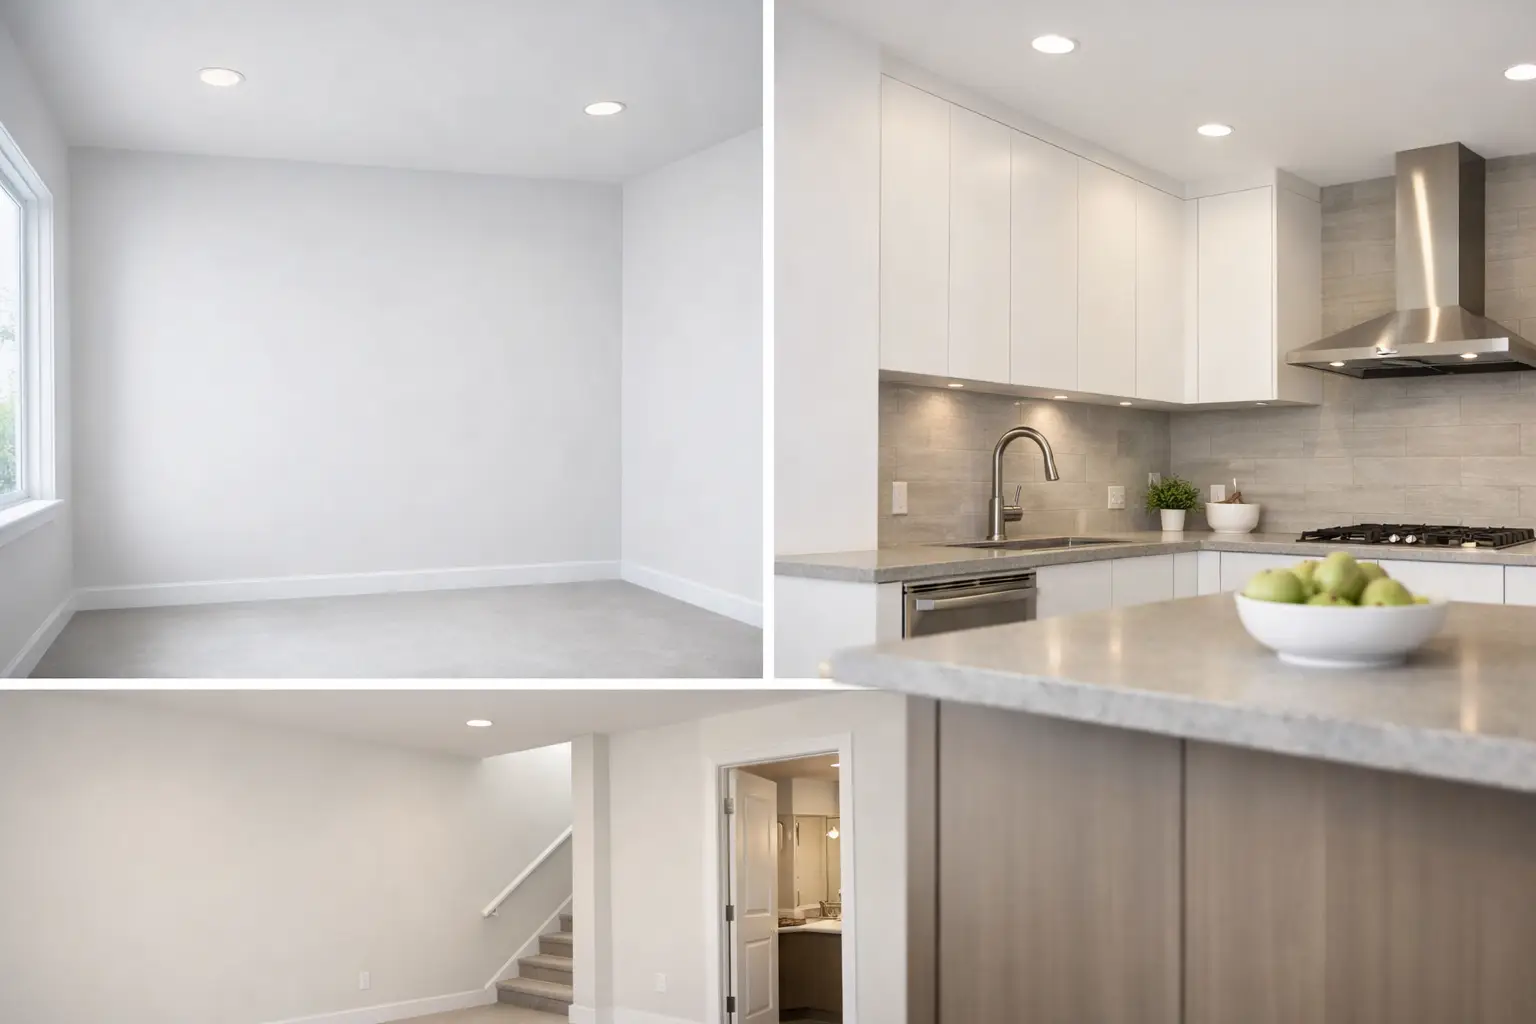
A wall can be installed square and still look poor once the paint goes on. Joint lines, screw dimples, corner cracks, and uneven sanding often become visible only after light hits the surface. Professional drywall finishing services focus on that final stage: turning installed drywall into a smooth, consistent surface that is ready for primer, paint, trim, or other finishes.
For homeowners, builders, and property managers, finishing is where drywall work either comes together or creates more work for the next trade. It takes more than applying compound over seams. The job depends on proper taping, thin and even coats of mud, careful sanding, and enough time between coats for materials to dry properly.
What drywall finishing services include
Drywall finishing begins after boards are installed on walls or ceilings. Seams between sheets are taped, screw heads are covered, outside corners are protected and finished, and the entire surface is prepared to meet the needs of the room.
A standard finish usually involves several coats of joint compound. The first coat embeds tape at the joints. Later coats widen and feather those areas so the seam disappears into the face of the drywall. Fastener heads, inside corners, outside corners, bulkheads, window returns, and repairs all need the same attention.
Sanding is part of the process, but it is not the only measure of quality. A well-finished wall should not rely on aggressive sanding to correct heavy, uneven mud. Applying compound in controlled coats helps produce a flatter finish while reducing unnecessary dust and touch-ups.
Ceilings often require extra care because overhead lighting and natural light can reveal flaws quickly. Large open ceilings, stairwells, long hallways, and rooms with windows on more than one wall are especially unforgiving. In these spaces, the direction of light should be considered before finishing begins.
The finishing level should match the room
Not every wall needs the same degree of finish. The right approach depends on paint sheen, lighting, wall coverings, room use, and the expectations for the finished space.
A utility room, garage, storage area, or unfinished basement may only need a basic finished surface. A living room, bedroom, office, or retail space usually needs a higher standard because painted walls are more visible. Smooth ceilings and walls painted in darker colours or higher-sheen paints also require more detailed preparation.
A paint-ready finish is often the goal for residential work, but “paint-ready” should be understood in context. Primer and paint can improve the appearance of a surface, yet they do not hide ridges, poorly feathered joints, or visible fasteners. In fact, a satin or semi-gloss finish can make small imperfections stand out more than a flat paint.
For new construction and renovations, it helps to discuss the planned finish early. If a painter will be using a higher-sheen product, if the room has strong side lighting, or if wallpaper is planned, the drywall finish needs to reflect that. This avoids a mismatch between the wall preparation and the final design choices.
Why the process takes time
Drywall finishing is a staged job. Compound needs to dry between coats, and drying time can change with temperature, humidity, ventilation, coat thickness, and the size of the repair or project. Trying to rush the next coat before the previous one is dry can lead to soft spots, cracking, shrinking, or uneven sanding.
Most seams need more than one coat because each coat has a different purpose. The first creates a solid taped joint. The next builds coverage. The final coat feathers the transition wider so it blends into the wall. Corners and patches follow a similar progression.
This is why a small repair is not always a same-day paint job. A hole may be patched quickly, but the compound still needs time to cure between finishing steps. On a larger basement, addition, or new build, the sequence also needs to fit around other work on site. Good scheduling protects the finished surface from damage caused by later trades, moving materials, or trim installation.
Drywall finishing for renovations and repairs
Renovation work brings different challenges than a new build. Existing homes can have walls that are slightly out of plane, older textures, repaired framing areas, or transitions where new drywall meets old plaster or existing board. The goal is not simply to cover the new joint. It is to make the repaired area blend with the surrounding surface as closely as practical.
Common repair work includes damage from door handles, removed fixtures, plumbing access openings after another contractor has completed their work, settlement cracks, popped screws, and areas opened during a renovation. The repair method depends on the size and location of the damage. A small dent needs a different approach than a section removed from a ceiling or a long crack running along a seam.
Texture matching can also affect the scope of work. A smooth patch placed in the middle of a textured wall may be noticeable even when the repair itself is sound. Where a texture is present, the surrounding finish should be assessed before work starts so expectations are clear.
What affects the final appearance
Drywall is one part of a finished interior, but several conditions affect how it looks after painting. Framing that is uneven can create a visible wave in the wall. Strong sunlight from a nearby window can expose minor variations. Glossy paint, dark colours, and wall-mounted lighting can all make surface details easier to see.
The condition of the installed drywall also matters. Boards should be properly fastened, edges supported where needed, and joints laid out sensibly. Finishing can improve the appearance of the surface, but it cannot fully correct every issue created before the taping stage. Identifying concerns early is usually simpler than trying to correct them after several coats of compound are applied.
Clear access helps, too. Rooms that are cleared of furniture, protected from other dusty work, and kept at a suitable temperature are easier to finish consistently. For occupied homes, dust control and keeping the work area organized matter just as much as the final sanding result.
Planning a drywall finishing project
Before scheduling drywall finishing services, it is useful to know which rooms are being completed, whether the drywall has already been installed, and what the final wall treatment will be. Photos can help show the scale of a repair, but an on-site look is often needed for larger projects, ceiling work, water-stained areas after the source has been addressed, or renovations with several transitions.
Homeowners should also consider the order of work. Painting should follow proper drying, sanding, and cleanup. Baseboards, door casing, cabinets, and flooring can be easier to protect when the drywall work is planned at the right stage. On renovation projects, confirming who is responsible for installation, finishing, priming, and painting prevents gaps between trades.
For work in Owen Sound, Grey County, and Bruce County, seasonal conditions can influence indoor drying times, particularly in unheated or newly built spaces. The project does not need perfect weather, but a controlled indoor environment supports better results and more predictable progress.
A finish worth inspecting before paint
Before primer goes on, take a close look at the walls and ceilings under normal room lighting and from different angles. Check corners, seams, repairs, and areas around windows or ceiling fixtures. This is the best time to identify anything that needs a final touch-up, before paint makes corrections more involved.
Meg’s Drywall approaches finishing as a trade step that deserves its own planning and care. Whether the work is a basement renovation, a garage, a damaged wall, or a new interior space, the aim is the same: a clean surface that lets the finished room look like it should.
A properly finished wall rarely calls attention to itself. Once the room is painted, furnished, and lived in, it should simply look straight, smooth, and ready for everything around it.


