
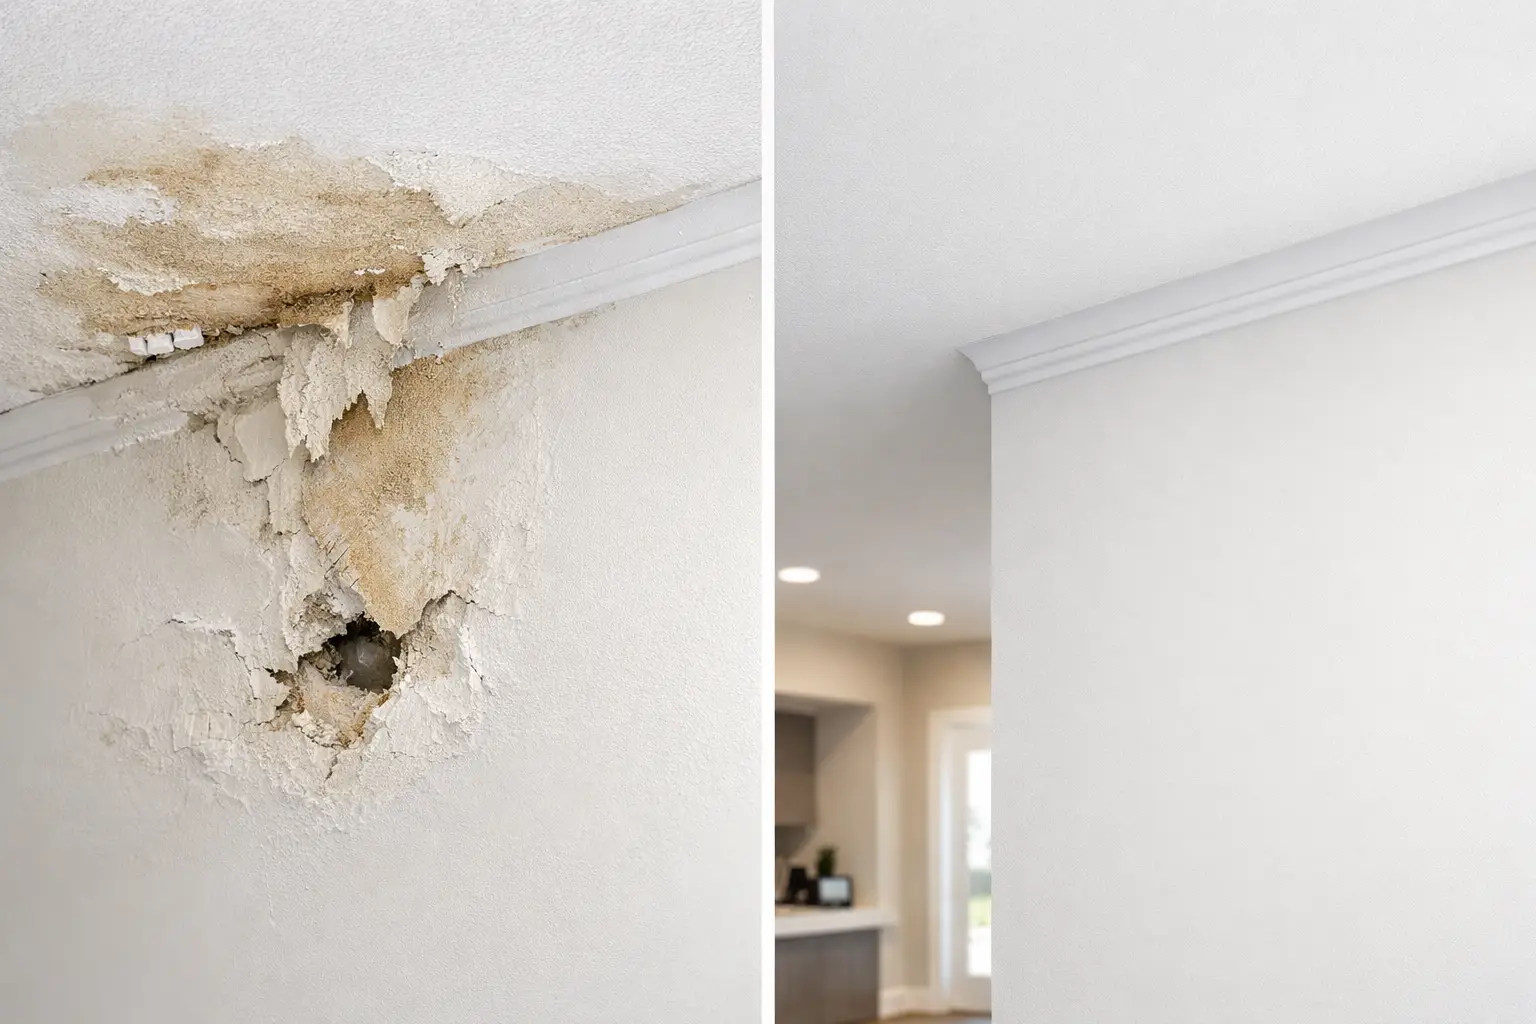
A water stain on drywall usually looks smaller than the real problem. By the time paint bubbles, tape lifts, or a ceiling starts to sag, moisture has often been sitting in the board longer than you think. That is why drywall water damage repair is not just about covering the mark and repainting. The real work is figuring out what got wet, how far the damage spread, and whether the drywall can still hold a clean, lasting finish.
In homes and small commercial spaces, water damage shows up in a few familiar places. Bathrooms, basements, ceilings below tubs, around windows, near roof leaks, and along exterior walls are common trouble spots. In Grey Bruce, seasonal moisture swings, older homes, and unfinished or partly finished lower levels can also make small water issues linger longer than people expect.
What water does to drywall
Drywall is strong when it stays dry and weak when it does not. The gypsum core softens as it absorbs water, and the paper face can wrinkle, delaminate, or stain. Joint tape may loosen, fastener heads can become visible, and texture or paint may start to peel. Once that happens, the repair usually goes deeper than surface cosmetics.
Ceilings need extra caution. A stained ceiling is one thing. A ceiling that is bowing, cracking, or feels soft to the touch is another. Wet ceiling board can lose strength quickly, and it often needs to be cut out and replaced rather than patched over.
Not every wet area means full replacement, though. It depends on how much water got in, how long it sat there, and what condition the drywall is in after the area has dried. That is where experience matters. Two stains can look similar from the floor and need completely different repairs.
When drywall water damage repair is a patch and when it is replacement
A minor repair may be possible if the water exposure was limited, the source was fixed quickly, and the drywall dried without losing shape or strength. In that case, the work might involve stain sealing, retaping a failed joint, skim coating damaged paper, and refinishing the area so it blends with the surrounding wall or ceiling.
Replacement is usually the better route when the drywall has swollen, crumbled, sagged, or stayed wet long enough to break down the paper face. The same applies when corners soften, screw heads pop through, or a ceiling panel loses its flat line. Trying to save severely damaged drywall often creates more labour later and still leaves a weak finish.
There is also a middle ground. Sometimes only the lower section of a wall needs to come out, or one ceiling patch can solve the problem if the rest of the board is solid. Good drywall repair is not about replacing more than necessary. It is about removing what will not hold up and keeping what still can.
Start with the source, not the surface
Before any patching or finishing starts, the water source has to be dealt with. That could be a roof issue, a window leak, condensation around an exterior wall, or plumbing nearby. If the moisture problem is still active, a clean drywall repair will not stay clean for long.
After the source is addressed, the area needs time to dry properly. Rushing this step is one of the main reasons repairs fail. Joint compound, primer, and paint do not solve trapped moisture. They just hide it for a while. A proper repair starts once the affected framing and surrounding materials are dry enough to rebuild on.
What a proper repair usually involves
Drywall water damage repair is usually a sequence, not one quick fix. First comes inspection and removal of loose or damaged material. That may include softened drywall, lifted tape, cracked compound, or sections that no longer sit flat. The cut-out has to be clean and square so the new patch can be secured properly.
Next comes new drywall installation where needed, followed by taping and mudding. This is where the finish quality is won or lost. A patch can be structurally sound and still look obvious if the seams are not feathered properly. On ceilings and walls with natural light across them, even small ridges show up fast once paint goes on.
Sanding and finish prep matter just as much. The goal is not simply to fill the hole. It is to leave a surface that blends into the rest of the room and is ready for primer and paint. In occupied homes, keeping the work area tidy and controlling dust also makes a big difference.
Why water stains often come back through paint
A common mistake is treating a water stain like a paint problem instead of a drywall problem. Standard paint does not reliably block old stains. If the damaged area is not repaired and sealed correctly, yellow or brown marks can bleed through again, sometimes within days.
The repair also has to account for texture differences. Fresh mud over an old stained area can flash under paint if it is not finished evenly. That is why stain blocking and surface prep are part of the job, not an afterthought.
Ceilings, basements, and other tricky spots
Ceiling repairs tend to be the most noticeable because light hits them differently and people naturally look up when something seems off. Matching a ceiling patch takes careful board placement, solid backing, proper taping, and enough finish work to hide the transition.
Basements can be less straightforward than they look. A small stain near the floor may point to an isolated issue, or it may reflect ongoing dampness affecting a broader area. In finished basements, drywall condition around corners, baseboards, and exterior walls often tells more of the story than the stain itself.
Garages and utility areas are a little different. The finish standard may be less cosmetic than in a living room, but the repair still needs to be sound. If the board has lost integrity, replacing it is usually smarter than trying to dress it up with compound.
What homeowners and property managers should watch for
Some signs are obvious, like bubbling paint or visible staining. Others are easier to miss. A wall that feels cool and soft in one spot, tape lines that suddenly show up, or a hairline crack that keeps reopening can all point to previous moisture damage. Doors and trim are also clues. If casing starts separating from the wall near a damaged section, the drywall may have shifted or softened behind it.
Timing matters too. Repairs are usually more straightforward when damage is dealt with early. Once a minor stain turns into sagging board or repeated finish failure, the work becomes more involved.
Why the finish matters as much as the patch
A lot of drywall repairs look acceptable until the room is painted. That is when uneven joints, shallow sanding marks, and poorly blended patches stand out. Water-damaged areas are especially prone to this because the surrounding surface may already be slightly distorted or stained.
The best result comes from treating the repair as part of the whole wall or ceiling, not just the damaged square. Sometimes that means widening the finish area to feather a patch properly. It takes more care up front, but it avoids the obvious boxed-in repair that catches your eye every time you walk in the room.
For homeowners getting ready to paint, renovate, or list a property, that detail matters. A clean, paint-ready finish makes the repair feel like it belongs there, not like it was covered up in a hurry.
Choosing the right help for drywall water damage repair
If the source of water has already been addressed and the next step is putting the wall or ceiling back together properly, a drywall-focused contractor is often the right fit. The work is not just about replacing board. It is about getting the seams, surface, and finish right so the repair blends in and holds up.
In Owen Sound and across Grey Bruce, many homes have a mix of older finishes, renovation patches, basement upgrades, and ceiling repairs that need a practical approach rather than a one-size-fits-all fix. That is where a trade-specific contractor like Meg's Drywall can add value - not by making the job sound bigger than it is, but by repairing what needs to be repaired and finishing it properly.
If you are looking at a stain, a soft spot, or a ceiling crack that showed up after a leak, the best next step is usually simple: deal with it before it spreads, and make sure the repair is built for more than just fresh paint.


