
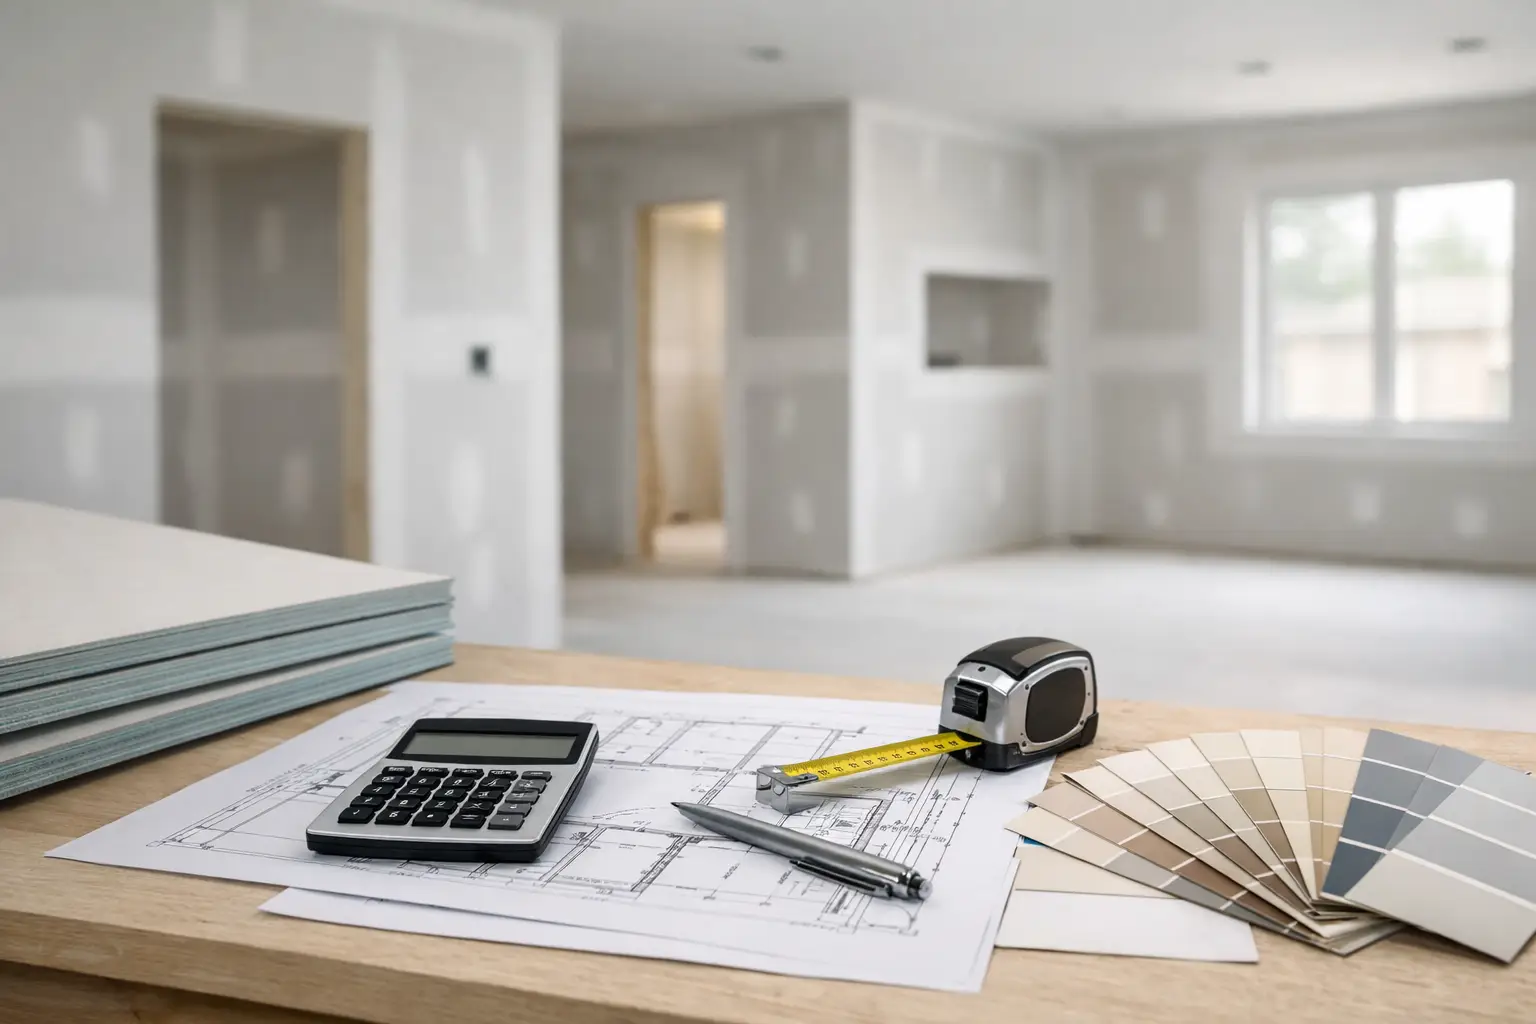
A drywall estimate can go off track fast if you only look at square footage. A basement with bulkheads, a garage with high ceilings, or a renovation with patchwork framing all change the numbers. If you want to understand how to estimate drywall installation properly, you need to account for layout, board count, finishing level, access, and the kind of work the space actually needs.
For homeowners, that means knowing why one room costs more than another even when the footprint looks similar. For builders and renovators, it means putting together a scope that reflects the real labour involved, not just the surface area on paper.
How to estimate drywall installation without missing key costs
The starting point is simple - measure the wall and ceiling area that will receive drywall. Multiply each wall's length by its height, then add the ceiling area if the ceiling is being boarded. Subtracting doors and windows can help refine the total, but on smaller jobs many contractors leave those openings in the measurement because off-cuts, waste, and extra fitting often balance it out.
That said, raw square footage is only the first layer. Drywall installation is not priced like flooring, where wide open areas are usually straightforward. Drywall work changes with ceiling height, the number of corners, the size of the sheets, stair access, and whether the framing is consistent enough for smooth installation.
A clean new-build room is easier to estimate than an older renovation. In an existing home, you may run into uneven studs, out-of-square corners, boxed-in ductwork, tight stairwells, or ceiling transitions that add cutting and fitting time. Those details matter because labour is often what separates a rough estimate from a realistic one.
Start with accurate measurements
For walls, measure each section separately instead of relying on a rough room perimeter. This gives you a better handle on areas like knee walls, dropped sections, soffits, and stairwells. For ceilings, measure the actual boarded surface, not just the floor below, especially if there are trays, slopes, or bulkheads.
Once you have total square footage, think in terms of sheets as well. In Canada, drywall commonly comes in 4x8, 4x10, and 4x12 sheets. The right board length can reduce joints and labour, but longer sheets may be harder to carry into a basement or upper floor. A lower material count does not always mean a lower overall cost if access is poor or handling takes more time.
Sheet layout affects waste too. A simple rectangular room usually produces less waste than a room with lots of small returns or cut-ins. If the job includes closets, angled ceilings, or mechanical obstructions, your estimate should allow for more off-cuts.
Materials are more than just drywall sheets
When people estimate drywall, they often focus on board count and forget the rest of the package. Installation usually includes screws, corner bead, joint tape, and compound if the project goes beyond hanging board. If the scope includes a complete finish, sanding supplies and primers may also affect planning, even if painting is handled separately.
The type of drywall also matters. Standard board is common for many interior walls and ceilings, but some spaces may call for moisture-resistant board or fire-rated assemblies depending on the room and the build requirements. Even within standard installation, board thickness changes the estimate. Half-inch drywall is common in many wall applications, while ceilings or specific assemblies may require a different thickness.
This is where broad online calculators can mislead people. They may give a quick number, but they rarely account for job-specific materials or the actual installation method needed on site.
Labour is where most estimates change
On a straightforward open area, labour is easier to predict. On a renovation, labour can move significantly because the installer is spending time fitting around existing conditions. That includes notching around beams, tying into old drywall, straightening imperfect edges, and preparing surfaces so the finished result looks right.
Ceilings usually cost more effort than walls. They are slower to hang, harder on the body, and often less forgiving in the finished appearance. High ceilings add staging and handling time. Garages and basements can vary as well. An unfinished basement may look open and simple, but utility lines, low clearances, support posts, and boxed areas can create a lot of detailed work.
Finishing level also affects labour in a major way. Hanging drywall is only one stage. If the project also includes taping, mudding, sanding, and getting the surface paint-ready, the estimate needs to reflect multiple visits and drying time between coats. A space intended for a basic utility finish is different from a main living area where the walls will be painted with light colours and seen under natural light.
Waste, complexity, and access all matter
A good estimate includes reasonable waste. That does not mean padding the number for no reason. It means recognizing that not every sheet can be used perfectly, especially in rooms with detailed cuts or difficult layout. A common mistake is estimating exact sheet coverage with no allowance for damaged corners, unusable off-cuts, or breakage during handling.
Access is another factor that often gets ignored until materials arrive. If drywall has to be carried through a finished home, down a narrow stairwell, or into a second-floor addition, installation takes longer than it would in a house with open access. Parking, distance from the drop point, and site readiness can also affect how efficiently the job moves.
For small commercial spaces and residential additions, schedule coordination can make a difference too. If other trades are still active in the area, drywall work may need to be staged around them. That is not just a scheduling issue - it can affect labour efficiency and the amount of protection or cleanup required.
Estimating drywall installation for different project types
Not every drywall estimate follows the same pattern. New construction is usually the most predictable because measurements are clear and the framing is accessible. Renovations are less predictable because hidden conditions show up once the work starts. Repairs are different again, since the challenge is often blending new drywall into existing surfaces rather than simply covering area.
A basement project may include full installation on exterior walls, interior partitions, ceilings, and bulkheads. A garage might involve fewer finish expectations but still require durable, clean work around doors, open rafters, or service penetrations. In a home addition, the estimate may need to account for tying into existing finished spaces without creating unnecessary disruption.
That is why two jobs with the same square footage can land at very different price points. The more cuts, corners, transitions, and finish expectations involved, the less useful a simple per-square-foot guess becomes.
A practical way to build the estimate
If you are putting together a rough estimate for planning purposes, start by separating the job into sections: walls, ceilings, specialty areas like bulkheads or closets, and finishing. Measure each section, convert that to likely sheet count, and then add a reasonable waste factor based on complexity.
Next, look at labour in plain terms. Ask whether the site is open or tight, whether the board can be carried in easily, whether ceilings are standard height, and whether the framing is likely to be clean and consistent. Then decide what finish the space actually needs. A utility room, rental turnover, custom home, and small office do not all call for the same level of finish.
If you are comparing quotes, make sure the scope is comparable. One price may include only board installation, while another includes taping, mudding, sanding, corner bead, and cleanup. A lower number is not necessarily the better value if it leaves out major parts of the work.
For property owners in Owen Sound and across Grey Bruce, local conditions can shape the estimate too. Rural access, winter delivery conditions, and travel between surrounding communities can affect scheduling and logistics, especially on smaller jobs. That is not something to overstate, but it is part of real-world planning.
Why a site visit often matters
Drywall is one of those trades that looks simple until you stand in the room. On paper, the measurements may seem straightforward. On site, you may find bowed framing, awkward transitions, stair angles, existing damage, or limited access that changes the approach.
That is why experienced drywall contractors usually prefer to see the project before firming up the scope. A proper site review helps catch the details that online estimators and quick phone guesses miss. It also gives the owner or builder a clearer sense of what finish is realistic for the space and what preparation may be needed before boarding starts.
At the estimating stage, the goal is not to chase the lowest possible number. It is to understand the work well enough that the project can move ahead without surprises caused by missing scope.
If you are planning drywall work, the best estimate is the one that reflects how the room is actually built, how the finish needs to look, and how the job will be carried out from start to cleanup.


