
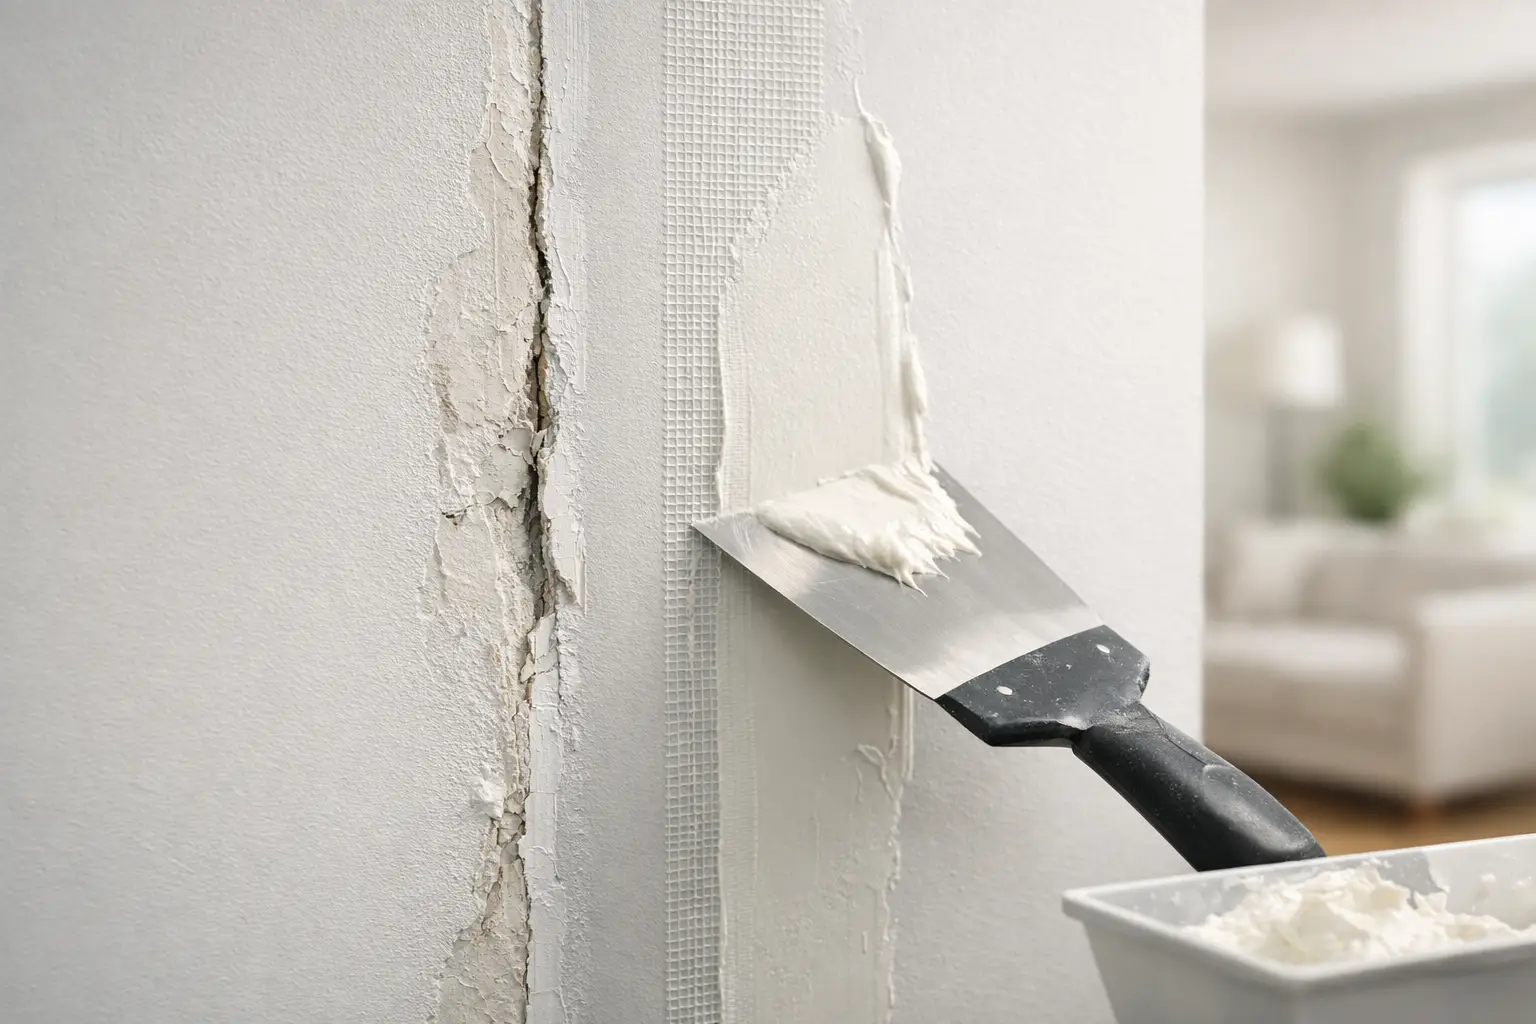
A faint line down a wall can look harmless at first. Then it catches the light after painting, the paper edge starts to lift, or a small crack opens at a ceiling joint. Knowing when to retape drywall seams helps you deal with the actual failure instead of repeatedly painting over a problem that will return.
Drywall tape is meant to reinforce the joint between two sheets of drywall. When it loses its bond, cracks, bubbles, or separates, the repair usually needs more than a little patching compound. The right approach depends on whether the tape has failed, the drywall has moved, or there is an underlying moisture or framing issue that needs to be addressed before finishing work begins.
Signs It Is Time to Retape Drywall Seams
Retaping is usually needed when the tape itself is no longer firmly bonded to the wall or ceiling. Look closely at the seam in good side lighting. A painted wall can hide a problem from straight on, while a lamp or window light reveals every raised edge and uneven joint.
A common sign is tape that has lifted along one or both edges. You may see a straight ridge, a small flap of paper, or a line that feels loose when lightly pressed. If the tape is detached, applying more mud over it rarely creates a lasting repair. The loose material needs to come out so new tape can be embedded properly.
Cracking directly along a seam is another warning sign. A very fine, stable crack may sometimes be repaired with careful preparation and a wider finishing coat. But if the crack follows the full joint, reopens after previous repairs, or appears with a raised tape edge, retaping is generally the better fix.
Ceiling seams deserve special attention. They are more visible in natural light and can be affected by seasonal movement in a home. In bedrooms, hallways, additions, garages, and finished basements, a long ceiling crack can point to tape failure, drywall movement, or both.
When a Small Repair May Be Enough
Not every visible seam needs to be stripped and retaped. A shallow dent, a small chip in the finish coat, or a hairline crack at one short spot may only require minor drywall repair and refinishing. The key question is whether the tape underneath is still secure.
If there is no loose paper, bubbling, or separation, a contractor may be able to open and reinforce a small crack, apply compound in progressively wider coats, sand the repair smoothly, and leave it ready for primer and paint. This is less disruptive than retaping an entire joint.
That said, a quick surface repair is not always the economical choice. If a seam has already been patched more than once, the old layers can create a wide hump that remains visible after painting. Removing failed tape and rebuilding the joint properly can produce a flatter, cleaner result.
Why Drywall Tape Fails
Tape failure has a cause, and finding it matters. Retaping without addressing the cause can lead to the same crack or lifted edge later.
Poor original installation is one possibility. Tape needs to be fully embedded in joint compound, with enough material beneath it to create a bond but not so much that the joint becomes bulky. Dry tape, insufficient compound, poorly prepared surfaces, or rushed finishing can leave areas that eventually release.
Movement is another common factor. Homes in Grey Bruce see changing temperatures and humidity through the year. Normal seasonal movement can reveal weak joints, particularly around ceilings, stairwells, long hallways, additions, and transitions between different building sections. Drywall may also crack where framing shifts slightly or where a joint was not properly supported.
Moisture can cause tape to bubble, stain, soften, or peel. Before a drywall seam is retaped, the source of moisture must be corrected and the area allowed to dry fully. Fresh tape and compound will not hold well on damp or damaged drywall.
In some cases, the issue is not the seam at all. Cracks around doors and windows, at the top of walls, or where ceilings meet walls may be connected to building movement rather than a failed tape bond. A drywall contractor can assess the pattern of the cracks and recommend a repair that suits the condition of the surface.
How to Decide Whether to Retape the Full Seam
The length and condition of the failure determine how much tape should be replaced. If a two-inch section has lifted but the surrounding tape is solid and the joint is flat, a localized repair may be suitable. The damaged section is removed, the joint is prepared, and new tape is blended into the existing finish.
When lifting or cracking runs along much of the seam, retaping the full joint is normally the cleaner solution. Partial repairs on a long failing seam can create uneven buildup and leave weak sections of old tape nearby. Full-seam work takes more preparation, but it creates a consistent surface and reduces the chance of chasing the problem from one spot to the next.
Corners require a slightly different assessment. Inside corners often crack where walls move independently, while outside corners can be damaged by impact. An inside corner with loose or torn tape generally needs the affected tape removed and replaced. For outside corners, the condition of the corner bead also matters. A cracked finish over an otherwise secure bead may be repairable, while a bent or loose bead needs more extensive drywall work.
What Proper Retaping Involves
A durable repair is a finishing process, not just a layer of mud over a crack. Failed tape and loose compound are removed first. The drywall surface is checked for damaged paper, uneven edges, fastener issues, and signs that the joint itself has shifted.
New tape is then embedded in joint compound and pressed flat without leaving dry spots or air pockets. Paper tape is commonly used for flat seams and inside corners because it creates a strong, crisp joint when installed correctly. Self-adhesive mesh tape has uses in some repair situations, but it is not automatically the best choice for every seam. The location, width of the repair, and type of crack all affect the material and finishing method.
After the taped joint sets, additional coats of compound are applied wider than the seam itself. This gradual feathering is what prevents a repaired joint from looking like a raised stripe after painting. Once dry, the area is sanded, checked under side lighting, and prepared for primer. Deep patches, broad ceiling seams, and textured surfaces can require additional time between stages because each coat must dry before the next is applied.
Avoid the Common Shortcuts
Painting over loose tape may hide the problem briefly, but it does not reattach the paper to the drywall. The same is true of filling a visible crack without checking whether the tape beneath it has released.
Caulking a drywall seam is also rarely the right repair. Caulk can be useful at certain trim or transition details, but it does not replace properly embedded tape on a flat wall or ceiling joint. It can leave a soft, visible line and may not accept paint or sanding in the same way as a finished drywall surface.
Another shortcut is applying thick coats of compound in an effort to bury a raised seam. Thick material takes longer to dry, is harder to sand evenly, and can leave the wall looking wavy in daylight. Several controlled coats produce a much better paint-ready finish.
When to Call a Drywall Contractor
A homeowner can often identify a loose seam, but the reason behind it is not always obvious. Professional help is worthwhile when cracks keep returning, tape has failed across a ceiling or long wall, there are several affected seams, or the finished surface needs to blend into an otherwise clean room.
This is especially true before repainting a main living area, completing a basement renovation, preparing a rental unit, or finishing a new addition. A well-done drywall repair should disappear once primed and painted, rather than become more noticeable under afternoon light.
For homeowners and builders in Owen Sound, Grey County, and Bruce County, Meg's Drywall can assess whether a seam needs a small repair, localized retaping, or full-joint refinishing. The goal is not to add unnecessary work. It is to correct the failed area properly and leave a flat surface that is ready for the next stage of the project.
If a seam is lifting, cracking repeatedly, or showing through fresh paint, treat it as an early repair rather than a cosmetic annoyance. Addressing it while the affected area is still limited usually makes it easier to restore a clean, durable wall or ceiling finish.


