A drywall job can look straightforward once the boards are up, but the finish is largely decided before installation begins. Good Grey County drywall planning means looking closely at the rooms, the framing, the intended use of the space, and the level of finish expected after painting. It prevents avoidable delays and helps create walls and ceilings that look clean in normal daylight, not just when the job is first completed.
For homeowners, builders, and renovators, the goal is not to overcomplicate a project. It is to get the scope right early enough that the drywall work can move ahead in the right order.
Start Grey County drywall planning with the room itself
Every room creates different drywall considerations. A basement renovation may have many bulkheads, support posts, smaller utility-room walls, and transitions around windows. A new build may have large open ceilings, stairwells, and long wall runs where joints need careful placement. A garage may need a practical, durable finish that suits how the space will be used.
Before materials are ordered or installation begins, it helps to walk through each room and identify the details that affect the work. Ceiling heights, angled walls, soffits, closets, fireplaces, door openings, and window returns all influence board layout and finishing time. Rooms that appear square on a plan do not always look square once framing is complete.
This early review also gives the owner or builder a chance to confirm what is being drywalled and what is not. For example, a storage room, unfinished mechanical area, or garage ceiling may have a different scope from the finished living space beside it. Clear boundaries reduce assumptions and make it easier to schedule the work properly.
Check framing before drywall goes up
Drywall can only follow the surface behind it. If walls are out of plane, ceiling framing is uneven, or backing is missing where two sheets need support, those issues can show through the finished surface. Taping and compound can correct minor imperfections, but they are not a substitute for straight, properly prepared framing.
A framing check should look for bowed studs, proud corners, inconsistent blocking, loose backing, and framing that does not provide a solid fastening surface at sheet edges. Door and window openings should be ready, and bulkheads should be framed consistently before drywall installation. If there are changes to room layouts or new openings, it is best to complete them before the boards are hung.
This matters even more on ceilings and in rooms with natural light. Light travelling across a ceiling or long wall can reveal small ridges, shallow depressions, and uneven joints. Correcting obvious framing concerns first is usually more practical than trying to hide them later during finishing.
Confirm other work is ready
Drywall is one stage in a larger construction sequence, even when the drywall contractor is focused on one trade. The wall cavities should be ready before they are closed. Any planned access panels, recessed features, or backing for wall-mounted items should be identified in advance.
The drywall work also needs a reasonably clean, dry work area. Freshly completed framing, materials stored in the way, or ongoing changes from other trades can interrupt installation and lead to rework. On a renovation, this may mean planning demolition and cleanup carefully so the drywall stage starts with clear access to the rooms.
Choose the right finish for how the space will be used
Most finished living areas need a smooth, paint-ready surface. That does not mean every area needs the same level of detail. A bright open-concept room with large windows, a feature wall, or a ceiling with strong side lighting deserves close attention because imperfections are easier to see there. A utility room or simple garage may have more practical finishing expectations.
Paint choice also affects what the finished drywall will show. Higher-sheen paints reflect more light and tend to reveal surface variation more readily than flatter finishes. If a room will receive a darker colour, glossy paint, or strong directional lighting, bring that up during planning. It may affect how much preparation and finishing is appropriate.
Ceilings deserve their own discussion. They are often the largest uninterrupted surface in a home, and joints can be visible if the installation and finishing are rushed. Board direction, joint placement, lighting, and access for sanding all matter. In additions and new construction, planning ceiling drywall early can avoid difficult work around completed trim or fixtures later on.
Plan for access, materials, and working conditions
Drywall sheets are large and awkward to move through tight spaces. A clear route from the delivery point to the work area saves time and helps keep boards in good condition. Narrow stairwells, finished flooring, limited parking, and second-storey rooms may affect how materials are handled and when the work is best scheduled.
For projects in Owen Sound and across Grey Bruce, seasonal conditions can also affect planning. Drywall compound needs suitable indoor conditions to dry and cure properly. A building that is too cold or has inconsistent heat can slow the finishing process, especially when several coats of compound are needed. Excess humidity can have a similar effect.
This does not mean work cannot proceed outside the busiest building season. It means the interior should be ready for drywall finishing. Stable temperatures, ventilation that does not create excessive dust, and enough time between coats help produce a better result than trying to force a rushed schedule.
Allow time for installation, taping, and sanding
Drywall is not finished when the sheets are installed. Installation is followed by taping, several applications of compound where needed, drying time, sanding, touch-ups, and a final review. The exact sequence depends on the size of the project, the number of corners and details, site conditions, and the finish required.
A small repair may move quickly, while a basement with many rooms, soffits, and ceiling transitions takes more coordination. New construction can have open access and straightforward layouts, but it may also include more total square footage and higher finish expectations. It depends on the project, not simply the number of rooms.
It is wise to avoid scheduling painters, flooring installers, cabinetry work, or a move-in immediately after the expected last day of drywall work. There may be final sanding, minor corrections, or cleanup to complete. Giving each stage enough room in the schedule helps protect the finished work and avoids unnecessary pressure on everyone involved.
Discuss repairs separately from renovations
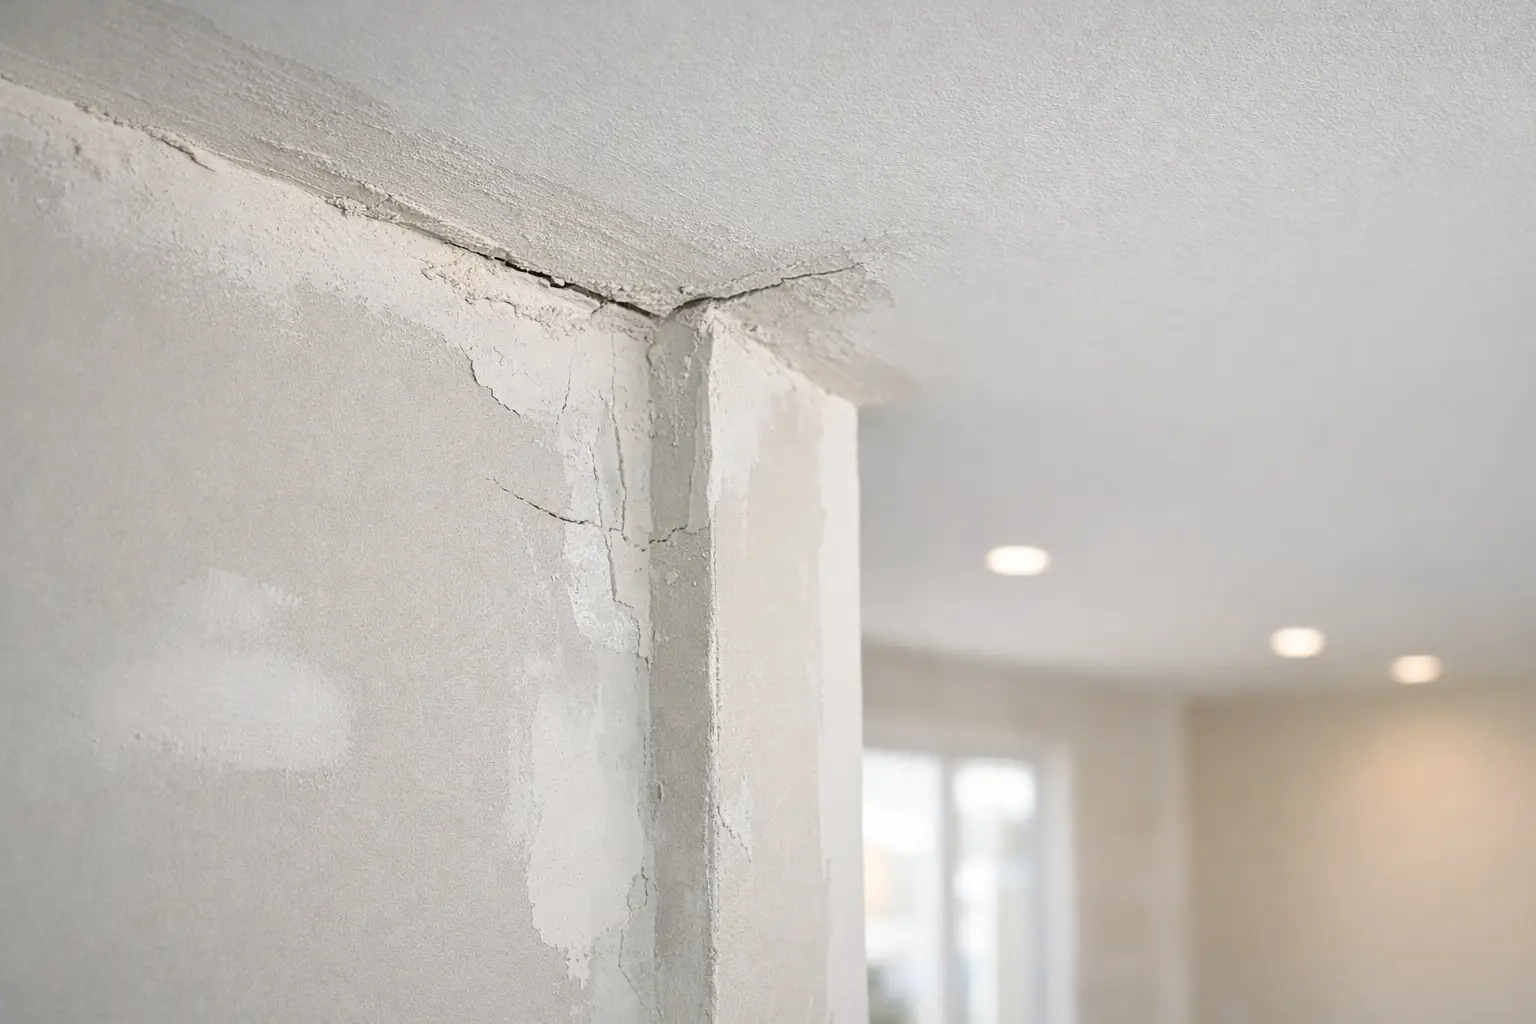
Repair planning is different from planning a full installation. A damaged section may need to be opened enough to create solid edges for a proper patch, then blended into the surrounding wall or ceiling. Texture, existing paint sheen, and the age of the original surface can all affect how invisible a repair appears after painting.
For water-stained or cracked drywall, the cause should be addressed before the drywall repair is completed. Otherwise, a fresh patch may only be temporary. Once the area is dry and stable, a drywall contractor can assess the practical repair approach and the amount of blending required.
Keep the scope clear from the first walkthrough
The best project conversations cover more than square footage. They identify which rooms are included, whether ceilings are part of the scope, what needs to be repaired or removed, and what finish is expected. Photos and a site visit can help clarify details that are difficult to describe, such as stairwell ceilings, curved corners, damaged plaster transitions, or tight spaces around existing trim.
It also helps to discuss who will handle site preparation and protection. Moving furniture, clearing personal items, protecting finished surfaces, and providing access to the work area all make a difference on occupied homes. Drywall finishing creates dust despite careful work practices, so renovation areas need realistic preparation before sanding begins.
For builders and general contractors, clear timing around framing completion, insulation, and other interior work helps avoid trade overlap. For homeowners, the same principle applies on a smaller scale: make decisions about room layout, lighting locations, and built-in features before the walls are closed.
A properly planned drywall project does not need to be complicated. It needs an honest look at the space, a clear scope, and enough time for each stage of the work. Whether it is a patch in an Owen Sound home, a basement renovation near Meaford, or a new build elsewhere in Grey County, that preparation is what supports a clean finish that is ready for paint and everyday use.