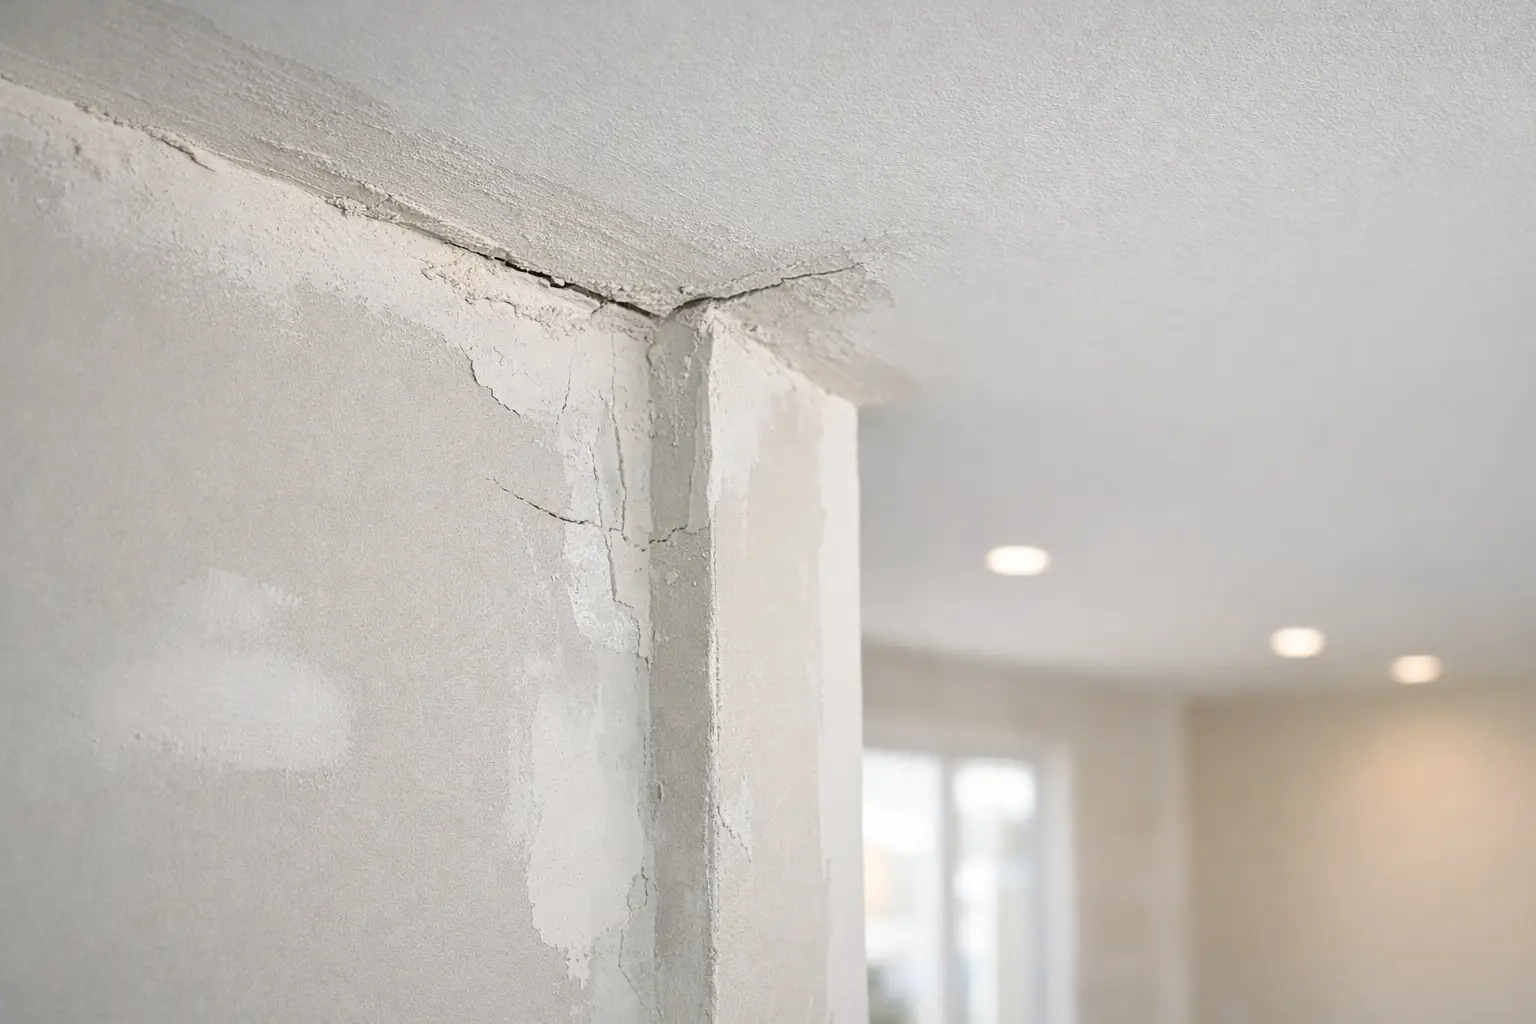
A dent beside a hallway light switch or behind a door handle can look minor until fresh paint catches it from the side. Learning how to repair drywall dents is usually straightforward when the drywall paper is intact, but the finish work matters. A repair that feels smooth by hand can still show as a dull patch, ridge, or shallow dip once the wall is painted.
The right approach depends on the size and depth of the damage. A small furniture scuff needs far less work than a dent with torn face paper or cracked compound around it. Taking a few extra minutes to prepare, feather, prime, and check the area in good light is what creates a clean, paint-ready result.
First, decide whether it is only a dent
A simple dent has compressed the drywall surface without breaking through it. You may see a shallow low spot, a small crease, or an impact mark, but the paper facing remains firmly attached. These repairs are good candidates for a thin application of patching compound or drywall compound.
If the face paper is torn, loose, bubbled, or lifted at the edges, deal with that before applying compound. Loose paper under a repair can absorb moisture from the mud and bubble later, leaving a patch that fails after it has been painted. Carefully trim only the loose fibres with a sharp utility knife. Do not cut deeply into the gypsum core.
A dent accompanied by a crack may point to movement around a joint or corner rather than a one-time impact. Small, stable cracks can often be repaired as part of the finishing work. If the crack returns after repair, it is worth having a drywall contractor assess the area rather than repeatedly filling it.
Tools and materials for repairing drywall dents
For most small dents, you need a flexible putty knife or drywall knife, lightweight patching compound or all-purpose drywall compound, fine sanding paper or a sanding sponge, primer, and matching paint. A wider drywall knife is useful for feathering the final coat beyond the damaged spot.
Ready-mixed lightweight compound is convenient for shallow dents because it spreads easily and sands with less effort. All-purpose compound is a dependable choice as well, particularly when the repair needs more than one coat. For a very small mark, avoid piling on too much product. Thick compound takes longer to dry and can shrink enough to require additional filling.
Keep a damp cloth nearby to wipe dust and clean the knife between coats. A clean knife edge makes a noticeable difference, especially on a wall with a smooth finish.
How to repair drywall dents step by step
Clean and prepare the damaged area
Wipe the dent and the surrounding wall with a dry or lightly damp cloth. Dust, cooking residue, and loose paint can keep compound from bonding properly. Once the surface is dry, run your fingers over the area to feel for raised edges that may not be obvious visually.
If there is a small raised lip around the dent, lightly sand it flat before filling. The goal is not to sand a wide area of wall. It is simply to remove anything that would prevent the compound from sitting level with the surrounding surface.
Apply a thin first coat
Load a small amount of compound onto the knife and press it firmly into the dent. Hold the knife at a low angle and draw it across the damaged area in more than one direction. This pushes compound into the low spot instead of leaving air pockets behind.
Then remove the excess with a smooth pass. For a small dent, the first coat should be thin and nearly flush with the wall. It is better to apply two light coats than one heavy coat that leaves a hard edge or shrinks as it dries.
Let the compound dry fully. Drying time changes with the product used, the depth of the repair, indoor temperature, and humidity. A patch that looks dry on the surface may still be soft underneath, so follow the product instructions before sanding or recoating.
Sand lightly, then feather a second coat
When the first coat is dry, sand it gently with fine paper or a fine sanding sponge. Use light pressure. You are smoothing knife lines, not grinding the patch down to bare drywall.
Check the repair by holding a work light or flashlight at a low angle to the wall. Side lighting exposes ridges and depressions far better than overhead room lighting. If the dent still sits low or you can see an edge, apply a second thin coat.
This coat should extend farther beyond the original dent. Use a wider knife and feather the compound gradually into the surrounding wall. The wider transition is what prevents a small repair from looking like a visible circle after paint goes on.
Make the final surface paint-ready
After the second coat dries, sand only enough to remove minor lines and leave a smooth transition. Wipe away sanding dust with a clean, dry cloth. Do not use a wet cloth on fresh compound, since it can soften the surface or leave uneven marks.
Run your hand over the repair, then inspect it again with side lighting. Your hand helps find edges; the light helps find shallow areas. If either test reveals a problem, apply one more very thin skim coat rather than trying to hide it with paint.
Prime the patch before painting
Primer is often the step that separates a repair that disappears from one that flashes through the finish. Fresh drywall compound is more porous than painted drywall. If paint is applied directly over it, the patched area may absorb paint differently and appear flatter or duller than the rest of the wall.
Apply a light coat of suitable primer over the repaired area and allow it to dry. Once primed, check it again under side lighting. Primer can reveal small imperfections that were hard to spot on white compound.
For the best blend, repaint from corner to corner when practical, especially on walls that receive plenty of natural light. Touching up only the patch can work if you have the exact paint and the existing finish is still uniform, but sheen changes, sun fading, and roller texture often make spot painting visible. Flat paint is generally more forgiving than satin or semi-gloss finishes.
Common mistakes that make a dent repair show
The most common issue is applying too much compound at once. A thick mound may cover the dent, but it leaves more sanding, more shrinkage, and a stronger chance of a visible outline. Several thin coats are slower, but they produce a flatter repair.
Another mistake is using a knife that is too narrow for the final coat. The damaged area may be only a few centimetres wide, yet the feathered repair should extend beyond it. A wider knife makes that gradual transition possible.
Skipping primer is also a frequent cause of flashing. The wall may feel smooth, but the repaired area can still reflect light differently once painted. Finally, sanding aggressively can scuff the surrounding paint or expose drywall paper. Fine sanding and patience are usually all that is needed.
When a drywall dent needs professional repair
A few dents are manageable for most homeowners, particularly on a flat wall with a basic painted finish. The job becomes more particular when the damage is near an outside corner, a ceiling line, textured finish, or a large area that needs blending. Matching an existing texture or repairing repeated dents in a rental unit can take more finishing work than the damage first suggests.
It is also sensible to call a drywall specialist when dents come with soft drywall, recurring cracks, damaged corner bead, or large areas of torn paper. In Owen Sound and across Grey Bruce, Meg's Drywall handles drywall repairs and finishing where a clean, consistent paint-ready surface matters.
A small dent does not need to become a major wall repair. Keep the compound thin, feather each coat wider than the last, and inspect the work in side lighting before priming. That careful finish work is what helps the repaired area stay unnoticed long after the paint has dried.