
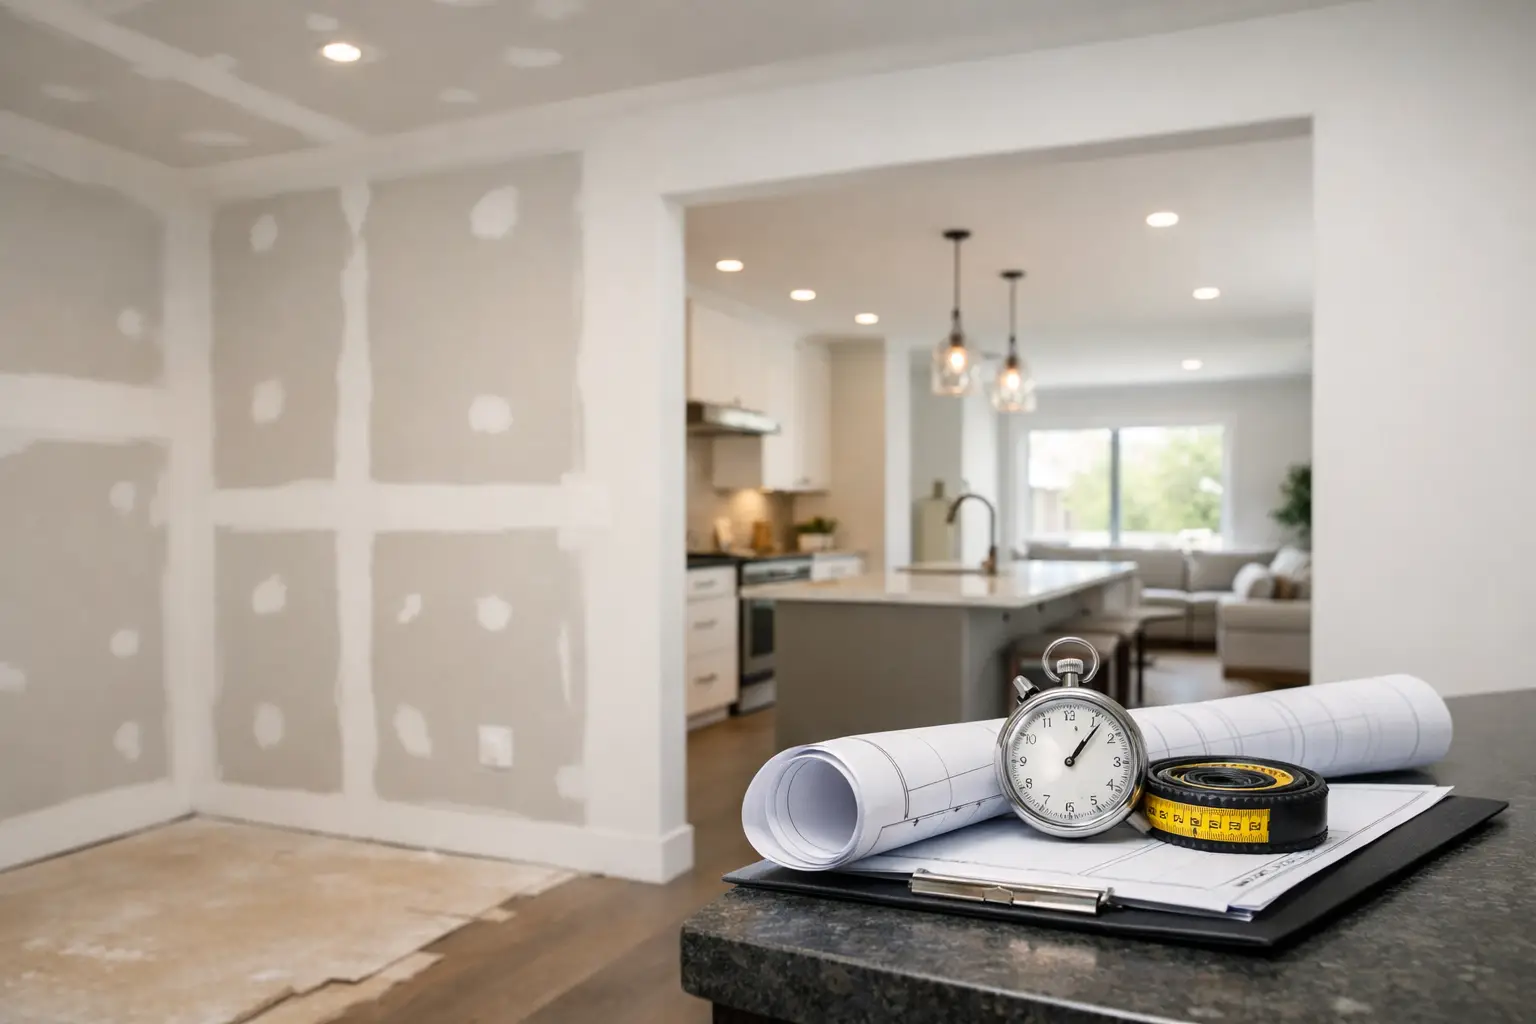
A basement renovation can look ready for paint one day and still need several days of drywall work before it truly is. That is normal. This guide to drywall project timelines explains what happens after the boards arrive, where drying time fits in, and why a clean, paint-ready finish cannot always be rushed.
For homeowners, builders, and property managers in Owen Sound and Grey Bruce, a realistic schedule makes it easier to coordinate painters, flooring installers, trim work, and move-in dates. The size of the space matters, but so do access, repair conditions, ceiling height, humidity, and the finish expected at the end.
What makes up a drywall timeline?
A drywall project is more than hanging sheets. Installation is followed by taping, multiple coats of joint compound, drying between coats, sanding, touch-ups, and a final check. Repairs follow a similar sequence on a smaller scale, although matching an existing wall texture or paint-ready surface can add time.
The most common scheduling mistake is allowing time for installation but not for finishing. Drywall boards can often be installed quickly in a straightforward room. Finishing is where the work slows down, because each coat of compound needs adequate drying time before the next step. Applying another coat over damp compound can lead to soft spots, shrinkage, cracking, or extra sanding later.
A proper timeline also accounts for the condition of the site. A clear room with completed framing, steady heat, and good access moves differently than an occupied home where furniture must be protected and work areas need to stay usable.
A guide to drywall project timelines by project type
Every job should be assessed on site, but these ranges help with early planning. They are working timelines, not promises, because drying conditions and site readiness can change the pace.
Small patches and drywall repairs
A small hole, dent, or damaged section may take one visit for the repair itself, then additional time for compound to dry and for sanding or final touch-ups. A simple patch can be ready for paint within a few days when conditions are favourable. Larger repairs, multiple patches, corner damage, or repairs that need to blend into a broad finished wall usually take longer.
The visible opening is not the only consideration. A repair needs enough surrounding area feathered out to disappear after painting. That is particularly true beside windows, in hallways with side lighting, and on smooth walls where imperfections show easily.
One room, basement area, or garage
For a straightforward room, drywall installation may be completed in a day or two. Taping and finishing usually extend the overall schedule by several more days. A typical job includes three finishing stages: tape and first coat, a fill coat, then a final coat before sanding and touch-ups.
Basements and garages vary widely. Open basements can provide efficient access, while rooms with bulkheads, many corners, stairs, window returns, or high ceilings require more cutting and detailed finishing. A garage may also need its schedule planned around vehicles, stored belongings, and seasonal temperature changes.
Renovations, additions, and new construction
Larger renovations and additions need closer coordination with the other trades and with the builder or homeowner. Drywall should not begin until framing is complete and the building is ready for wallboard. Once drywall is installed, the finishing schedule needs uninterrupted drying periods and reasonable site conditions.
New construction can move efficiently when rooms are open, materials are staged well, and the heat is operating. It can also slow down if different areas are released at different times or if late changes create extra patching. On a larger project, it is often more useful to plan the work in phases than to ask for one single completion day at the start.
The drying time is real work time
Joint compound does not simply dry according to the calendar. Temperature, airflow, humidity, the thickness of each coat, and the condition of the substrate all affect it. Ontario weather can matter, especially in a basement, cottage, garage, or addition that has not reached stable indoor conditions.
Warm, dry air generally helps, but excessive heat or forceful airflow can dry the surface too quickly while material below remains damp. The goal is even drying, not just a dry-looking surface. A drywall contractor checks the compound before moving to the next coat rather than relying only on the clock.
This is why a schedule might show a few hours of active work each day but still span several days. The waiting period protects the quality of the finish. It also gives the contractor time to return with a clean surface for the next coat instead of trying to correct rushed work later.
Factors that can add time to drywall finishing
Some delays are avoidable through planning, while others are simply part of the job. Knowing the difference helps everyone set sensible expectations.
- Room readiness: Framing needs to be complete, and the work area should be clear enough for materials, ladders, and safe movement.
- Access and layout: Tight stairways, occupied rooms, high ceilings, detailed soffits, and many corners increase handling and finishing time.
- Moisture and temperature: Cool or damp conditions can extend compound drying between coats.
- Finish expectations: Smooth walls, critical lighting areas, and surfaces that will receive paint with sheen need more careful finishing than a utility space.
- Changes after installation: Added openings, moved fixtures, or late wall changes can create patching and additional finishing steps.
Lighting deserves special attention. Windows, patio doors, and strong overhead lighting can reveal joints or sanding marks that are harder to see under ordinary room light. A wall may look fine during a quick inspection but show flaws after the painter applies a higher-sheen finish. Taking the time to check those areas is part of preparing a surface properly.
How to schedule the work around other trades
The best drywall schedule starts before installation. If a renovation involves flooring, cabinets, trim, painting, or fixture installation, plan the order early. Fresh drywall compound and sanding dust do not mix well with finished flooring, installed cabinetry, or a room full of belongings.
Painting should be scheduled after final sanding, touch-ups, and a surface check. It is wise to leave a little flexibility between drywall completion and the painter's arrival, especially during cooler or damp periods. That buffer is not wasted time. It gives room for the final details that make the finish look right under paint.
For homeowners living in the space, it also helps to decide which rooms must remain available. A contractor can often phase work by area, but moving between too many small work zones can lengthen the project. Clearing one area fully is usually more efficient than repeatedly setting up and packing away around furniture and daily traffic.
What you can do before drywall work starts
A few simple preparations can keep a project on track. Confirm that the work area is accessible, remove fragile items and personal belongings where possible, and make sure the project has steady indoor heat when finishing is planned during colder weather. If another contractor is completing related work, confirm that their portion will be finished before drywall begins.
It is also useful to discuss the intended final finish. A laundry room, rental unit hallway, finished basement family room, and small commercial office may not need the same level of detail. Being clear about paint plans, wall texture, lighting, and the use of the space helps set the right scope from the start.
Build a little room into the plan
Drywall work is one of the stages where patience pays off visibly. A schedule with no room for drying, touch-ups, or changing site conditions can put pressure on every trade that follows. A schedule with a small buffer gives the finish time to cure properly and gives the project a better chance of being ready when the painter arrives.
If you are planning a repair, basement finish, renovation, addition, or new build in Grey Bruce, start the conversation early. A clear look at the space and the work sequence is the best way to set a timeline that fits the job rather than forcing the job to fit an unrealistic date.


