
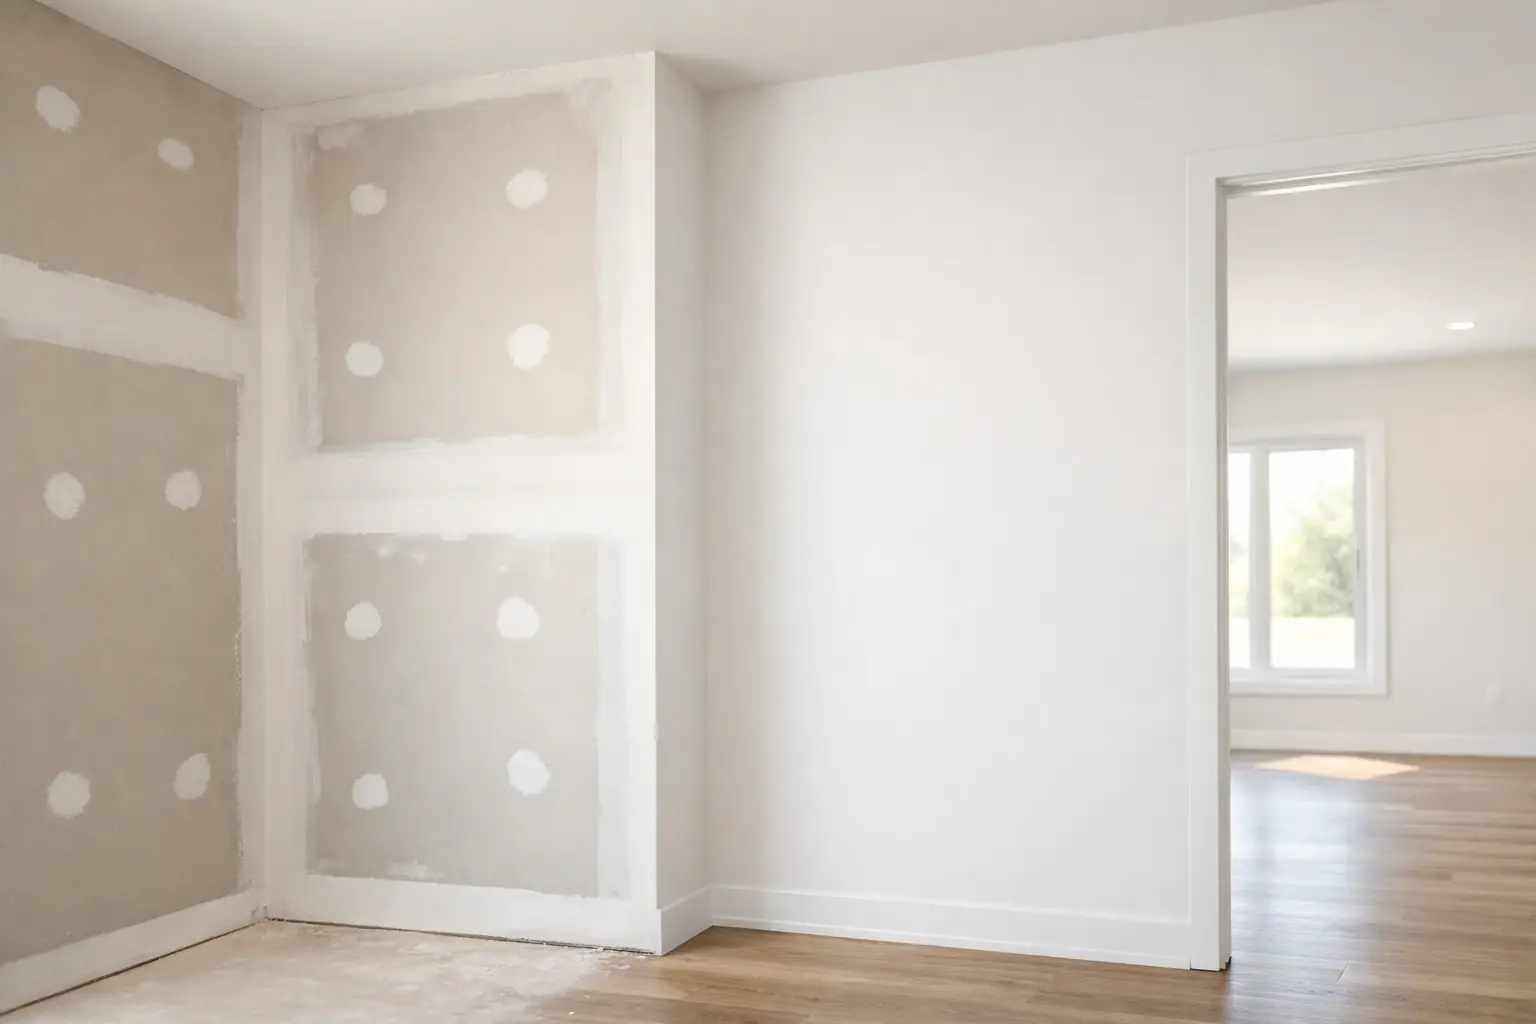
A drywall board can be hung straight and still look rough once the lights come on. The finish is what makes a wall disappear behind the paint: flat seams, clean corners, concealed fasteners, and no ridges that catch side light. For homeowners asking how to finish drywall, the work comes down to patience, thin coats, and knowing when a surface needs more attention rather than more compound.
Drywall finishing is often called taping and mudding. It is a staged process, not a one-coat job. Joint compound needs proper drying time between coats, and each stage has a different purpose. Rushing any of them usually creates sanding problems later.
How to Finish Drywall Step by Step
Before applying compound, inspect the drywall installation. Boards should be securely fastened, with screw heads set slightly below the surface without breaking the paper face. Seams need to sit tight, and outside corners need straight, firmly attached corner bead. If a board edge is loose, bowed, or badly misaligned, finishing compound will not correct it reliably.
Choose a setting-type compound or a ready-mixed all-purpose product based on the job and working conditions. Setting compounds harden by chemical reaction and can help with early coats or repairs when time matters. Ready-mixed compound is commonly used for taping and finish coats because it spreads smoothly and sands more easily. On a full room, many finishers use different products at different stages.
Apply the tape coat
The first coat bonds tape to every flat joint, inside corner, and repair seam. Spread a thin, even layer of compound over the joint, press the tape into place, then wipe away excess mud with a taping knife. Paper tape is a dependable choice for factory joints and inside corners because it creates a strong, crisp joint when bedded properly.
Do not leave thick mud under the tape. It takes longer to dry and can lead to blisters, bubbles, or loose sections. At butt joints, where two cut drywall ends meet, keep the tape coat controlled. These joints do not have the recessed edge found on factory seams, so they need wider finishing later to avoid a visible hump.
Inside corners are usually taped with paper folded along its centre crease. Work one side first, then the other, keeping the corner line straight. If compound builds up heavily in the corner, it becomes difficult to sand without softening the edge.
Cover screws, corner bead, and first-coat joints
Cover screw or nail heads with compound in smooth passes. The goal is to fill the shallow dimple while keeping the surrounding board clean. Two or three light coats are better than one heavy spot that has to be sanded down.
Outside corners require compound over the corner bead flanges, feathered onto the drywall face. Keep the metal or vinyl nose clean and straight. A damaged corner bead should be repaired before finishing continues, because compound alone will not provide a durable, sharp outside corner.
Once the tape coat is dry, apply the first fill coat over the joints. This coat covers the tape and begins widening the transition from seam to board. Use a wider knife than the one used for taping. Factory joints may need a moderate feather, while butt joints often need to be carried much wider. The correct width depends on the wall, lighting, and how flush the drywall boards are.
Build Thin, Wide Finish Coats
A good drywall finish is built with broad, thin coats. Thick compound is tempting because it appears to fill everything at once, but it shrinks as it dries, takes longer to cure, and creates more sanding. Thin coats let you control the surface instead of fighting it.
For the second and final coats, widen each pass slightly beyond the previous one. Hold the knife at a consistent angle and apply enough pressure to leave compound only where it is needed. The outside edges should taper gradually into the drywall face. A hard edge or ridge will show after primer, particularly beside windows, ceiling fixtures, and long hallways.
Ceiling joints deserve extra care. Overhead light and natural light from windows can expose flaws that are less obvious on a wall. Take time to check ceiling seams from several angles before sanding. A long-handled finishing tool can help on large ceilings, but it still needs a steady, even pass.
The requested finish level also affects how far the work should go. A garage or utility area may only need a practical finish suitable for basic paint. A living room, stairwell, or open-concept space with large windows often needs more refinement. Smooth walls and ceilings finished in darker paint, satin or semi-gloss paint, or strong side lighting are less forgiving than textured surfaces and flat paint.
Sand With Light, Not Just Touch
Sanding should refine the surface, not reshape heavy mud. Before sanding, run a hand lightly over the dry compound to find ridges, knife lines, and raised edges. Scrape off obvious high spots with a clean taping knife first. This is quicker and creates less dust than trying to sand them flat.
Use a fine sanding abrasive and keep the sanding block or pole moving. Work carefully around tape edges and corners so the drywall paper is not scuffed or exposed. If paper is damaged, it should be sealed and repaired before paint, or it may raise and show through the finish.
The most useful inspection tool is a bright work light held close to the wall or ceiling. This creates raking light across the surface and reveals defects that ordinary room lighting hides. Mark low spots, ridges, pinholes, and imperfect seams with a pencil, then apply a light touch-up coat where needed. A final round of light sanding after touch-ups is usually more effective than aggressive sanding after every coat.
Keep the area clean as you work. Drywall dust settles quickly on floors, trim, window sills, and nearby surfaces. Containing the work area and removing dust before priming makes the final stage easier for both the drywall finisher and painter.
Common Drywall Finishing Problems
Bubbles under tape are often caused by insufficient compound beneath the tape, dry compound, or tape that was not pressed in evenly. Small bubbles may be cut out and retaped once the area is dry. A long blister usually needs to be removed and repaired rather than covered repeatedly.
Cracks along seams can point to movement, poor fastening, or a joint that was not taped correctly. Simply adding more compound over a crack rarely solves the underlying issue. The loose material should be addressed first, then the joint retaped and refinished.
Visible screw pops happen when a fastener shifts or was not properly seated. The repair generally involves securing the drywall beside the affected fastener, setting the protruding fastener appropriately, then recoating the area. Repeated pops in one area deserve a closer look before cosmetic repair begins.
Pinholes are another common nuisance, especially when compound is mixed too thick, applied over a dusty surface, or worked too much with the knife. A thin skim coat usually fills them. Sanding alone will not remove a pinhole because it is a low spot.
When a Professional Finish Is Worth It
Small patches can be manageable for a patient homeowner, particularly in low-visibility spaces. Full rooms, ceilings, stairwells, long seams, and renovation tie-ins are more demanding. The work requires several visits, controlled drying, dust management, and a trained eye for surfaces that will be judged under paint.
Professional drywall finishing can be especially useful when a renovation joins old plaster or drywall to new board, when a basement has many corners and bulkheads, or when a property needs a clean paint-ready result on a schedule. In Owen Sound and across Grey Bruce, seasonal humidity and cooler working spaces can also affect drying times, so planning the sequence of coats matters.
Before primer goes on, take one final slow walk through the room with a work light. Look along every seam, around every corner, and across the ceiling. A few careful touch-ups at this stage are far easier than correcting visible flaws after the room has been painted.


