
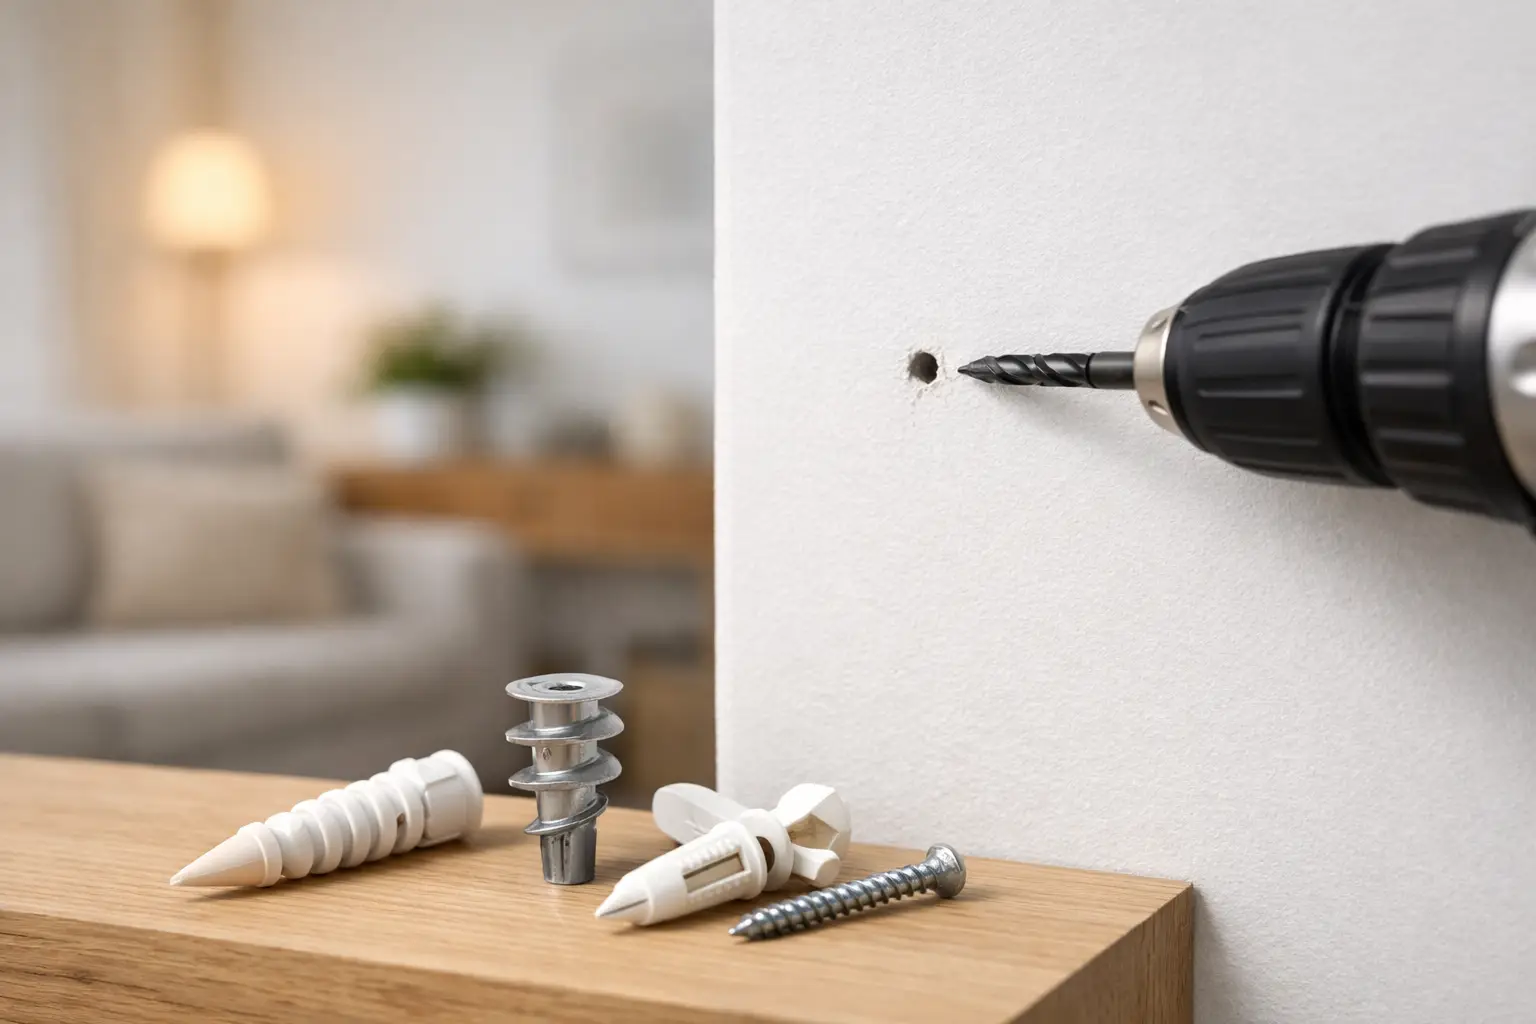
A new towel hook, framed print, or small shelf can leave a surprising amount of damage behind when the fastener is wrong. Knowing how to install drywall anchors properly helps the screw hold where it should, keeps the drywall face from breaking out, and makes future repairs less likely.
The key is not simply drilling a hole and adding an anchor. Drywall anchors are made for different wall conditions and loads, and every anchor needs a clean, correctly sized opening. Take a few minutes to choose the right fastener before making a hole in a finished wall.
Start by deciding whether an anchor is the right choice
Drywall is a finish material, not solid framing. A screw driven into drywall alone may hold a very light picture, but it can loosen as weight pulls down and outward on the paper face. An anchor spreads that force across a larger area or grips behind the board.
For light items such as small frames, lightweight décor, or modest hooks, a basic plastic or self-drilling anchor can be suitable. For medium-duty shelving, curtain hardware, larger mirrors, or wall-mounted accessories, a metal expanding anchor or toggle-style fastener may be more appropriate.
Some items should not rely on drywall anchors at all. Heavy cabinets, large shelving systems, and objects that could cause injury if they pull free need fastening into solid framing or a mounting method designed for the specific load. The item’s weight is only part of the decision. Consider how far it projects from the wall and whether people will pull, lean, or hang things from it.
Before drilling, check the manufacturer’s packaging for the anchor’s recommended drywall thickness, hole size, screw size, and intended load. Ratings vary by product and wall condition, so treat them as a guide rather than a reason to overload a fastener.
Common drywall anchor types
The best anchor depends on the job. Most homeowner projects fall into one of these categories:
- Plastic expansion anchors are inexpensive and work for light-duty applications. As the screw goes in, the plastic expands against the drywall inside the hole.
- Self-drilling threaded anchors have a coarse outer thread that cuts into drywall. They are quick to install and commonly used for moderate loads when the drywall is sound.
- Metal hollow-wall anchors expand behind the drywall when set correctly. They provide a more secure hold for many medium-duty mounting jobs.
- Toggle bolts and strap toggles open behind the board and distribute weight over a wider area. They can be useful where a stronger drywall-only fastening point is needed.
Do not choose an anchor based on its appearance alone. A toggle may have a strong rating, but it needs enough clear space behind the drywall to open. A self-drilling anchor is convenient, but it can tear out if installed in soft, damaged, or repeatedly patched board.
Tools to have ready
A tidy installation starts with a few simple tools: a pencil, tape measure, level, drill, drill bits, screwdriver or driver bit, and the anchors and screws specified for the mounting hardware. A stud finder can also help you identify framing locations.
Use a small level for anything that needs more than one fastener. Measuring and marking first is much easier than trying to correct a crooked shelf after several holes have been drilled. If the item comes with a mounting bracket, hold the bracket in place, level it, and mark the holes through the bracket.
How to install drywall anchors step by step
1. Mark the mounting point accurately
Place the item or its mounting bracket where it belongs and mark each hole with a pencil. Step back and check the height before drilling. This matters especially for shelves, curtain rods, mirrors, and hooks installed in a visible room.
If you are trying to locate a stud, confirm its position before committing. A screw that catches framing may not need a drywall anchor, depending on the hardware and project. Do not force an anchor into a spot where you have confirmed solid wood framing.
2. Match the hole to the anchor
For plastic expansion anchors, drill the hole diameter listed on the package. The anchor should fit snugly without requiring excessive force. A hole that is too large is one of the most common reasons anchors spin, loosen, or pull out.
Self-drilling anchors often do not require a pre-drilled hole in standard drywall, although a small pilot mark can help prevent the tip from wandering. Install them straight and at a controlled speed. If the anchor begins to tilt, stop and correct it rather than continuing to drive it deeper.
Toggle-style anchors typically need a larger access hole so the toggle can pass through the drywall. Measure carefully, since an oversized hole can make the finished mounting point harder to secure.
3. Install the anchor flush with the wall
Insert a plastic anchor into the drilled hole and tap it gently until the collar sits flush with the drywall face. Do not hammer hard enough to dent the surrounding paper or crush the edge of the hole.
Threaded anchors should be driven slowly until their face is flush. They should not sit proud of the wall, and they should not be buried below the surface. Either condition can affect the mounting hardware and damage the drywall finish.
For metal hollow-wall anchors, follow the setting method provided with the product. Some require a setting tool to expand properly behind the board. For toggles, insert the toggle through the opening, pull it firmly against the back of the drywall, and tighten the screw or bolt until the hardware is secure. Avoid overtightening, which can crush the drywall face.
4. Attach the hardware with the correct screw
Use the screw supplied with the anchor or one that matches the anchor manufacturer’s specifications. A screw that is too narrow may not expand or engage the anchor correctly. One that is too wide can split the anchor, strip its threads, or prevent it from working as intended.
Hold the bracket or hardware in position and drive the screw until it is snug. Stop when the hardware is secure against the wall. If the drywall begins to dimple, the screw is likely too tight or the anchor is not seated correctly.
5. Test the installation before loading it
Check that the bracket sits flat and does not shift. Apply light pressure in the direction the item will pull. If an anchor turns in the wall, moves outward, or causes the drywall surface to crack, remove the load and address the problem before hanging anything.
A failed anchor often leaves a damaged hole that is no longer suitable for the same fastener. In many cases, moving the mounting point slightly, finding framing, or using an appropriate larger mounting method is the better fix.
Mistakes that damage drywall anchors and walls
The most common mistake is using an anchor for more weight than it was designed to support. Another is drilling too large a hole, especially for plastic anchors. Once the anchor can move freely in the opening, it cannot create the grip it needs.
Installing into weak drywall is another concern. Drywall that is cracked, water-stained, soft, or heavily patched may not hold an anchor reliably. The surface can look acceptable after painting while the gypsum core behind it has lost strength.
Spacing also matters. Anchors placed very close together can weaken the section of drywall between them, particularly with a shelf bracket that places outward pressure on the wall. Follow the mounting hardware layout where possible and avoid placing anchors right beside old holes, corners, or damaged areas.
Do not keep tightening a screw to solve a loose bracket. That usually enlarges the problem. Remove the hardware, inspect the anchor and hole, then decide whether the location can be repaired and reused or whether the fastener needs to move.
When a drywall repair is the better next step
Old anchor holes are common in rentals, renovations, and rooms where shelving or artwork has been moved several times. Small, clean holes can usually be filled, sanded, primed, and painted. Larger pull-outs, torn drywall paper, cracked corners, and damaged areas around a failed toggle may need more careful patching and finishing to disappear under paint.
A repair is worth doing properly before new hardware goes up. Fresh compound will not give a weak location the holding power of sound drywall or framing, but it will restore the surface and provide a clean starting point for a better mounting plan.
For homeowners in Owen Sound and across Grey Bruce, a contractor can also help when anchor damage has turned into a larger drywall repair or when a finished wall needs to look paint-ready again. A clean repair keeps a small fastening mistake from becoming the first thing noticed in the room.
The best drywall anchor installation is usually uneventful: the hardware sits flat, the wall stays intact, and the item stays where it belongs. Slow down at the marking and hole-sizing stage, and the finished result will be much easier to live with.


