
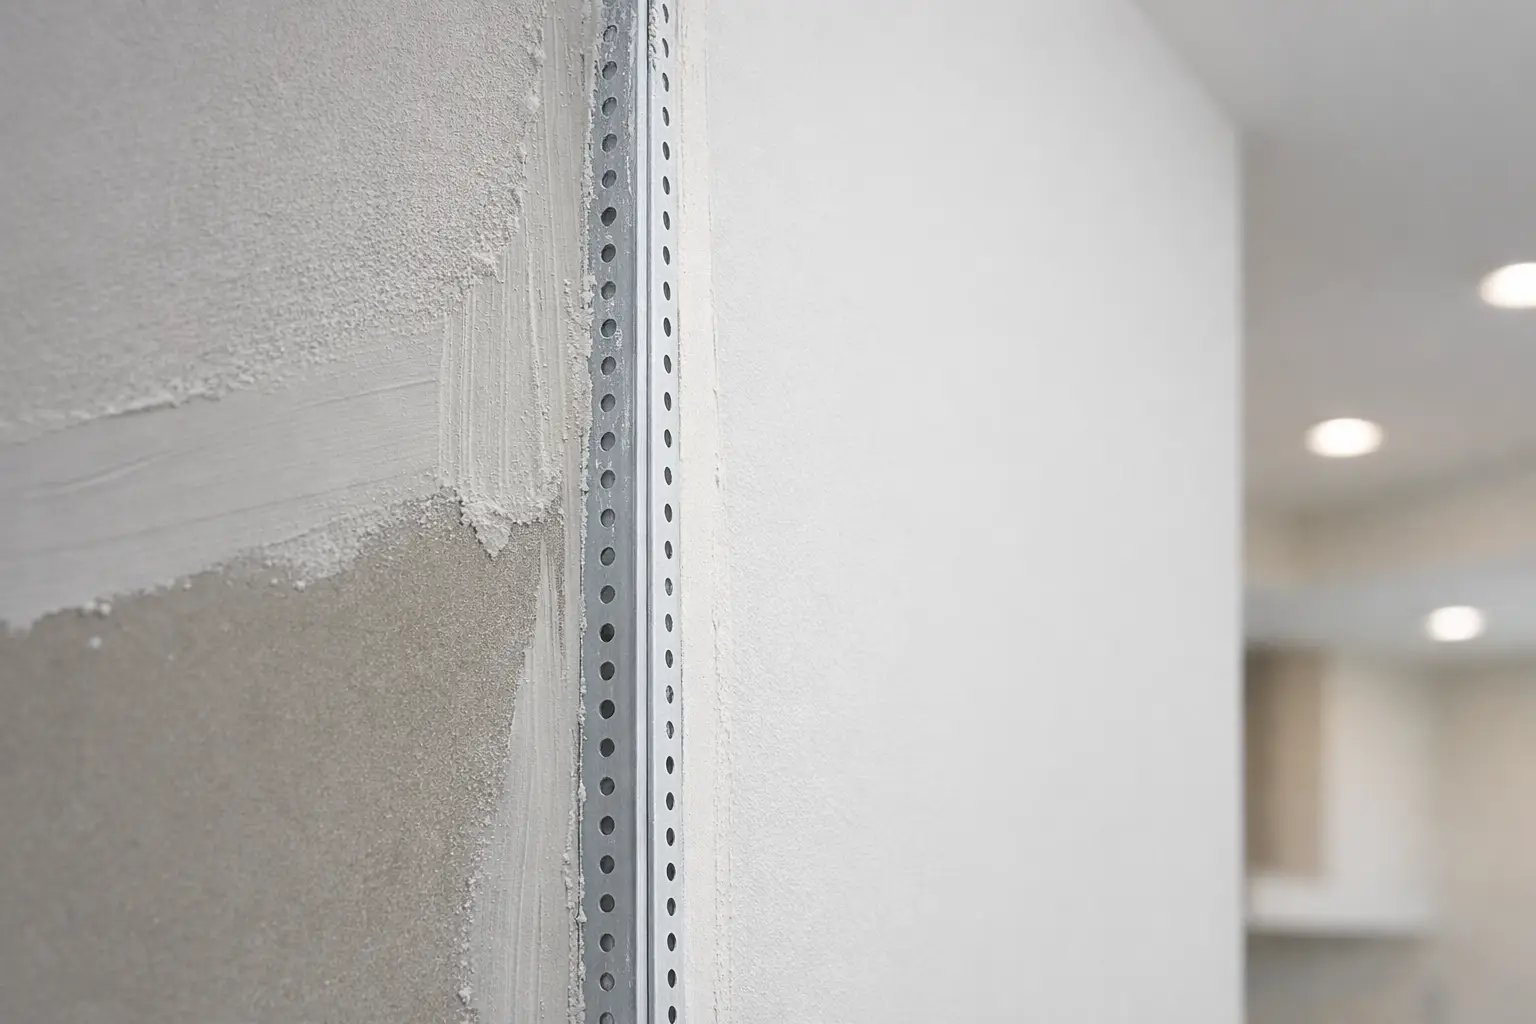
An outside drywall corner can look simple until light from a window or ceiling fixture shows every bump, wave, and uneven line. Learning how to install drywall corner bead properly is what gives that corner a straight, durable edge that can stand up to everyday use and still look clean after painting.
Corner bead is installed after the drywall sheets are hung and fastened, but before taping and finishing are complete. The bead protects the exposed outside corner while creating a firm, straight guide for joint compound. Good preparation and careful application matter more than rushing through the first coat of mud.
Choose the Right Type of Corner Bead
There is no single corner bead that suits every room. The best choice depends on the corner location, the condition of the framing and drywall, and the finish you are trying to achieve.
Metal corner bead remains a common choice for straight, durable outside corners. It is rigid, economical, and works well on standard residential walls. It does need to be cut and fastened carefully, since a dent or a poorly set fastener can telegraph through the finished surface.
Vinyl corner bead will not rust and has a little more flexibility than metal. It can be useful in areas where moisture is a concern, such as a properly finished basement, bathroom, garage, or entry area. Paper-faced metal bead is another popular option for finished spaces because the paper flanges are bedded in compound, reducing the number of mechanical fasteners needed.
For corners that are not perfectly straight, a flexible or adjustable bead may be the better fit. Bullnose bead creates a rounded corner rather than a sharp 90-degree edge. These options are not interchangeable, so choose the profile before drywall finishing begins.
Tools and Materials for Installing Corner Bead
Have everything ready before mixing compound or opening adhesive. For a typical outside corner, you will need the selected corner bead, a tape measure, pencil, tin snips or a suitable cutter, a level or straightedge, drywall screws or nails if the bead requires them, joint compound, and drywall knives. A 4- to 6-inch knife is useful for setting the bead, while wider 10- and 12-inch knives help feather later coats.
A drywall rasp can help remove rough gypsum edges before the bead goes on. Keep a sanding pole and fine drywall sanding screen for the finishing stage, but do not rely on sanding to correct a crooked bead. If the bead is out of line, fix it before the compound hardens.
Prepare the Outside Corner First
Start by checking that both drywall sheets are firmly attached and meet cleanly at the outside corner. Small gaps are usually manageable with compound, but loose drywall, broken edges, or a major mismatch between sheets should be corrected first. Corner bead cannot make an unstable corner sound.
Run a straightedge vertically along each side. This quickly reveals proud screws, bowed drywall, or framing that pushes one sheet too far forward. Set any protruding fasteners slightly below the paper face without breaking the paper. Trim loose paper and lightly rasp high gypsum edges where needed.
Measure from the floor to the ceiling, then cut the corner bead about 1/2 inch short of the full height. That small clearance keeps the bead from binding tightly against the floor or ceiling, where seasonal movement can cause cracking. For a corner above a doorway or a short wall return, measure each piece separately rather than assuming the opening is square.
How to Install Drywall Corner Bead Step by Step
Place the cut bead over the corner and press it into position. The nose of the bead should sit directly on the corner, with both flanges lying flat against the drywall. Check it from several angles. A bead that looks centred from one side can still lean slightly to the other.
Use a level or long straightedge to confirm that the bead is plumb. If the drywall corner itself is uneven, position the bead for the straightest visual line possible rather than forcing it to follow every dip in the framing. This is one of the details that separates a paint-ready corner from one that looks wavy in side lighting.
For standard metal or vinyl bead, fasten it according to the bead type. Screws are often preferred because they can be adjusted if the bead shifts. Place fasteners along both flanges at regular intervals, keeping them close enough to hold the bead firmly without distorting it. Drive them flush with the flange, not so deeply that they bend the bead or tear the surface.
Paper-faced metal bead is installed differently. Apply an even layer of all-purpose joint compound to both sides of the corner, then press the bead into the wet compound. Use a drywall knife to remove excess mud and seat the paper firmly. Work from top to bottom, checking that the bead remains straight as you go. The paper edges must be fully embedded, with no dry spots or bubbles.
Adhesive-backed or spray-adhesive bead can save time in the right setting, but it still needs proper alignment and sufficient contact with clean, dust-free drywall. Adhesive is not a shortcut for correcting poor drywall installation.
Apply Joint Compound in Wide, Even Coats
Once the bead is secure, cover the flanges with joint compound. The first coat is about filling and embedding, not making the corner perfect. Use a narrower knife to apply compound over each flange, keeping the metal or vinyl nose clean and exposed.
Let the first coat dry fully before applying the next one. Drying time changes with room temperature, humidity, product type, and coat thickness. In Grey Bruce homes, basement renovations and cooler-season projects can take longer to dry than a warm, well-ventilated room. Trying to coat or sand damp compound usually creates more work.
For the second coat, use a wider knife and feather the compound farther onto the wall. The goal is a gradual transition from the raised corner bead flange to the drywall face. Apply compound to one side of the corner at a time, then let it set enough that you can work the opposite side without dragging your knife into the fresh coat.
A final, wider skim coat may be needed where lighting is strong or the wall has a smooth painted finish planned. Keep each coat thin. Heavy compound shrinks more, takes longer to dry, and can leave ridges that need aggressive sanding.
Sand Carefully and Check the Corner in Side Light
After the final coat is fully dry, sand only enough to remove knife lines, ridges, and small imperfections. Use light pressure. Over-sanding can expose the corner bead flange or fuzz the drywall paper beside it.
Check the corner using a work light held at an angle to the wall. Side light reveals shallow humps and edges that ordinary room lighting hides. Run your hand lightly over the finished area as well. Your hand often finds a ridge before your eye does.
If you see a low spot, apply another thin coat of compound rather than trying to sand the surrounding area flat. The finished corner should read as a straight line, with the compound feathered smoothly into both wall faces.
Common Corner Bead Problems to Avoid
The most common issue is installing a bead that is not straight or plumb. Once several coats of compound are on, correcting it means cutting out material and starting again. Take the extra minute to check alignment before fastening.
Another frequent problem is using compound that is too thick or applying it too heavily. Thick coats crack, shrink, and create more sanding than necessary. Thin coats built out gradually are slower only at the start. They are usually faster by the time painting begins.
Avoid packing compound tightly over the bead nose. The nose is meant to form the sharp outer edge. If it is buried in mud, the corner loses definition and becomes more likely to chip when bumped.
Finally, do not overlook the drywall itself. A corner bead can protect and finish an outside corner, but it cannot correct loose sheets, badly placed fasteners, or major framing irregularities. Address those conditions before the finishing work begins.
A clean corner bead installation is one of the details that makes a room feel properly finished, especially in hallways, stairwells, basement renovations, and busy family spaces. For larger drywall projects or corners that need a consistently smooth, paint-ready finish, a dedicated drywall contractor can save time and avoid repeat repairs. Meg’s Drywall works with homeowners and builders across Owen Sound and Grey Bruce on drywall installation, taping, mudding, repairs, and finishing work where those small details matter.


