
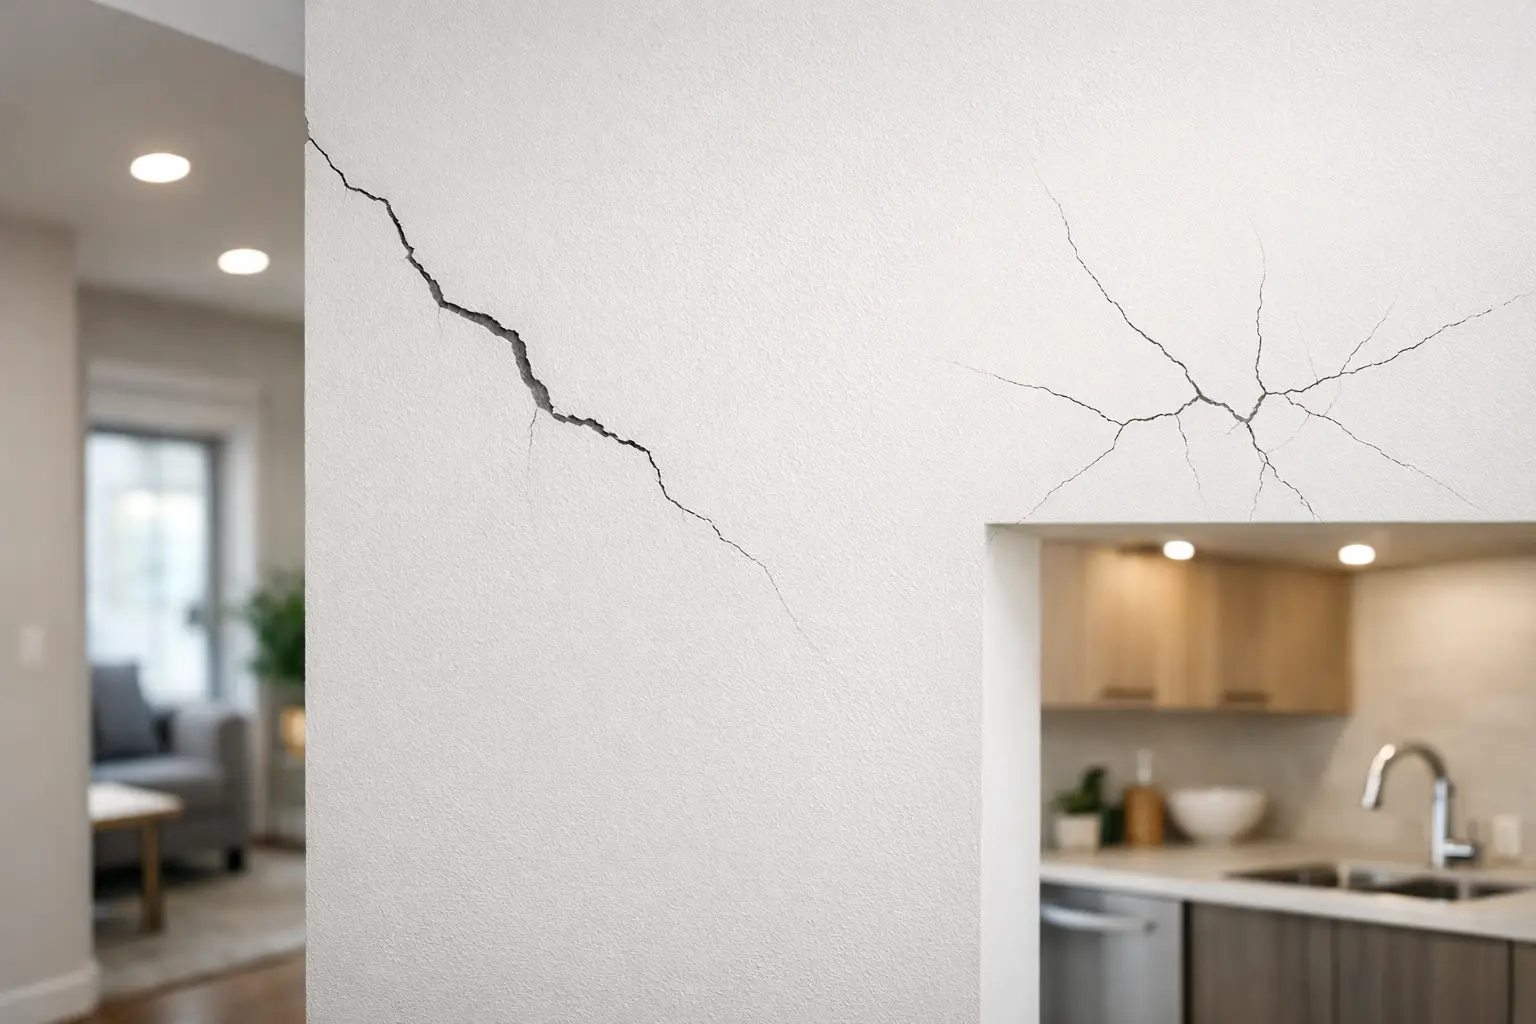
A hairline crack above a doorway can look small enough to ignore. Then a change in light, a fresh coat of paint, or another Ontario winter makes it stand out again. Understanding why drywall cracks helps you decide whether you are looking at normal seasonal movement, a failed joint, or a repair that needs more than another swipe of filler.
Drywall is rigid, but the building around it is not. Wood framing can expand and contract as indoor humidity changes. New materials dry and settle. Doors close, floors flex slightly, and joints between sheets are expected to handle a certain amount of movement. Good installation and finishing manage that movement well, but no wall finish is completely immune to it.
Why Drywall Cracks in Homes and Renovations
Most drywall cracks fall into two broad categories: cracks caused by movement in the building and cracks caused by an issue with the drywall installation or finishing. The pattern, location, and timing usually offer useful clues.
A fine, straight crack along a taped seam often points to joint tape that has loosened or a joint that was not prepared and finished properly. Drywall tape needs to be fully embedded in joint compound, with enough compound beneath it to bond it to the board. If part of the tape loses its bond, the seam can show through as a line or begin to lift at an edge.
Cracks at inside corners are also common. Walls and ceilings meet at angles, and those intersections can move independently as a home responds to temperature and moisture changes. A crack that follows the length of an inside corner may be mainly cosmetic, but it still needs the right repair method. Simply filling the line often leaves a weak spot that cracks again.
Cracks above doors and windows deserve closer attention. Openings interrupt the wall surface, so drywall joints near them are more vulnerable to movement. In a well-planned installation, seams are kept away from the corners of doors and windows where possible. A crack running diagonally from a corner of an opening can mean the drywall is responding to movement around that area, or that a joint was placed where it had little room for error.
Seasonal Movement Is Common in Grey Bruce
In Owen Sound, Grey County, and Bruce County, homes go through noticeable seasonal changes. Cold, dry winters and warmer, more humid months affect both framing and interior finishes. This is especially apparent in newer homes, additions, renovated rooms, and basements that have recently been finished.
Minor seasonal cracks may open slightly in winter and become less visible when humidity rises. That does not automatically mean the drywall work was poor. Even a carefully finished wall has to live with the materials behind it.
The trade-off is that a cosmetic crack can still be frustrating in a finished room. If it returns in the same place every year, a lasting repair may require reinforcing the joint rather than repeatedly spot-filling it. A drywall contractor can assess whether the area needs retaping, a wider finished joint, corner reinforcement, or a different approach at the transition.
New Construction and Recent Renovations
New construction can develop cracks during its first heating seasons. Framing lumber and other building materials continue to dry after the home is enclosed and occupied. This can cause small shifts at joints, corners, and ceiling lines.
The same applies to renovations. When a new wall meets an older wall, the two sections may move differently. Basement finishing projects can also show cracks at bulkheads, corners, and transitions if the framing and drywall are not detailed for the conditions in that space.
A crack appearing after a renovation does not always mean a major problem. It does mean the repair should address the reason it formed, not only make the line disappear for a few months.
Installation Details That Affect Cracking
Drywall finishing is a layered process. Boards need secure fastening, joints need proper tape and compound, and each coat must be allowed to dry before the next is applied. Rushing any of these stages can leave a finish more likely to fail.
Fasteners are one example. If a drywall screw is set too deep, it can break the paper face of the board and lose holding strength. If it is not set deep enough, it may show through the finish. A small circular crack or raised spot around a screw can develop when the board shifts slightly against the framing. This is often called a screw pop.
Poorly supported board edges can create another problem. Drywall joints need solid backing so both sheets can be fastened securely. If an edge moves, the finished seam is under stress. The crack may start as a faint line and become more obvious over time.
Joint compound also shrinks as it dries. Professionals apply it in thin, controlled coats and feather each coat wider than the one before. Thick patches may shrink, crack, or show as a visible hump once painted. Sanding matters too. The goal is not simply a smooth surface, but a flat transition that disappears under normal room lighting.
What the Crack Pattern Can Tell You
The shape and location of a crack are worth noting before any repair begins. This makes it easier to explain the issue and determine whether it has changed.
A straight line following a seam usually suggests a tape or joint issue. A crack along an inside corner often relates to movement at the intersection of two surfaces. Small round blemishes may be screw pops. A wide crack, a crack that continues to grow, or several new cracks appearing together is a reason to have the area assessed before cosmetic repairs are made.
Watch for timing as well. Did the crack appear after a renovation, during the first winter in a new home, or after a significant change in the room such as removing a wall or finishing a basement? Does it return after every winter? These details help separate a one-time finishing repair from an area affected by ongoing movement.
Why Quick Patches Often Crack Again
It is tempting to press filler into a crack, sand it, and repaint. For a very minor surface blemish, that can be enough. For a seam crack or separated corner, it often is not.
Joint compound is a finishing material, not a substitute for tape or reinforcement. If the tape underneath has failed, filling over the top does not rebuild the bond. The line may look fine after painting, then reappear once the wall moves through another season.
A proper repair generally starts by removing loose material and checking whether the board edges are secure. The affected joint can then be retaped or reinforced, built out with multiple coats of compound, sanded smooth, and left ready for primer and paint. The repair area may need to be feathered wider than expected so it blends into the existing wall rather than leaving a visible patch.
Texture, sheen, and lighting can make a repair more demanding. Flat paint is generally more forgiving than glossier finishes, while a large window or ceiling-mounted light can reveal even slight ridges. In living rooms, hallways, stairwells, and open ceilings, clean finishing makes a real difference.
When to Call a Drywall Contractor
A homeowner can keep an eye on a single hairline crack that remains unchanged. But it is sensible to bring in a drywall professional when tape is lifting, a corner keeps opening, screw pops are recurring, or a crack comes back after it has already been patched.
It is also worth getting help when the repair is in a highly visible area or involves a ceiling. Ceiling repairs are harder to blend because light washes across the surface and highlights imperfections. Matching an existing texture or achieving a clean paint-ready finish takes more than filling a line.
For homeowners and renovators in Owen Sound and surrounding Grey Bruce communities, Meg's Drywall can assess cracked seams, corners, ceiling joints, and damaged wall finishes as part of a focused drywall repair scope. Clear photos and a note about when the crack first appeared can help start the conversation.
A crack is not always an urgent concern, but it is useful information from the building. Pay attention to its pattern, take a photo before it changes, and repair the joint properly when the finish is ready to be restored.


