
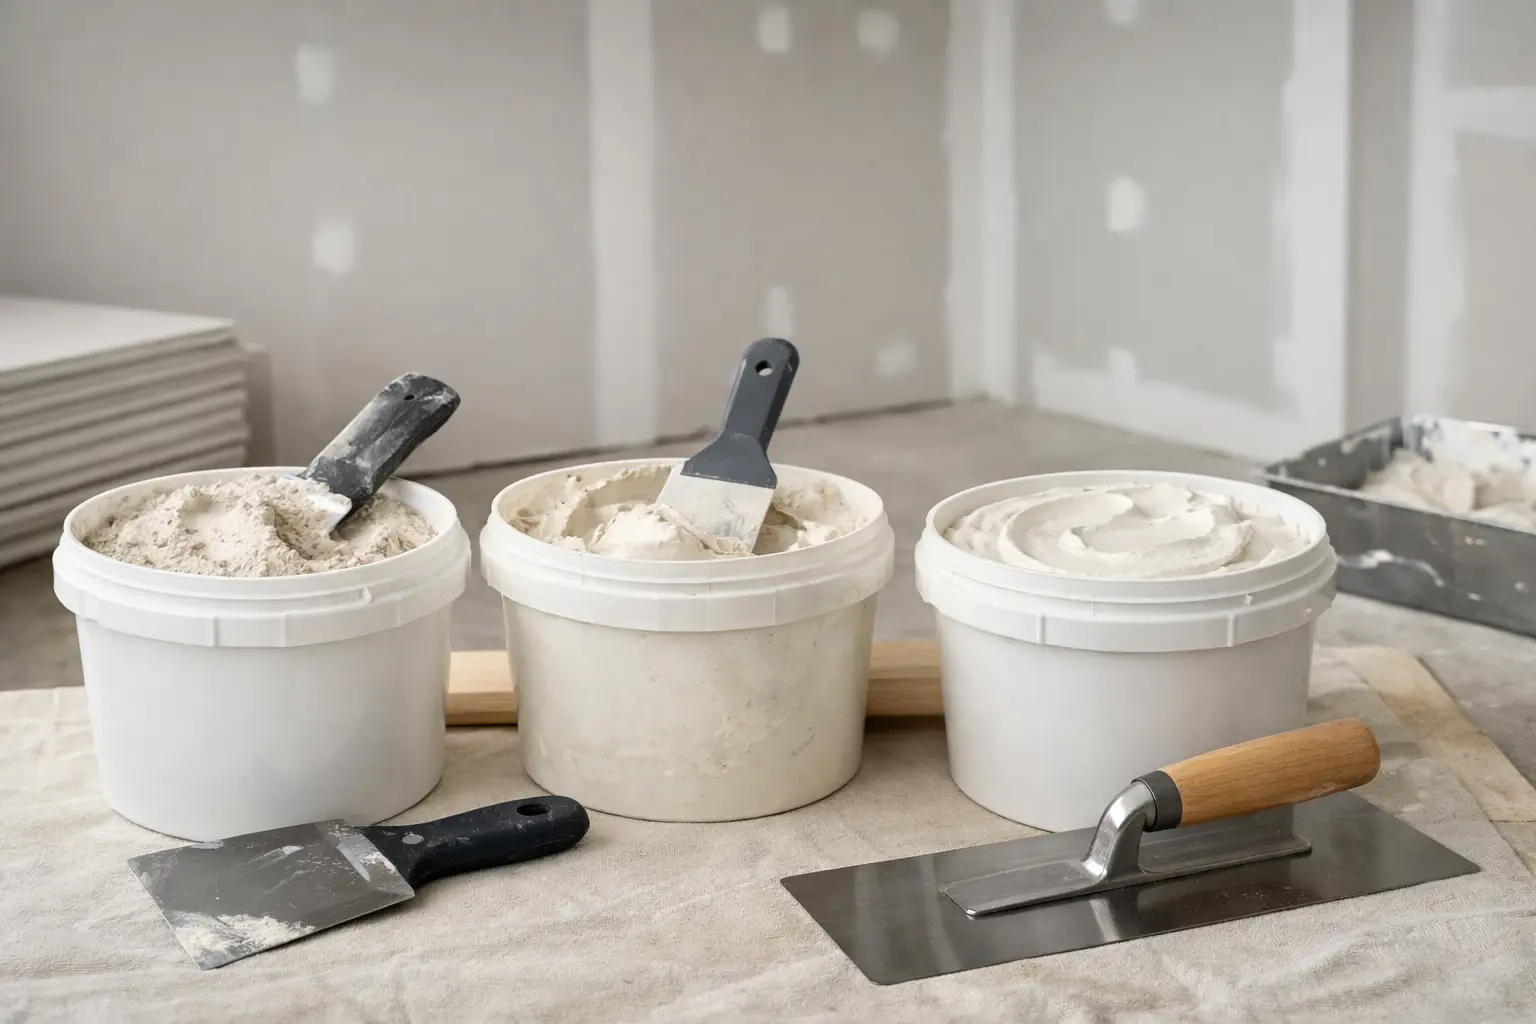
A wall can be hung straight, taped carefully, and still look poor under paint if the wrong compound is used at the wrong stage. The best drywall finishing mud is not one product for every joint, patch, and final coat. It is the compound that matches the job at hand, the condition of the room, and the finish you expect when the painter is done.
For homeowners planning a renovation and builders coordinating a finish schedule, this distinction matters. Different drywall compounds handle differently, shrink differently, sand differently, and set at different speeds. Choosing well makes the work cleaner and reduces the chance of visible seams, ridges, cracking, or extra sanding.
What “finishing mud” actually means
Drywall mud is the common name for joint compound. It is used with tape to reinforce drywall joints, then built up in thin coats to hide joints, fasteners, corners, and repairs. Although many products can be called finishing compound, they are not interchangeable.
Most drywall work uses three stages: a tape coat, one or two fill coats, and a final coat. A small repair may need less. A high-visibility ceiling, stairwell, or wall receiving flat paint may need more attention because side lighting exposes even minor imperfections.
The goal is not simply to cover the tape. It is to create a broad, gradual transition between the joint and the face of the board. The right compound helps, but proper knife work, drying time, and sanding are what make the surface paint-ready.
The best drywall finishing mud depends on the coat
All-purpose premixed compound
All-purpose joint compound is the standard choice for many residential jobs. It comes ready to use in a pail or box, works for embedding tape, filling joints, coating corners, and making many everyday repairs.
Its main advantage is convenience. For a homeowner repairing a few dents or a contractor moving through several small areas, it is reliable and versatile. It also has good adhesion for paper tape when mixed to the right consistency.
The trade-off is that all-purpose compound can be a little harder to sand than a lighter finishing product. It also dries by evaporation, so deep fills and humid conditions can slow the work down. In a cool Grey Bruce basement or garage, drying time can be noticeably longer than people expect.
Topping compound
Topping compound is often the best drywall finishing mud for final coats. It is designed to go on smoothly in thin layers and sand more easily than many all-purpose products. That makes it a strong choice for the last coat over broad joints, inside corners, and repaired areas that need to disappear under paint.
It is not usually the first choice for embedding tape or filling deep gaps. Topping compound is softer and intended for finishing, not for heavy build-up. Used at the correct stage, though, it can save time during sanding and help produce a cleaner final surface.
For a renovation where walls will receive low-sheen or flat paint, a light final coat of topping compound can make a practical difference. Those paints do not hide poor drywall work as well as many people assume.
Lightweight all-purpose compound
Lightweight compound is a useful middle ground. It can often be used through multiple coats, but it is easier to sand and lighter to work with than traditional all-purpose mud. It is commonly used for filling joints and finishing larger wall areas.
This product can be a sensible option when a project needs a workable, sandable compound without switching products between every coat. Still, it should be applied in controlled, thin coats. Easy sanding does not replace proper feathering, and overly thick applications can shrink or leave an uneven surface.
Setting-type compound
Setting-type compound, often called hot mud, comes as a powder and hardens through a chemical reaction rather than simply drying in the air. It is available in different set times, such as 20, 45, or 90 minutes. The number refers to working and setting characteristics, not a guaranteed time before it can be recoated or sanded.
This compound is especially useful for deep repairs, pre-filling gaps, filling damaged corners, and working where drying conditions are slow. Because it sets hard, it is less prone to shrinkage than premixed mud when used for deeper fills.
The downside is that it demands planning. Once mixed, it cannot be brought back to life with water after it begins to set. Tools and mixing containers must be cleaned promptly, and fast-setting products can be unforgiving for someone trying to coat a large area for the first time. It is generally best used for repair and build-up work, followed by a smoother premixed finishing coat.
Match the compound to the repair or project
For standard new drywall installation, a practical approach is to use all-purpose compound for tape coats, a lightweight or all-purpose compound for fill coats, and topping compound for the final finish. Some experienced finishers use a single quality all-purpose product from start to finish, particularly when conditions and scheduling call for it. Both approaches can work when the coats are thin and the workmanship is careful.
For a small nail pop, screw hole, or shallow dent, lightweight compound or all-purpose mud is usually enough. Apply a thin coat, let it dry fully, sand lightly, and inspect it under good light before priming. A repair often needs more than one coat because compound shrinks as moisture leaves it.
For a larger hole or a damaged joint, setting-type compound may be useful for the first fill, especially where the material needs to bridge a deeper area. It should not be treated as a shortcut for a missing drywall patch or loose board. The underlying surface needs to be stable before any mud is applied.
For ceilings, long hallways, and walls beside large windows, prioritize the final coat and sanding process. Natural light travelling across a surface reveals knife lines and uneven edges quickly. A topping compound is often worth considering here because it sands cleanly, but the finish still needs to be checked from more than one angle.
Drying, temperature, and sanding affect the result
Compound may feel dry on the surface while remaining damp underneath. Sanding or recoating too early can tear the finish, trap moisture, or leave a soft joint that later shows through paint. Allowing each coat to dry properly is part of the job, not downtime to be skipped.
Keep the work area at a suitable temperature and use reasonable ventilation. Very cold rooms slow drying. High humidity does the same. Excessive forced heat, on the other hand, can dry the surface too quickly and make conditions harder to control. In unheated seasonal properties, garages, or basements, this can affect the finishing schedule more than the type of mud selected.
Sanding should refine the surface, not reshape a heavy application. If the joint needs aggressive sanding to remove ridges, it usually needs another skim coat instead. Use a fine abrasive, avoid cutting into the paper face of the drywall, and remove dust before primer. Primer is the honest test of a finish because it exposes missed edges, pinholes, and shallow areas.
Common mistakes when choosing drywall mud
The most common mistake is using a finishing compound to solve a deep-fill problem. The second is applying any mud too thickly in an effort to finish faster. Both can lead to shrinkage, cracking, extended drying, and extra labour.
Another issue is adding too much water to premixed compound. A small amount of clean water can improve workability when mixed thoroughly, especially for a tape coat. Too much water weakens control, increases shrinkage, and can leave a sloppy finish. The compound should spread smoothly while still staying where it is placed.
It also helps to avoid judging a finished wall only from directly in front of it. Check joints with light coming across the surface, particularly before painting. That simple step catches problems when they are still easy to correct.
When professional finishing makes sense
A few small patches are manageable for many property owners. Whole rooms, ceiling repairs, renovation tie-ins, and long seams are different. The quality of drywall finishing becomes very visible once trim, lighting, and paint are installed, and correcting a poor finish later often means more dust and disruption.
For projects in Owen Sound, Grey County, or Bruce County, Meg’s Drywall can help with drywall installation, repairs, taping, mudding, sanding, and paint-ready finishing. A proper assessment considers the repair depth, board condition, lighting, and intended finish instead of treating every wall with the same compound.
Before opening a pail, look at the job in layers: what needs to be reinforced, what needs to be filled, and what needs to be feathered until it disappears. That is how the right drywall mud becomes part of a finish that still looks good after the room is painted.


