
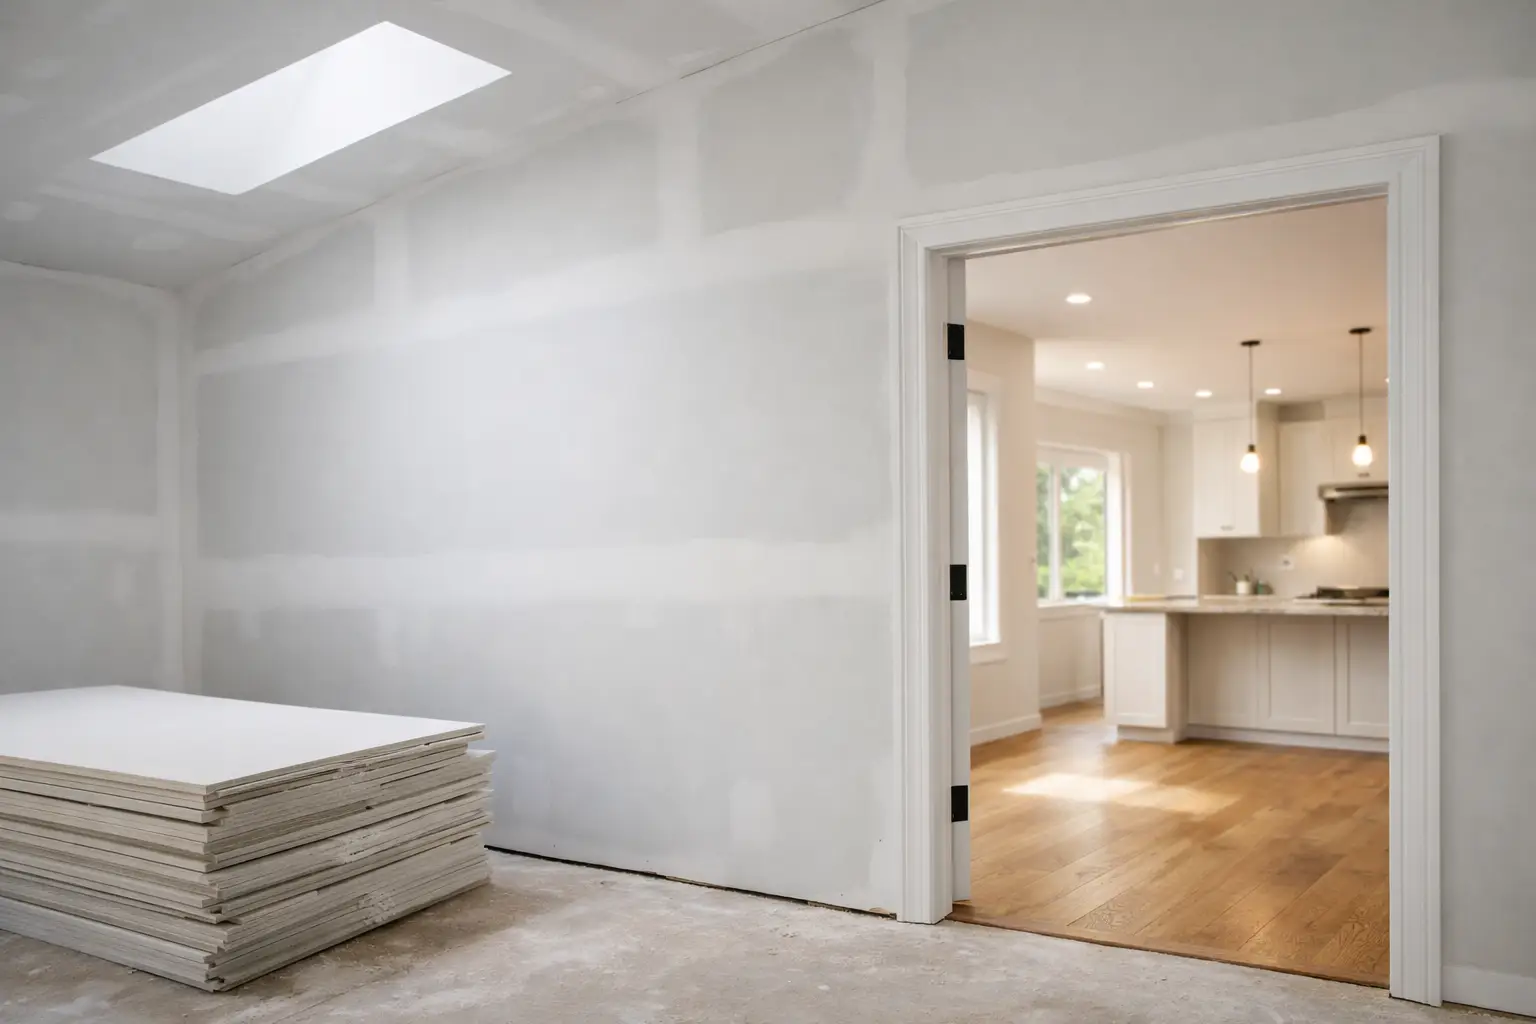
An addition can look nearly complete once the framing is up, but drywall is the stage that turns it into usable living space. Drywall for home additions needs more planning than simply covering new walls. The board layout, framing condition, ceiling details, room humidity, transitions to the existing house, and finish expectations all affect how the final space looks under paint.
For homeowners and builders in Owen Sound and across Grey Bruce, the best time to think about drywall is before the installation date is booked. A clear sequence helps prevent delays, avoids unnecessary patching, and gives the addition a consistent finish from one room to the next.
Start With a Drywall-Ready Addition
Drywall installation should begin only when the addition is ready to be closed in. The exterior needs to be protected from weather, windows and exterior doors should be installed, and the interior framing should be dry. Fresh lumber can shrink as it dries, so timing matters, especially when an addition is built through a wet season.
Before board goes up, wall and ceiling framing should be checked for straightness and alignment. Drywall will follow the surface behind it. A bowed stud, uneven ceiling joist, or backing that sits proud of the framing can create a visible ridge or dip that becomes more obvious after painting. Small corrections at this stage are much easier than trying to hide a problem with joint compound later.
All work inside the wall and ceiling cavities should also be complete, and insulation and vapour barrier work should be inspected where required. Once drywall is installed, access is limited. Rushing this step often leads to cut-outs, patches, or seams that could have been avoided.
Plan Drywall for Home Additions Around the Existing House
The connection between the new addition and the original home is usually the most detail-sensitive part of the job. New construction and older construction do not always line up perfectly. Ceiling heights can differ, wall planes may shift, and existing finishes can reveal where a transition needs special attention.
A good drywall plan identifies these transitions early. Sometimes a clean inside corner or casing line creates a natural stopping point. In other cases, the drywall needs to run continuously so the addition feels like part of the original home. The right approach depends on the layout, how much of the existing space is being opened up, and whether the ceiling or wall surfaces are intended to read as one uninterrupted plane.
Matching an existing textured ceiling or older wall finish can be more difficult than finishing new drywall. If the addition opens into a room with a distinct texture, discuss that condition before work begins. A smooth new ceiling beside an older textured surface may be noticeable, even with a good paint colour match.
Choose Board Types for the Room, Not Just the Floor Plan
Standard gypsum board works well for most dry interior walls and ceilings. However, additions often include rooms that need a different board choice. Bathrooms, laundry areas, and other high-humidity rooms may call for moisture-resistant drywall in appropriate locations. Garages and utility areas can have specific separation requirements that should be confirmed in the project plan.
Board thickness also affects the finished result. Half-inch drywall is common on walls. Ceilings may require a thicker board or closer framing support to help keep the surface flat over time. Long ceiling spans, changes in framing direction, and heavy light from large windows all make ceiling imperfections easier to see.
The goal is not to use the heaviest board everywhere. It is to use the right material for the room, framing, and finish requirements. That decision is usually straightforward when it is made before materials arrive on site.
Ceiling Drywall Deserves Extra Attention
Ceilings tend to show flaws more than walls. Natural light coming through patio doors, pot lights near a bulkhead, and fixtures placed close to a seam can cast shadows across the surface. A ceiling that looks acceptable in low light can look uneven once the room is bright and painted.
Keeping joints controlled and avoiding unnecessary butt joints helps create a flatter finish. Proper backing, secure fastening, and careful taping are all part of that result. Where a ceiling meets an existing room, the transition should be considered as carefully as the field of the new ceiling itself.
Board Layout Affects Finishing Time
Drywall installation is not just a matter of fitting sheets into open spaces. Board should be laid out to reduce seams where possible and keep joints away from high-visibility areas. Full sheets create fewer joints than a wall covered with small off-cuts, and fewer joints generally mean a cleaner finished surface.
Openings need proper planning as well. Doors, windows, and other cut-outs should not leave weak, poorly supported drywall corners. The installer also needs enough backing at corners, intersections, and ceiling edges to fasten board securely.
This is one reason drywall work is best viewed as an installation and finishing system. A neat board job makes taping more efficient. A poorly planned board job can add compound, sanding, and time without fully correcting the underlying layout.
Set the Right Finish Expectation Before Taping Begins
Most additions are intended to receive a paint-ready finish, but paint-ready does not mean every surface is treated the same way. A flat wall in a bedroom has different visual demands than a stairwell, a large open-concept ceiling, or a wall with strong afternoon light.
The final appearance depends on several things: the quality of the framing, the location of seams, the type of corner bead, the amount of natural and artificial light, and the selected paint sheen. Higher-sheen paints reflect more light and can make minor surface variations more visible. Flat or matte finishes are generally more forgiving, though they still need a properly finished surface.
Taping and mudding require multiple coats, with drying time between stages. Temperature, humidity, ventilation, and the amount of compound applied can all affect the schedule. Trying to compress this process can lead to sanding issues, weak joints, or a finish that looks uneven after painting.
Watch the Details Around Openings and Corners
Outside corners, window returns, bulkheads, and soffits are highly visible parts of an addition. They receive more bumps and wear than broad wall areas, so they need straight, well-supported corner treatment. A crisp corner line makes the entire room look more finished.
Inside corners also need careful taping. They are often overlooked until light hits the wall at an angle or a painter begins cutting in. Clean, straight corners help the new addition feel settled rather than recently patched together.
Protect New Drywall During the Rest of the Build
Once drywall is finished, the space is close to the painting stage, but it is not invulnerable. Other finishing work, moving materials, and late changes can easily damage corners or create dents in new walls. Keeping the work area organized and limiting unnecessary traffic helps reduce repairs before paint.
Humidity control is also worth watching. A home addition should not be exposed to prolonged damp conditions after drywall finishing. Consistent indoor conditions help compound cure properly and reduce the chance of cosmetic issues developing as materials adjust.
If a change is needed after drywall is complete, it is better to address it cleanly than accept a rushed patch. A well-repaired area can blend into the surrounding finish, but the repair needs enough room for proper feathering and sanding.
Timing a Drywall Contractor for an Addition
Drywall is often scheduled late in the build, which can make it seem like a quick final task. In reality, it is a sequence of installation, taping, coating, drying, sanding, touch-ups, and final inspection. The project size, ceiling height, number of rooms, access to the space, and drying conditions all affect timing.
Booking the drywall stage early gives the contractor a chance to understand the addition layout and identify details that may affect the work. This is particularly helpful for additions with vaulted ceilings, large open rooms, stair openings, or extensive ties into the existing home.
For a home addition in Owen Sound, Grey County, or Bruce County, clear communication between the homeowner, builder, and drywall contractor keeps the finishing stage moving in the right order. Meg's Drywall can help assess the drywall scope before the addition reaches the closing-in stage, so board choices, transitions, and finish expectations are understood well before the first sheet is installed.
A well-finished addition should not draw attention to its seams, corners, or ceiling lines. The best result is a comfortable new space that feels like it has always belonged to the home.


