
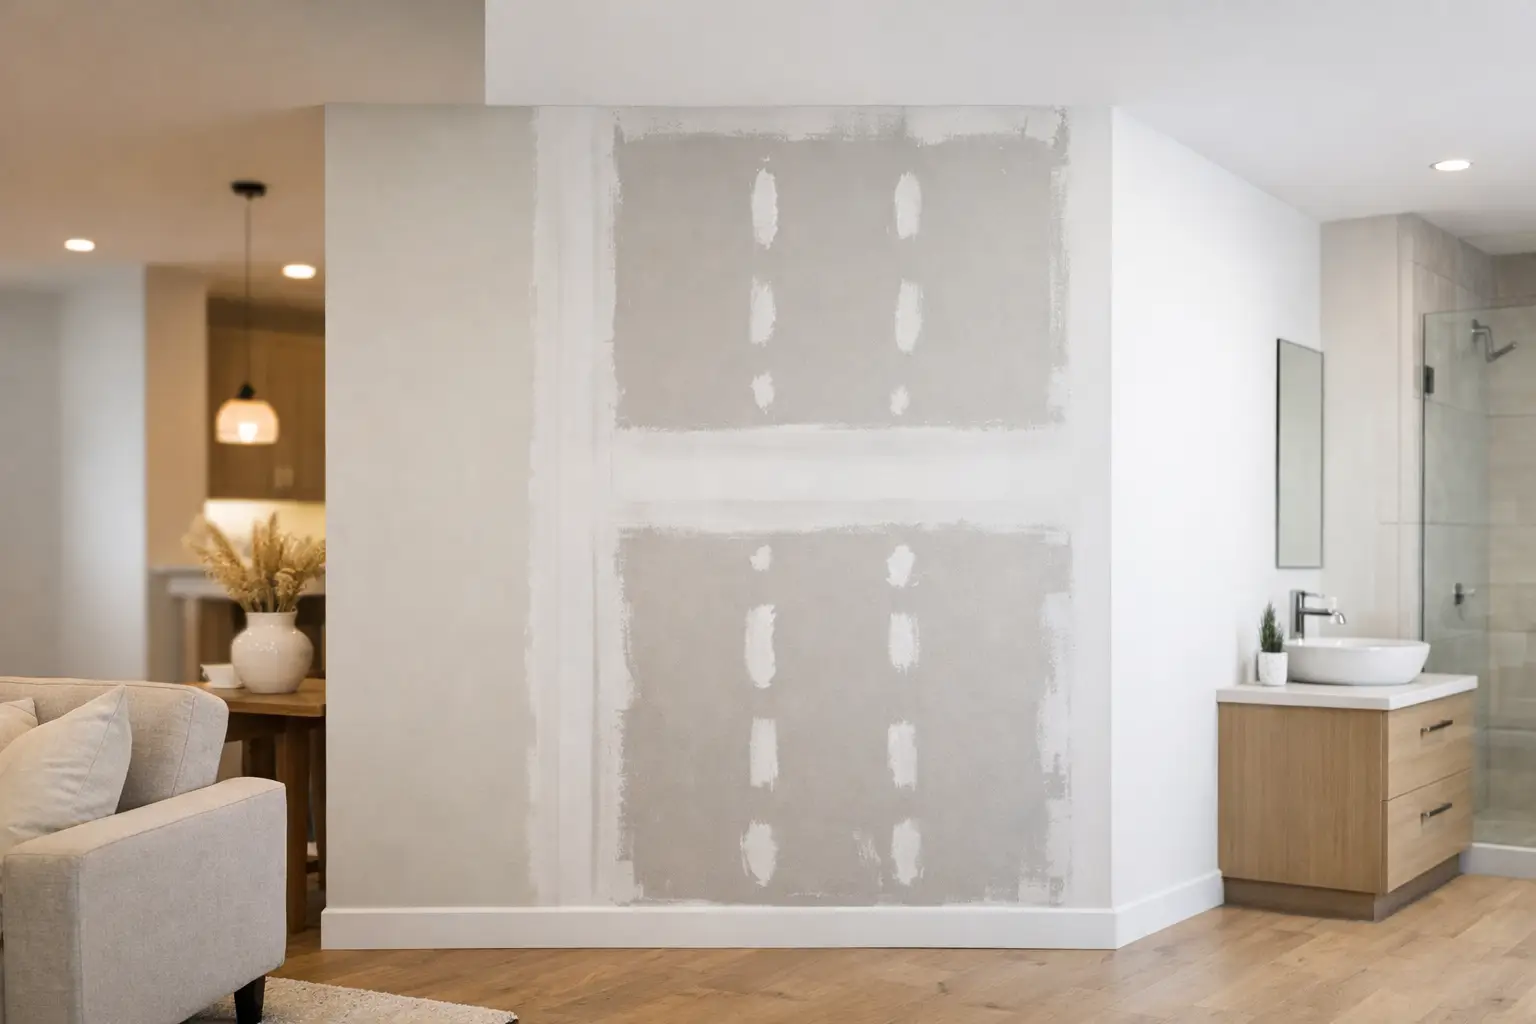
A paint job can only look as good as the surface beneath it. The best drywall finish for painting is usually a properly completed Level 4 finish, but that is not the right answer for every room, wall, ceiling, or paint colour. Strong natural light, glossy paint, dark colours, and open spaces can expose minor surface variations that would disappear under a flat finish in a low-light room.
For homeowners, builders, and painters, the goal is not simply to get drywall covered in primer. It is to choose a finish level that suits the space and helps the final paint look even from normal viewing angles. Knowing where Level 4 works well and where Level 5 is worth considering can prevent disappointment after the painter is finished.
What drywall finish levels mean
Drywall finish levels describe how much taping compound is applied and how smooth the completed board surface is before primer and paint. The levels are often discussed from Level 0 through Level 5, although most finished residential rooms fall into Level 3, 4, or 5.
Level 3 is generally intended for surfaces that will receive a heavier texture or wall covering. It is not normally the choice for smooth painted walls. A Level 4 finish includes properly embedded tape, filled fasteners, and additional coats of compound feathered over joints and corner beads. The surface is sanded and prepared for primer and paint.
Level 5 starts with the work completed for Level 4, then adds a thin, consistent skim coat over the entire surface. That extra coat helps reduce the difference in texture between the paper face of the drywall, taped joints, fastener areas, and repaired sections.
Best drywall finish for painting: Level 4 or Level 5?
For most standard painted walls in homes, a well-executed Level 4 finish is the practical choice. It provides a clean, paint-ready surface for bedrooms, living rooms, hallways, basements, and many renovation projects. With a quality drywall primer and an appropriate paint sheen, it can look excellent.
Level 5 is the better choice when the room conditions are likely to reveal subtle imperfections. It is often considered for ceilings, large open walls, stairwells, rooms with oversized windows, and areas with light washing across the wall. Light washing happens when sunlight or installed lighting runs nearly parallel to a surface. Instead of lighting the wall evenly, it casts small shadows from minor ridges, joints, or sanding variations.
The decision depends on the project. A Level 5 finish is not automatically necessary throughout a house, and applying it everywhere may add work where it offers little visible benefit. On the other hand, using only a basic finish in a bright room with a satin or semi-gloss paint can make joints and patches more noticeable after painting.
When Level 4 is usually enough
Level 4 is a sound choice for walls that will be painted with flat or matte paint, especially where lighting is fairly even. It is also commonly suitable for rooms with normal ceiling heights, limited direct sunlight, and standard interior lighting.
A well-finished Level 4 surface still requires care. Tape needs to be flat and fully bonded, joint compound needs to be feathered wide enough to hide the transition, and fasteners need to be filled without leaving raised spots. Sanding must remove ridges without scuffing or tearing the drywall paper. A rushed Level 4 finish will not become smooth simply because it receives primer and paint.
When Level 5 is worth the extra work
Consider a Level 5 finish when the surface will be highly visible or painted with a sheen that reflects light. Satin, semi-gloss, and gloss paints are less forgiving than flat paint. Dark colours can also show surface variation, particularly on long feature walls or ceilings.
Level 5 is often a good fit for a smooth ceiling in a room with large windows, a modern open-concept area, or a wall facing late-day sunlight. It can also help when a homeowner wants a clean, uniform finish on a prominent wall with no texture to soften small imperfections.
That said, a skim coat is not a substitute for proper taping or repair work. If a seam is poorly built, a fastener is popping, or drywall is uneven, those concerns should be addressed before a Level 5 coat is applied.
Paint sheen changes what you see
The paint selected for the room has a major effect on the drywall finish required. Flat paint absorbs light and hides more minor variation than paints with sheen. It remains a practical choice for many ceilings and low-traffic walls because it is visually forgiving.
Eggshell and satin paints reflect more light. They are common on walls because they are easier to clean, but they can make poor sanding, uneven joints, and patch edges easier to spot. Semi-gloss is usually used for trim, doors, and some moisture-prone areas, rather than broad drywall surfaces, because it highlights nearly every surface defect.
Before choosing a finish level, consider the intended paint colour and sheen together. A soft neutral matte paint on a bedroom wall places different demands on drywall than a deep navy satin finish on a sunlit feature wall.
Ceilings need special attention
Ceilings often receive more critical lighting than people expect. Pot lights, pendant fixtures, and windows can all cast light across the ceiling plane, particularly in kitchens, great rooms, and finished basements. A ceiling that looks smooth during the day can reveal seams or sanding marks after the lights are on at night.
A Level 4 ceiling can work well when it will receive flat ceiling paint and has balanced lighting. Where the ceiling is large, smooth, and exposed to side lighting, Level 5 may provide a more consistent result. Texture is another option in some homes, but it is a design choice and may not suit a renovation where the goal is a clean, modern smooth ceiling.
Primer is part of a paint-ready finish
Primer does more than make paint stick. Drywall paper and dried joint compound absorb paint differently. Without a proper drywall primer, joints and patches can flash through as dull or shiny areas, even when the finishing work is sound.
For new drywall, use a primer intended for drywall or new gypsum board before applying finish paint. For repairs, the patched area should be primed before the wall is repainted. This helps create a more even surface for the topcoat and gives the painter a clearer view of any small areas that need correction.
Primer will not hide ridges, dents, rough sanding, or visible tape lines. Those need to be corrected at the drywall finishing stage, when the compound can still be feathered and sanded properly.
Common issues that show up after paint
Many callbacks happen because an issue was difficult to see before paint, not because the paint itself failed. Side lighting can reveal a shallow joint line. A satin finish can show a patch that was not feathered far enough. Heavy sanding can leave a fuzzy paper surface that appears different once coated.
Repairs deserve the same level of attention as new drywall. A small hole or water-stained patch may be physically repaired, yet still show after painting if the surrounding compound is too narrow, the texture does not match, or the surface is not primed. The repair should blend into the full wall plane, not just cover the damaged spot.
Plan the finish before the job starts
The best time to discuss finish expectations is before taping and mudding begin. Walk through the rooms and identify walls with strong window light, feature walls, high ceilings, and areas that will receive darker or shinier paint. This allows the drywall finish to match the final design rather than trying to correct visible issues after the painter has started.
For projects in Owen Sound and across Grey Bruce, Meg's Drywall can help property owners and builders assess whether a standard Level 4 finish is appropriate or whether specific walls and ceilings would benefit from a Level 5 skim coat. A clear plan at this stage keeps the work focused where it matters most.
A paint-ready wall should look consistent under the lighting it will live with, not only under a work light during sanding. Choose the finish level around the room, the paint, and the light, and the final coat has a much better surface to work with.


