
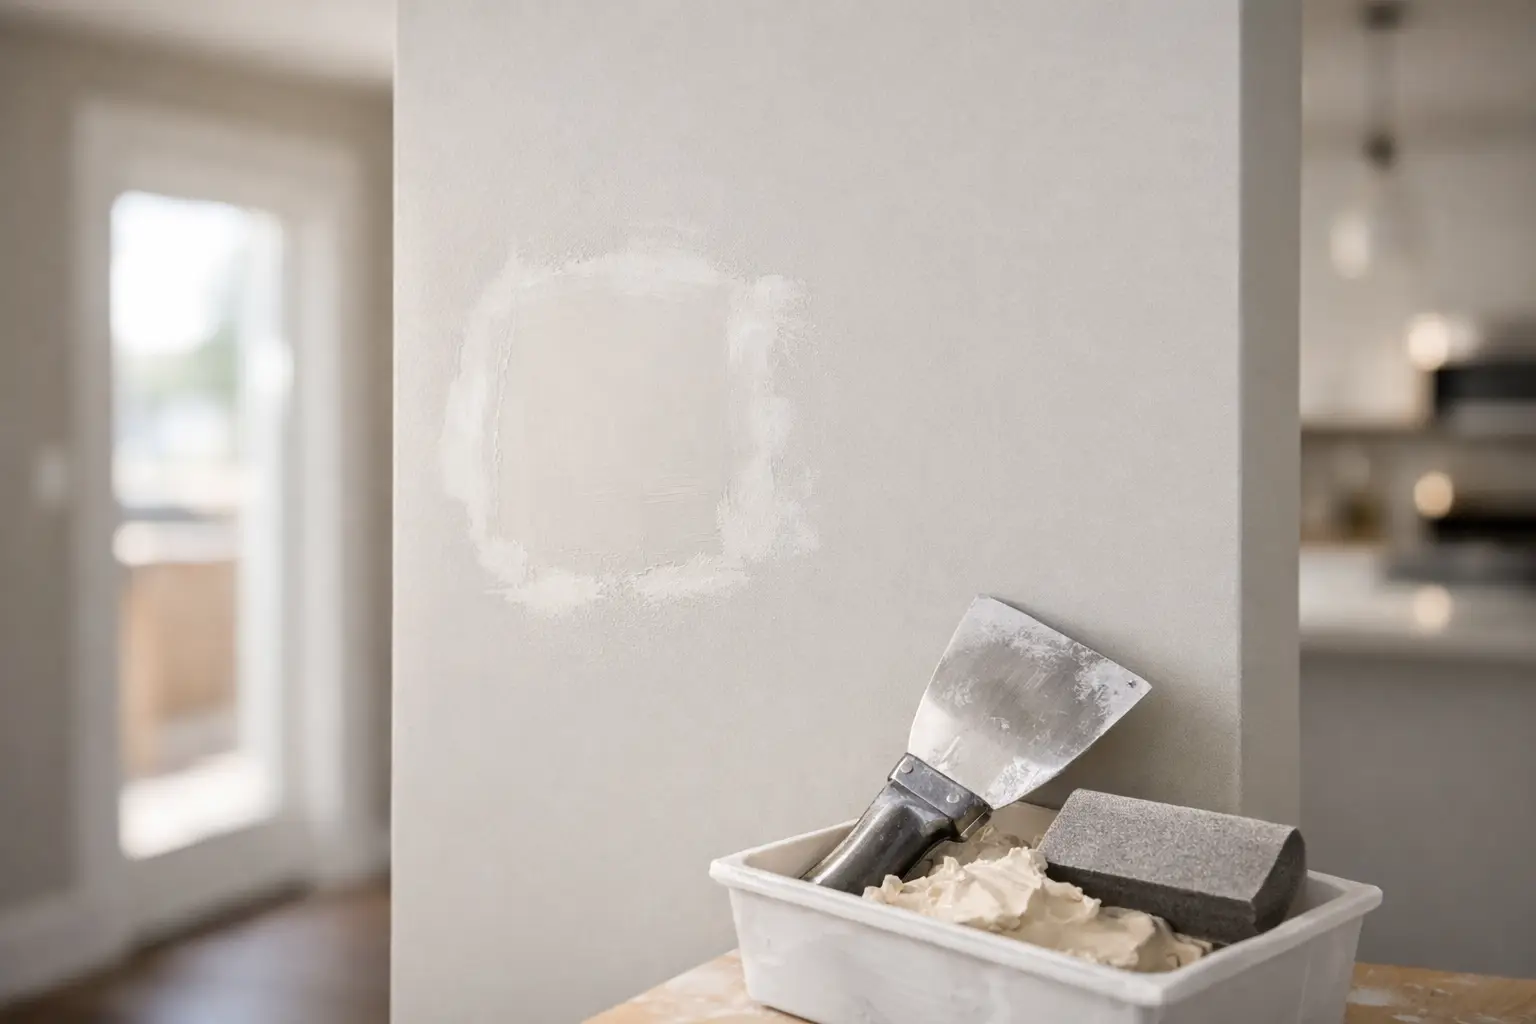
A wall can look fine until the afternoon light hits it. Then the old picture-hook holes, dent beside the doorway, cracked ceiling seam, or uneven patch become hard to ignore. Drywall patching Owen Sound homeowners need is rarely just about filling a hole. The goal is to restore the wall or ceiling so the repair blends into the surrounding surface and is ready for paint.
Small damage is common in homes, rentals, offices, garages, and renovated spaces across Grey Bruce. The right repair depends on the size of the damaged area, the condition of the surrounding drywall, and the finish expected once painting is complete. A clean patch can disappear. A rushed one often shows up again as a raised edge, shallow spot, crack, or change in texture.
What drywall damage needs patching?
Drywall is durable for everyday use, but it is not meant to take repeated impact or movement. Door handles can leave round holes. Moving furniture can dent corners and walls. Removed shelves, mirrors, televisions, handrails, or old fixtures can leave several holes in one area. Renovations may also leave openings where a wall layout has changed.
Some repairs are simple surface work. Nail pops, small dents, minor scrapes, and tiny fastener holes may only require careful filling, sanding, and touch-up finishing. Larger holes need more support behind the patch so the repaired section remains stable and sits level with the existing board.
Cracks deserve a closer look. A hairline crack at a joint may be a localized finishing issue, while a recurring crack can indicate movement at the seam. The repair should address the loose or damaged tape and rebuild the joint properly rather than simply covering the line with more compound. Covering a failed joint without preparing it first usually leads to the same problem returning.
Ceiling damage needs similar care, with less room for error. Ceiling patches catch light differently than walls and are often visible from several angles. Texture, existing joint lines, and the size of the affected area all influence the repair approach.
Why a patch can look worse after painting
Paint does not hide poor drywall finishing. In many cases, it makes it easier to see. A fresh coat can highlight sanding scratches, edges around a patch, uneven joint compound, and a change in wall texture.
This is especially true on walls with light coming across them from a window, patio door, or overhead fixture. That side lighting reveals shallow dips and high spots that may not stand out while the patch is still unpainted. Hallways, stairwells, entryways, and rooms with large windows often need more careful feathering for this reason.
The repair needs to extend beyond the damaged spot. For a larger patch, the new joint compound is applied in progressively wider coats so there is no abrupt edge between the repair and the existing wall. Each coat needs appropriate drying time before the next stage of sanding or finishing. Trying to make the repair disappear in one heavy coat can create shrinkage, unevenness, and extra sanding later.
Texture also matters. A smooth wall requires a smooth finish. If the surrounding surface has an orange-peel, stipple, or other texture, the patched area must be blended to suit it. A perfectly flat patch on a textured wall can still look like a patch.
How professional drywall patching in Owen Sound is approached
Good drywall patching starts with assessing the damage instead of selecting a one-size-fits-all fix. A drywall contractor will look at the size and location of the damaged area, whether the drywall around it is sound, and whether there are cracks, loose tape, corner damage, or texture to consider.
For small holes and surface damage, preparation may involve removing loose material, filling the area in thin coats, sanding between stages where needed, and checking the finish under good lighting. The work is straightforward, but neat preparation and patient finishing make the difference.
For a larger opening, damaged drywall is cut back to a clean, manageable shape. A properly supported piece of new drywall is then fitted into the opening. The seams are taped, coated with joint compound, feathered outward, sanded, and inspected before the area is ready for primer and paint.
Repairs around outside corners require a different method. If corner bead is dented, bent, or cracked, the damaged portion may need to be removed and replaced before the corner can be refinished. Simply filling over damaged bead can leave a soft, uneven corner that will not hold up well.
Containment and cleanup matter too, particularly inside finished homes and occupied commercial spaces. Sanding drywall compound creates fine dust, so the work area should be managed carefully and cleaned before the space is handed back. For homeowners and property managers, that helps keep a small repair from becoming a larger cleanup job.
When a small patch becomes a larger drywall repair
A hole is not always limited to the spot that is visible. Drywall can be weakened around the impact area, especially if the paper face has torn or the board has cracked beyond the opening. If loose material is left in place, the new finish may not bond or hold as intended.
Multiple repairs can also change the scope of the work. A room with dozens of old anchors, nail holes, dents, and poorly finished patches may benefit from addressing the walls together. This provides a more consistent surface before painting than treating each blemish as a separate touch-up.
The same applies after a renovation. Once walls are opened, moved, or altered, there may be new seams, patched openings, bulkhead changes, or areas where old and new drywall meet. A continuous, paint-ready finish takes planning across the whole affected wall or ceiling, not only at the individual patch locations.
For landlords and property managers, timing is often a practical factor. Repairing wall damage between tenants or before repainting can help return a unit to a clean, presentable condition. In a small business or office, scheduled drywall work can reduce disruption while keeping the interior looking maintained.
Signs it is time to call a drywall contractor
Homeowners can often identify whether a repair is likely to be more than a quick touch-up. It is worth getting professional help when there is a hole larger than a small dent, loose or bubbling tape, a crack that returns after being filled, visible damage to a ceiling, or an uneven repair that has already been painted and still stands out.
It also makes sense to bring in a drywall specialist when several repairs need to be completed before a painter arrives. The painter can apply a quality finish, but the final appearance still depends on the condition of the drywall underneath. Getting the patching, taping, mudding, sanding, and surface preparation right first gives the paint a much better base.
A contractor can also help when matching an existing finish is the concern. Older homes may have repairs from different periods, varied wall textures, or previous patches that were never properly blended. Looking at the room as a whole helps determine whether localized patching is enough or whether wider finishing is needed for a consistent result.
Planning your repair before painting
If painting is part of the project, plan drywall repairs before choosing paint dates. Joint compound needs time to dry between coats, and the final surface should be inspected after sanding. Drying time can vary based on the size of the repair, the thickness of each coat, room conditions, and the amount of finishing required.
Move furniture away from the affected wall where possible and make note of every area that needs attention. A walk-through before work begins can prevent overlooked nail holes or damaged corners from appearing after the painter has started. If the wall has a particular sheen or texture, mention it early so the finish can be planned accordingly.
For drywall repairs in Owen Sound, Meg's Drywall works with homeowners, renovators, property managers, and builders who need practical patching and clean finishing work. Whether the issue is one damaged wall, a ceiling seam, or several repair areas after a renovation, the best starting point is a clear look at the existing surface and the finish you expect when the room is complete.
A good patch should not demand attention every time you enter the room. Give the repair the preparation, finishing time, and careful inspection it needs, and the wall can be ready for the next stage of your project.


