
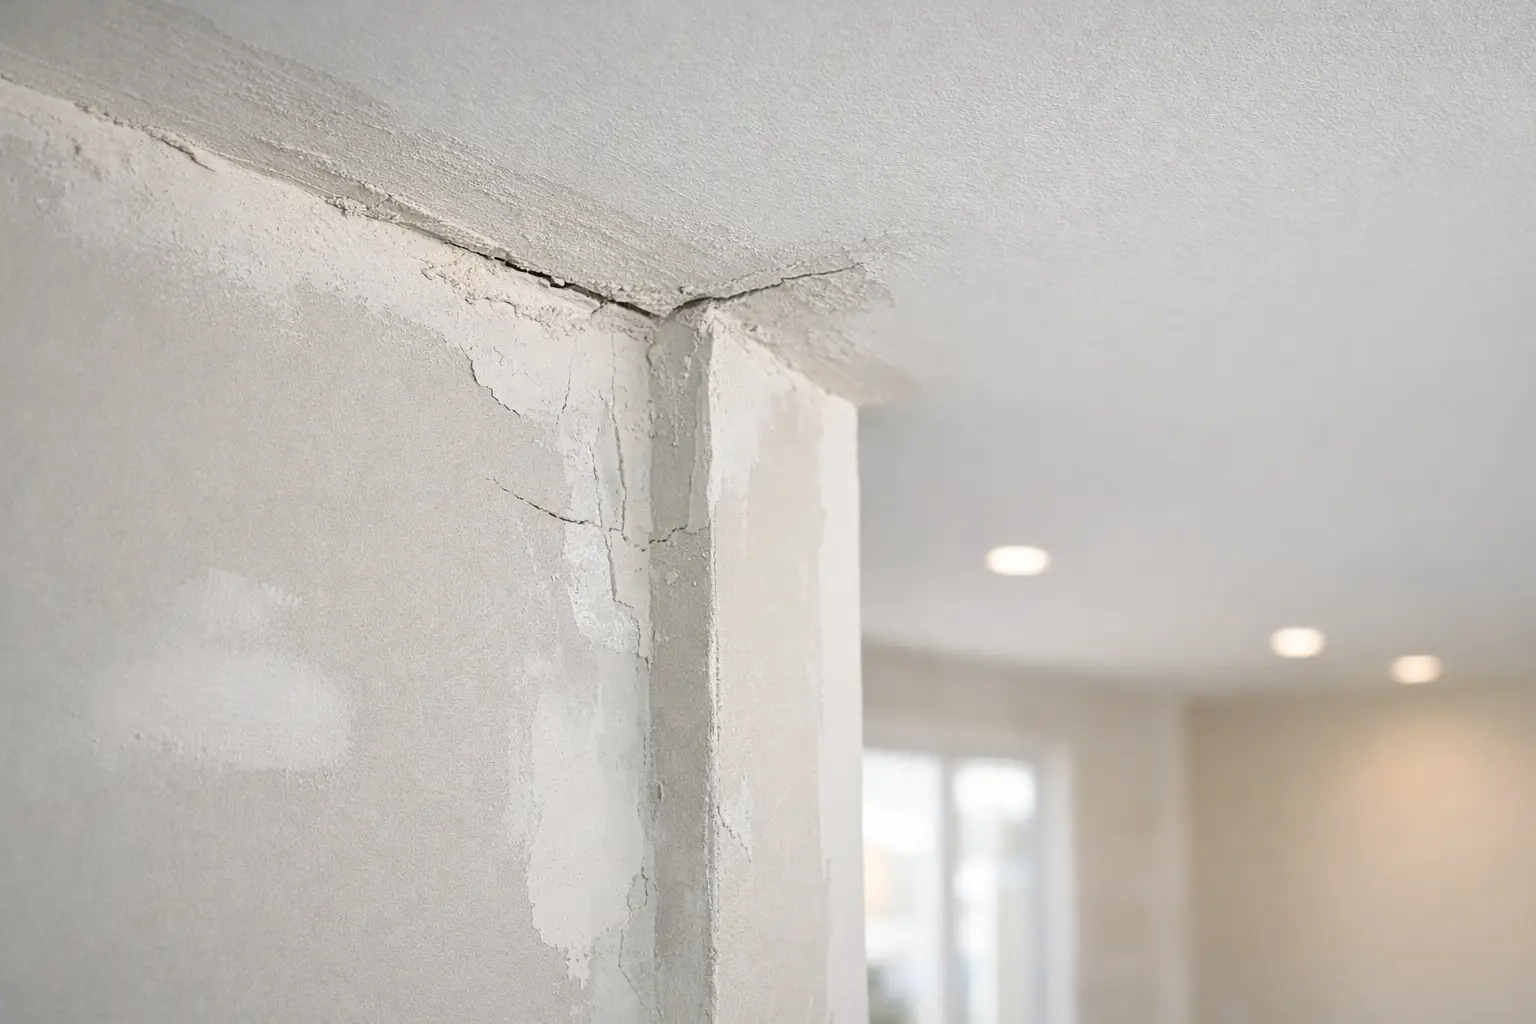
A wall can look perfectly acceptable after the first coat of compound, then show every flaw once primer and paint go on. That is why the top drywall finishing mistakes are usually not dramatic failures. They are small issues with joints, fasteners, corners, sanding, or drying time that become very noticeable under normal room lighting.
For homeowners, builders, and renovators, a paint-ready finish means more than covering drywall. It means the wall looks flat from across the room, along a window wall, and under ceiling fixtures. Good finishing takes a steady process and an eye for details that paint will not hide.
Top Drywall Finishing Mistakes That Show Through Paint
Applying compound too thickly
A heavy coat of joint compound may seem like a fast way to fill a low spot or cover tape. In practice, it often creates more work. Thick compound takes longer to dry, can shrink as it dries, and leaves broad ridges that require excessive sanding.
Professional finishing is built up in controlled coats. The first coat embeds the tape and fills the joint. Later coats are widened gradually to feather the transition into the drywall face. Thin, even coats dry more predictably and are easier to inspect between stages.
There are exceptions. A damaged area or an uneven transition may need extra filling, but it is still better handled in layers than with one oversized application. Rushing this step can turn a small correction into a wavy wall.
Poor tape embedment at joints
Tape reinforces the joint between drywall sheets. When it is not fully embedded in compound, loose edges, bubbles, and blisters can appear. Sometimes the problem is visible immediately. Other times, it becomes obvious only after primer reflects light across the wall.
Too little compound under the tape is one cause. So is uneven pressure while applying it, or working over a surface with dust and loose material. Once a tape bubble is covered with more mud, it does not disappear. It needs to be properly addressed before the finishing coats continue.
Paper tape, mesh tape, and corner tape each have their place, but no tape performs well without sound preparation and proper embedding. The right product depends on the joint or repair, while the basic requirement stays the same: the tape must lie flat and bond consistently.
Leaving joints too narrow
A drywall joint can be smooth to the hand and still look raised after painting. This often happens when finishing coats are kept too narrow. The compound forms a noticeable hump because the transition from joint to board happens too quickly.
Wide feathering is what makes a flat-looking wall. Butt joints, which occur where two cut ends of drywall meet, usually need particular attention because they do not sit in factory recesses. A finished butt joint must be spread wide enough that the slight build-up disappears visually.
This is one reason a room can look fine straight on but show lines when daylight comes through a side window. The angle of light reveals changes in plane that a quick visual check can miss.
Missing screw heads, popped fasteners, and damaged board paper
Fastener heads should be slightly recessed without breaking the paper surface of the drywall. If a screw is left proud, it creates a bump. If it is driven too deeply and tears the paper, it can lose holding strength and may require additional attention before finishing.
A common mistake is filling over a proud screw head rather than correcting it. The compound may disguise the spot for a while, but the bump remains underneath. Similarly, screw pops should not simply receive another dab of mud. The cause needs to be considered so the repair has a better chance of staying flat.
Torn drywall paper is another issue that can show through paint. It should be prepared properly before compound is applied. Otherwise, the damaged surface can swell, fuzz up, or create a visible rough patch.
Why Sanding Alone Cannot Fix a Bad Finish
Sanding is meant to refine dry compound, not reshape an entire wall. When a finish has been applied too heavily, too narrowly, or with poorly embedded tape, trying to sand the problem away often makes things worse. It can scuff the drywall paper, expose tape, or leave uneven patches that need to be recoated.
The better approach is to inspect each coat before moving on. A drywall finisher looks for knife lines, high edges, low spots, lap marks, and missed fasteners while they are still easy to correct. A light touch-up coat is usually cleaner and faster than aggressive sanding at the end.
Over-sanding also creates a different problem: the surface may look smooth but have uneven texture. Under primer, areas of exposed paper and compound can absorb differently. Paint can then reveal patchiness, especially on broad walls and ceilings.
Using the wrong light to inspect the work
General room lighting is not enough for final inspection. Many drywall flaws only appear under light that travels across the surface, sometimes called side lighting or raking light. This is common around windows, patio doors, pot lights, and wall-mounted fixtures.
Checking walls from more than one angle before paint helps catch shallow ridges and depressions. Ceilings deserve the same care, particularly in open living areas where natural light reaches a long distance across the board.
Very glossy paint and dark colours are less forgiving than a flat, light-coloured finish. That does not mean they cannot be used, but they raise the standard for preparation. If a homeowner plans to use a sheen that reflects light, discussing that choice before finishing begins is practical.
Skipping proper corner and bead preparation
Outside corners take regular contact in hallways, entries, and busy rooms. If corner bead is loose, bent, poorly aligned, or not adequately covered, the corner will look uneven and can be more vulnerable to damage.
Inside corners need careful taping as well. A crooked or poorly bedded tape line can create a wandering shadow line that stands out after painting. Trying to force a crisp corner with too much compound usually leads to cracking or bulky build-up.
Different corner bead materials and profiles are available for different locations. The important part is choosing a suitable option for the job and finishing it so the transition is straight, durable, and not visible from normal viewing angles.
Rushing Drying Time Between Coats
Joint compound needs time to dry fully before the next coat is applied or sanded. Drying time changes with coat thickness, temperature, airflow, and humidity. In Grey Bruce, seasonal conditions can make a noticeable difference, especially in basements, additions, or spaces without steady heat.
Coating over damp compound can trap moisture and create soft spots, shrinkage, or visible joint lines later. Sanding before a coat is dry can also clog abrasives and tear the surface instead of smoothing it.
A schedule should allow for the room conditions, not just the calendar. Faster-setting compounds can be useful for certain repairs and stages, but they are not a substitute for proper finishing technique or adequate drying of final coats.
Treating Primer as a Fix for Drywall Problems
Primer is an essential part of painting, but it does not level ridges, hide tape lines, or correct poor sanding. In fact, primer frequently makes drywall defects easier to see because it creates a more uniform colour across the wall.
That is useful when the finish is inspected before the final paint goes on. If a flaw appears after priming, a small touch-up may be all that is needed. Larger problems, however, can mean returning to the finishing stage rather than expecting additional paint coats to cover them.
For renovations, repairs, basement drywall, and new construction, the best results come from planning for this inspection point. A paint-ready wall is the result of proper board installation, thoughtful taping, controlled coats of compound, drying time, and careful sanding - not a last-minute rescue with paint.
If you are seeing seams, corner cracks, rough patches, or lines under existing paint, the problem may be repairable without redoing an entire room. Meg’s Drywall can assess the finish and help homeowners and contractors in Owen Sound and across Grey Bruce decide what level of drywall repair or refinishing makes sense before painting continues.


