
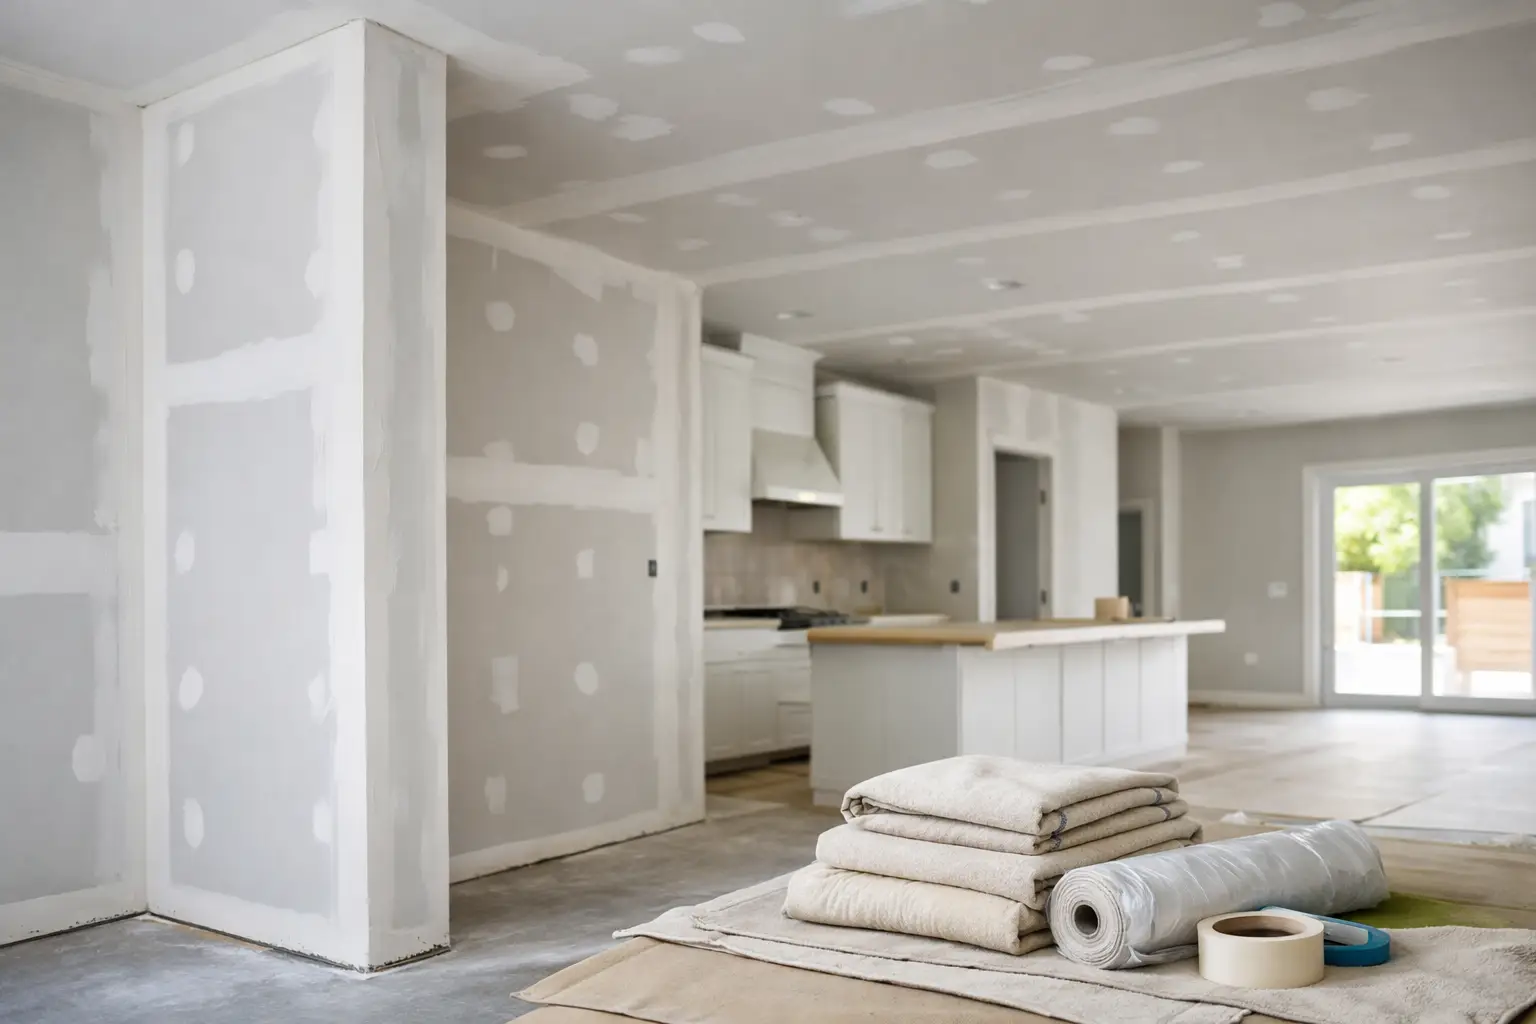
Drywall work moves quickly once the sheets start going up, but the quality of the finished walls depends heavily on what happens beforehand. Knowing how to prepare for drywall installation helps prevent common problems such as uneven walls, visible joints, delays, excess dust, and last-minute changes that are much harder to handle after boarding begins.
For a basement renovation, new addition, garage, or small commercial space, preparation means more than clearing a few tools out of the room. The framing needs to be ready, the work area needs to be accessible, and decisions about details such as ceiling height, bulkheads, openings, and finish expectations should be made early.
Start With Straight, Complete Framing
Drywall follows the surface behind it. If studs are bowed, walls are out of plane, or ceiling framing is uneven, those issues can show through once the drywall is installed and finished. A good taper can improve minor imperfections, but mud is not meant to correct major framing problems.
Before drywall installation, check that framing is complete and that walls are reasonably straight when viewed along their length. Studs should be positioned consistently, corners should be solid, and there needs to be proper backing anywhere drywall edges will meet. This includes inside corners, outside corners, ceiling perimeters, soffits, bulkheads, and the edges around openings.
Look closely at areas where different framing elements meet. A wall that transitions into a bulkhead or a sloped ceiling may need extra backing to give the drywall a secure fastening point. Missing backing can lead to unsupported edges, movement, and cracks later on.
It is also a good time to confirm the layout of doors, windows, niches, access panels, and other openings. Small adjustments are simpler before drywall covers the framing.
Check ceilings before the wall board goes on
Ceilings deserve special attention because they are difficult to correct once finished. Ceiling joists or strapping should be consistent and provide adequate fastening support. If a ceiling has visible dips or changes in level, address them before drywall is installed rather than hoping the finish will hide them.
This matters particularly in older homes across Owen Sound and Grey Bruce, where renovations often connect new framing to existing walls or ceilings. Older construction can be less uniform than a new build, so a careful check before boarding can save considerable finishing time.
Finish Work Behind the Walls First
Drywall should be installed only after all behind-the-wall work that affects the framing is complete and approved for closing in. Once the walls are covered, accessing these areas becomes disruptive and usually means cutting, patching, and refinishing drywall afterward.
Confirm that insulation is installed where required and that any vapour barrier or air barrier work is complete. In a basement, pay close attention to exterior foundation walls and rim joist areas. The assembly needs to be ready before drywall is installed, with no loose material, gaps that need attention, or unfinished sections left behind.
If other trades are involved in the project, coordinate the timing clearly. Their work should be completed before drywall begins, and anything that needs to protrude through the finished surface should be located and secured. This includes boxes, vents, access openings, and other planned penetrations. A quick pre-drywall walkthrough with the people involved can identify missing details while they are still easy to reach.
Prepare the Room for Access and Dust
Drywall sheets are large, and ceilings often require long sheets to reduce joints. The installation crew needs a clear route from the delivery point to the work area, along with enough open space to safely carry and position material.
Remove furniture, stored items, tools, and loose building materials from the room whenever possible. Protect anything that cannot be moved. If the project is part of an occupied home, decide in advance which entrances and hallways will be used and what areas need dust protection.
Drywall installation creates some dust, but the heaviest dust usually comes during sanding. Good preparation makes containment much more effective. Close off rooms not included in the work, remove delicate items, and plan for temporary barriers where renovation areas connect to finished living spaces.
A clear work area also helps the job progress without unnecessary interruptions. Crews need room for sheets, tools, scaffolding or benches, compound, and waste collection. Crowded rooms slow down installation and increase the chance of damaged walls, floors, or materials.
Plan Drywall Delivery and Material Storage
Drywall is heavy and should be stored flat on a level, dry surface. Avoid leaving sheets where they can be exposed to moisture, bending, or accidental damage. If materials are delivered ahead of the installation date, make sure there is an indoor storage area that is protected from weather and has enough room to keep sheets flat.
Access can be a practical issue in older homes, cottages, and rural properties. Narrow stairways, tight turns, finished flooring, or a difficult basement entrance may affect the sheet size that can be brought into the space. Discuss these limitations before materials are ordered. In some cases, using shorter sheets may be necessary, although that can create more joints and additional finishing work.
For new construction, consider when drywall should arrive in relation to other materials and trades. Keeping the material dry and out of the way helps avoid damaged sheets and blocked work areas.
Confirm the Details That Affect the Finish
Not every room needs the same drywall finish. A utility room, garage, rental unit turnover, high-traffic hallway, and formal living room can each have different expectations. Talk about the intended finish before the work starts, especially if the walls will receive dark paint, sheen paint, strong side lighting, or a smooth wall covering.
Lighting has a major effect on how drywall appears. Large windows, pot lights near walls, and light aimed across a ceiling can make minor surface variations more noticeable. If a room will have strong directional lighting, mention it during planning. The finishing approach may need to account for those conditions.
Decide early on whether you want square corners, rounded corners, access panels, drywall returns at windows, or other finishing details. These choices affect materials, labour, and the order of work. They are best settled before installation rather than after the board is already on the wall.
Know what paint-ready means
A paint-ready drywall surface still needs primer and paint. Drywall finishing prepares the joints, fastener locations, corners, and surface transitions so the wall can be painted properly. It does not include the final painting stage unless that has been separately arranged.
Before painting, inspect the finished drywall under normal room lighting and make sure the surface is clean and dry. Primer is especially useful because it creates a more uniform surface for the finish coat and can reveal any small touch-ups that should be handled before final paint.
Keep Temperature and Humidity Consistent
Drywall compound needs suitable conditions to dry properly. Cold, damp spaces can slow drying times, while excessive heat or rapid air movement can cause compound to dry too quickly. Either situation can affect scheduling and may make finishing more difficult.
The building should be enclosed and reasonably climate-controlled before installation and finishing begin. This is particularly relevant for winter projects in Grey and Bruce counties, where cold outdoor conditions can affect an unfinished renovation or new build. Keep the space at a stable working temperature and avoid major swings in humidity while compound is drying.
Do not rush sanding or painting before each coat has dried properly. A project may need more time when weather conditions are damp, ventilation is limited, or a room has recently been heated after a long cold period. Allowing proper drying time supports a smoother, more durable finish.
Make a Final Pre-Installation Walkthrough
A short walkthrough before drywall begins can prevent most avoidable surprises. Check that framing is complete, insulation and barriers are in place, the room is cleared, access routes are open, and the material storage plan is ready. Confirm the locations of openings, special details, and any areas requiring extra attention.
Take photos of the open walls before they are covered. This gives homeowners, builders, and property managers a helpful record of framing and behind-the-wall locations for future reference. It is a simple step that can make later renovations or wall-mounted additions easier to plan.
If you are preparing a renovation or new build in Owen Sound, Grey County, or Bruce County, a drywall contractor can also identify site conditions that may affect the installation before materials are hung. A well-prepared space gives the drywall crew the right conditions to focus on clean lines, solid joints, and a finish that is ready for the next stage of your project.


