
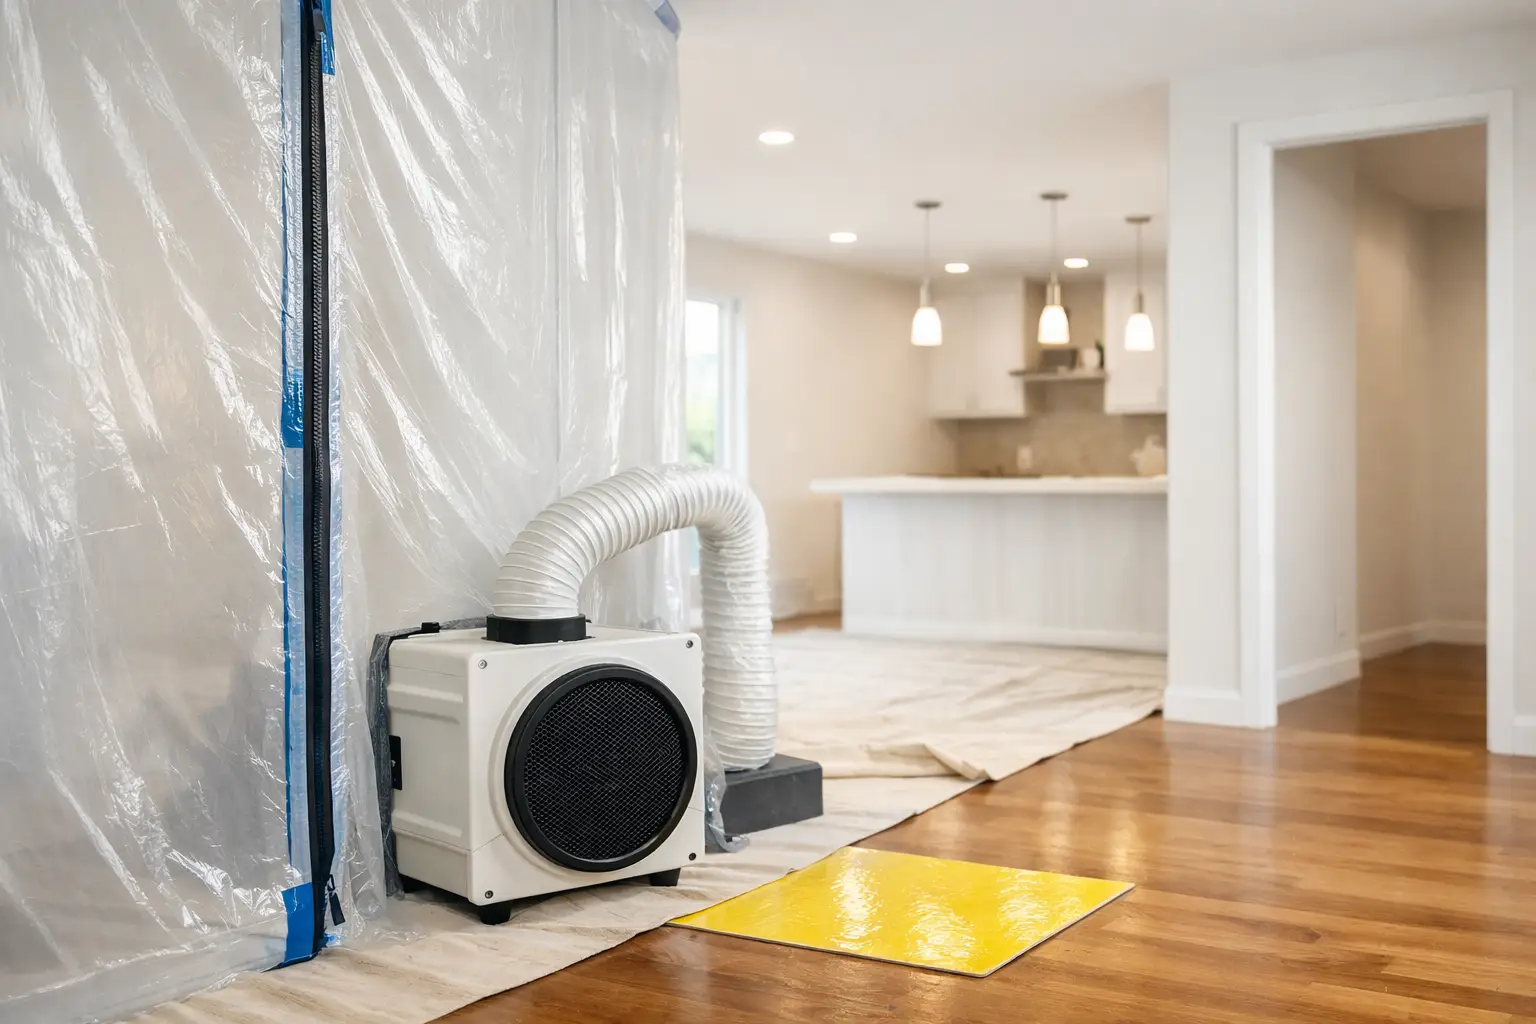
A drywall dust containment guide matters most when the sanding starts. Fine joint-compound dust does not stay neatly below the repair or renovation area. It settles on trim, floors, furniture, vents, and surfaces in nearby rooms, often long after the work appears finished. Good containment keeps the job cleaner, reduces cleanup time, and helps protect the paint-ready finish everyone wants at the end.
For a small patch, the setup may be simple. For a basement renovation, open-concept main floor, occupied home, or commercial space, dust control needs to be planned before taping and mudding begin. The right approach depends on the size of the work area, who is using the building during the project, and how much sanding the finish will require.
Start With the Work Area, Not the Sanding
Dust control is easier when it is built into the job from the beginning. Before drywall installation, repairs, or finishing starts, look at how people enter and leave the room, where materials will be staged, and which finished surfaces need protection. A clear plan avoids the common problem of workers repeatedly walking through a contained space and tracking dust into the rest of the home.
Rooms with doors are usually the simplest to isolate. Doorways can be sealed with taped plastic sheeting, ideally arranged so there is a practical way to enter without pulling down the barrier each time. In open areas, temporary poly walls can create a defined work zone. They should extend from floor to ceiling where possible, with seams and edges taped securely.
Containment does not need to make a room impossible to use, but it does need to direct traffic. If there is one access point for the work area, use it. Protect the path from that point to the exterior door or disposal area with a durable floor covering. This is particularly useful during occupied renovations in Owen Sound and Grey Bruce homes, where the kitchen, hallway, or staircase may still need to remain in use.
Protect Floors, Openings, and Finished Surfaces
Floor protection is not one-size-fits-all. A hard floor may need a clean, non-slip protective layer that will not leave adhesive behind. Carpet needs more care because fine dust can work down into the fibres. A heavy floor covering over a suitable underlayer is often more effective than a thin sheet that shifts underfoot.
Cover or remove nearby furniture whenever possible. Items left in the room should be fully wrapped rather than loosely draped, since dust can enter gaps and settle in folds. Window coverings, exposed shelving, electronics, and decorative light fixtures are easy to overlook and time-consuming to clean afterward.
Heating and cooling registers deserve attention before sanding begins. Covering registers in the active work area can help prevent dust from being drawn into the system. The goal is to control dust in the work zone without creating a situation that interferes with the building's normal equipment. When in doubt, a drywall contractor can assess the room layout and choose a practical approach for the project.
Use the Right Dust Containment Method
The best drywall dust containment guide is not a single product recommendation. It is a combination of barriers, work habits, and cleanup methods matched to the job.
For small drywall repairs, a localized barrier around the patch may be enough. A contained sanding setup and careful cleanup can keep dust from spreading through an otherwise finished room. This works well for nail pops, minor wall damage, and small ceiling repairs, provided the surrounding surfaces are protected.
Larger repairs and full-room finishing require a more complete enclosure. Plastic barriers, protected floors, a controlled entry point, and regular cleanup during the work all make a noticeable difference. If the project includes new drywall in a basement, garage, addition, or new construction area, the unfinished nature of the space may allow for simpler containment. Even then, dust can travel into completed sections of the building through openings and foot traffic.
Dust-reducing sanding equipment can also help. Vacuum-assisted sanding systems capture much of the fine dust at the source, but they are not a replacement for barriers and floor protection. They work best when paired with a properly maintained vacuum, appropriate filters, and a finishing process that avoids unnecessary re-sanding.
There is a trade-off to consider. A fully sealed enclosure takes time to install and remove, so it may not be necessary for every small patch. On the other hand, skipping containment in a furnished, occupied room can create hours of extra cleaning and frustration. The setup should reflect the risk of dust spreading, not just the size of the wall repair.
Keep Dust From Moving Through the House
Most dust problems happen at the edges of the work area. Someone opens a plastic barrier, carries debris through a finished hallway, or walks out with dusty footwear. Those small moments can undo an otherwise careful containment plan.
Keep clean and work areas separate. Materials, tools, and waste should have a clear route that does not cross through rooms unnecessarily. Where a pathway must be used, protect it and clean it regularly rather than waiting until the end of the day.
Avoid dry sweeping drywall dust. Sweeping can put fine particles back into the air and spread them farther. A vacuum designed for fine dust, followed by a damp wipe of hard surfaces where appropriate, is a more controlled way to clean. Plastic barriers should be removed carefully, folded inward to hold dust, and disposed of without shaking them out indoors.
Finishing work also benefits from a steady pace. Rushing the sanding stage usually means more dust, more touch-ups, and more chances for debris to escape the work area. Clean between coats when needed, inspect the surface under good lighting, and sand only what is necessary to produce a smooth result.
Plan for Occupied Homes and Shared Spaces
Living through drywall work is possible, but it takes communication and realistic expectations. Homeowners should know which room will be inaccessible, which route workers will use, and when sanding is expected to take place. Moving personal items before the project starts is much easier than trying to protect them after barriers are up.
For rental properties, offices, retail spaces, and other shared buildings, schedule matters as much as containment. Work may need to be divided into sections so part of the property stays usable. In these settings, secure barriers and clear access routes help protect both the finish work and the people moving through the building.
Humidity and weather can affect drywall finishing schedules in Grey Bruce, especially during renovations where heating conditions are changing. Joint compound needs suitable drying conditions between coats. Trying to force the process can lead to extra sanding and a less consistent finish, which means more dust and more time in the space.
When Professional Containment Is Worth It
A homeowner may be comfortable protecting a room for a very minor repair. Larger jobs are different. Ceiling work, extensive patching, full-room taping, basement finishing, and renovations beside completed living spaces require more coordination. Proper barriers are only one part of the work. The drywall needs to be installed, taped, coated, sanded, and inspected with the final finish in mind.
Meg's Drywall works with homeowners, renovators, and builders across Owen Sound and surrounding Grey Bruce communities on drywall installation, repair, taping, mudding, and finishing. For projects where dust control is a concern, it helps to discuss the occupied areas, access points, and finish expectations before work begins.
A clean renovation is rarely the result of a single plastic sheet at a doorway. It comes from setting up the space carefully, containing dust where it is created, and treating cleanup as part of the drywall finishing process rather than an afterthought.


